


X Touch article
X Touch for Beginners: A Complete Guide
Faders moving by themselves and no idea where to start? Here's a calm, step-by-step route through your first X-Touch session.

New X-Touch on the desk, faders that move by themselves, and a slight worry you've bought something far too complicated? Take a breath — we'll go through this exactly the way I'd teach it, one small step at a time, and you'll have it talking to your software before the end of this page.
What Your X-Touch Is Actually Doing
Your controller doesn't record or process sound. It's a physical remote control for your DAW (digital audio workstation), so before anything else, keep your audio interface connected exactly as it was — nothing changes there. All we're doing now is teaching your recording software to recognise this new hardware as a control surface.
Setting Up Your X-Touch for the First Time
- Connect your X-Touch to your computer via USB, and let your operating system recognise it before opening your DAW.
- Open your DAW's preferences or settings and find the control surface or MIDI controller section — the exact wording varies by software.
- Add a new control surface and choose "Mackie Control" (sometimes shown as MCU) as the type, rather than treating it as a generic instrument.
- Select the correct MIDI input and output ports for the unit in that same settings window.
- Save your settings and restart your DAW if it asks you to, so the new surface loads properly.
- Test it by moving a fader on the hardware and checking the on-screen channel follows, then pressing a mute button to confirm it mirrors the screen too.
If a fader doesn't move a channel, double-check you selected Mackie Control rather than a generic MIDI mapping — that's the single most common beginner stumbling block.
Getting Comfortable With Your X-Touch's Faders
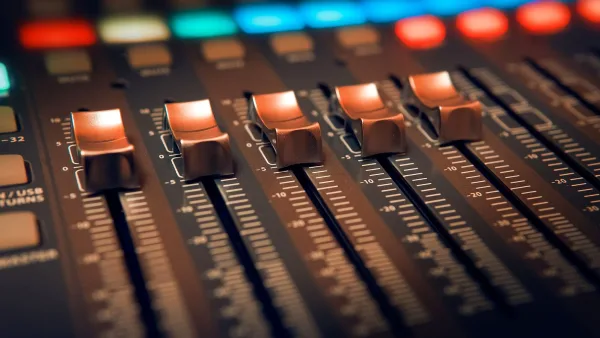
Here's something genuinely clever worth understanding early: the motorized faders can tell the difference between your hand moving them and the software's own automation moving them. Let a fader glide through an existing automation pass without touching it, and it'll simply follow along. Touch it, and you take over. That's what lets you write a fresh automation pass on top of an old one without fighting the hardware.
Your First Few Sessions
- Start with a small project — four or five tracks — so you're not hunting through banks of channels while you're still learning the layout
- Practise muting and soloing with the dedicated buttons instead of reaching for your mouse
- Try one simple automation pass on a single fader before attempting anything more ambitious
- Use the transport controls (play, stop, record) so your hands rarely need to leave the unit at all
Don't Worry About These Things Yet
The rotary encoders, the jog/shuttle wheel and detailed plug-in parameter control can all wait. Plug-in support in particular varies a good deal between different DAWs, so it's worth getting comfortable with basic faders, mutes and transport first before troubleshooting anything more advanced. Our common mistakes guide is worth returning to once you've had a few sessions under your belt.
When You're Ready to Go Further
Once basic mixing feels natural, it's worth understanding how the wider model range compares, particularly if you're wondering whether a smaller or larger unit might have suited your setup better — our model comparison guide covers that properly.
The Bottom Line
You don't need to understand every button on your X-Touch on day one. Get it recognised as a Mackie Control surface, learn to trust the touch-sensitive faders, and practise on a small session first. Everything else is just a matter of time at the desk, the same as learning any new instrument.




Comments