


Rode Nt1a roundup
The Best Rode Nt1as for the Money
Where should your money actually go once you've got a Rode NT1-A? Here's the smart spending order, tier by tier.
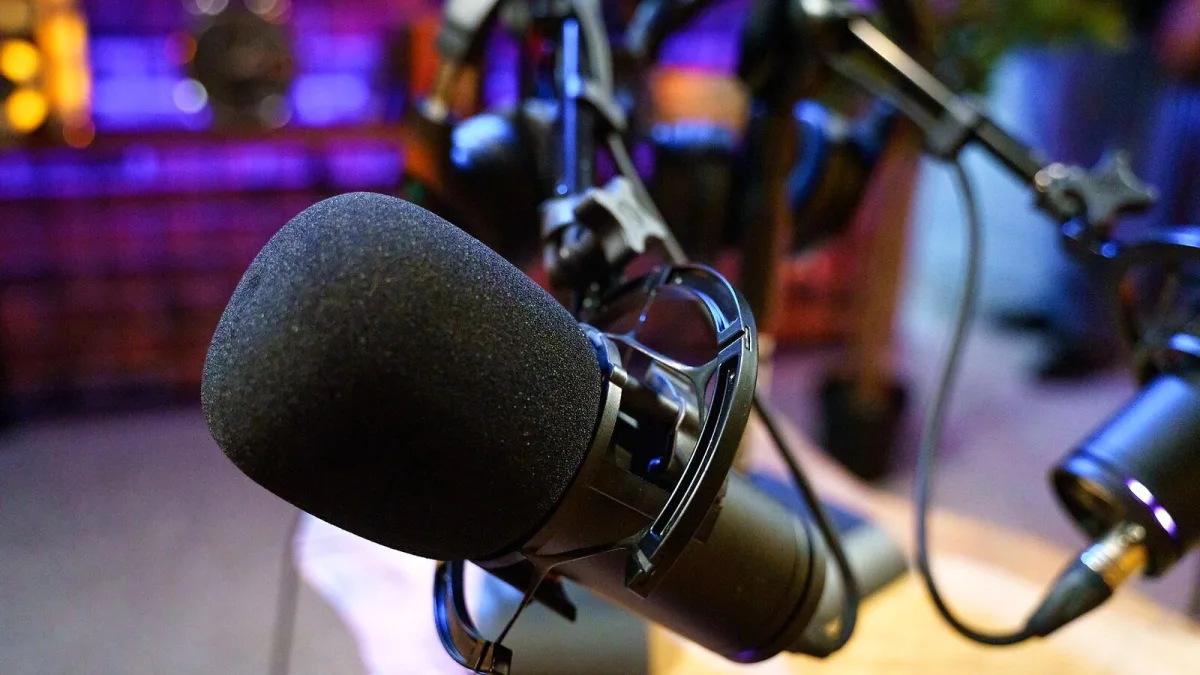
"Best for the money" isn't really a question of finding a cheaper microphone — it's a question of spending your remaining budget in the right order. The Rode NT1-A itself is priced sensibly for what it does. What separates a good result from a disappointing one is what you build around it. Here's how to get the most out of every pound, tier by tier.
Where This Microphone Sits in the Market
This is an affordable large-diaphragm condenser aimed at home-studio vocals, voice-over and acoustic instruments. Its main selling point is a very low 5 dB(A) self-noise figure, paired with a bright, detailed voicing. It's fixed cardioid, has no pad or filter switches, and needs 48V phantom power to run. Understanding that shape helps you spend sensibly around it rather than chasing upgrades it doesn't need.
Entry Tier: Getting a Usable Result
At the cheapest workable setup, pair the microphone with:
- A basic USB audio interface that supplies clean 48V phantom power
- The bundled shock mount and pop filter, used properly
- A stable mic stand — cheap but rigid, not the flimsiest one available
- Whatever room you have, arranged so the mic faces away from hard, reflective surfaces
This tier gets you a genuinely usable recording. It won't be a polished studio sound, but it will be clear, quiet and free of obvious problems, which is more than a lot of higher-spending setups manage if the basics are wrong.
Mid Tier: Where the Money Is Best Spent
Once the basics are sorted, the next pounds are better spent on the room than on the microphone chain. Priorities, in order:
| Upgrade | Why it's worth it |
|---|---|
| A couple of absorptive panels behind and beside the mic position | Cuts reflections that a sensitive condenser picks up readily |
| A slightly better-quality XLR cable and a proper boom arm | Reduces handling noise and desk-borne vibration |
| A modest step up in interface preamp quality | Lowers the noise floor of the whole recording chain, not just the mic |
| A pop filter positioned correctly (not just present) | Costs nothing extra but is frequently done wrong |
None of this is glamorous, but pound for pound it moves the needle more than swapping the microphone itself for something pricier.
Higher Tier: Refining, Not Replacing
If you've got the room and the interface sorted and still want more, the returns shift toward technique and monitoring rather than kit:
- Proper closed-back monitoring headphones for accurate tracking decisions
- A second, differently-voiced microphone for variety across projects rather than replacing this one
- Time spent learning placement — distance, angle and off-axis positioning make a bigger audible difference than most people expect
Only consider replacing the Rode NT1-A outright if your work has genuinely outgrown a fixed-cardioid, no-pad design — for instance, if you need multiple polar patterns for room recording, or you're regularly close-miking very loud sources.
Buying Second-Hand: Worth It?
A used unit can be genuine value, provided you check it properly. Ask whether the capsule has ever been dropped or exposed to damp, and test it through your own interface before relying on it for paid work. A missing shock mount or pop filter isn't a dealbreaker — both are cheap to replace separately — but a mic with an unknown history carries more risk than the modest saving usually justifies. If the price gap to a new unit is small, new is generally the safer spend.
Bundles vs Buying Piece by Piece
Some retailers sell the microphone bundled with an interface, cable and stand as a "starter package." These can be reasonable value if every component in the bundle is one you'd have bought anyway, but they're not automatically cheaper than sourcing each part separately. Check the interface's actual specification rather than trusting the word "studio" on the box — plenty of bundled interfaces are perfectly capable, but a few are underpowered for reliable phantom power delivery. If in doubt, price the components individually and compare.
How It Stacks Up Against Similarly Priced Options
Compared with other affordable large-diaphragm condensers in the same bracket, this microphone typically wins on self-noise and vocal presence, while some rivals win on flexibility with an on-board pad or filter switch. Treat that as a genuine trade-off rather than a hierarchy — value here means matching the microphone's strengths to your actual use case, not chasing the longest spec sheet. If you want the fuller breakdown of what to check before buying, our complete buyer's guide covers it in depth.
The Bottom Line on Value
Pound for pound, the smartest spend is: get the interface and cabling right first, put the next money into the room, and only then consider upgrading the microphone itself. Done in that order, the Rode NT1-A delivers a genuinely professional-sounding result well beyond its price point. For the fundamentals of what it is and how it works, see our full overview, and if you're just starting out, the beginner's guide walks through first steps at a gentler pace.




Comments