


Rode Mic article
Rode Mic for Beginners: A Complete Guide
Buying your first proper microphone is nerve-wracking. Here's a friendly, no-overwhelm guide to picking and setting up your first Rode mic.
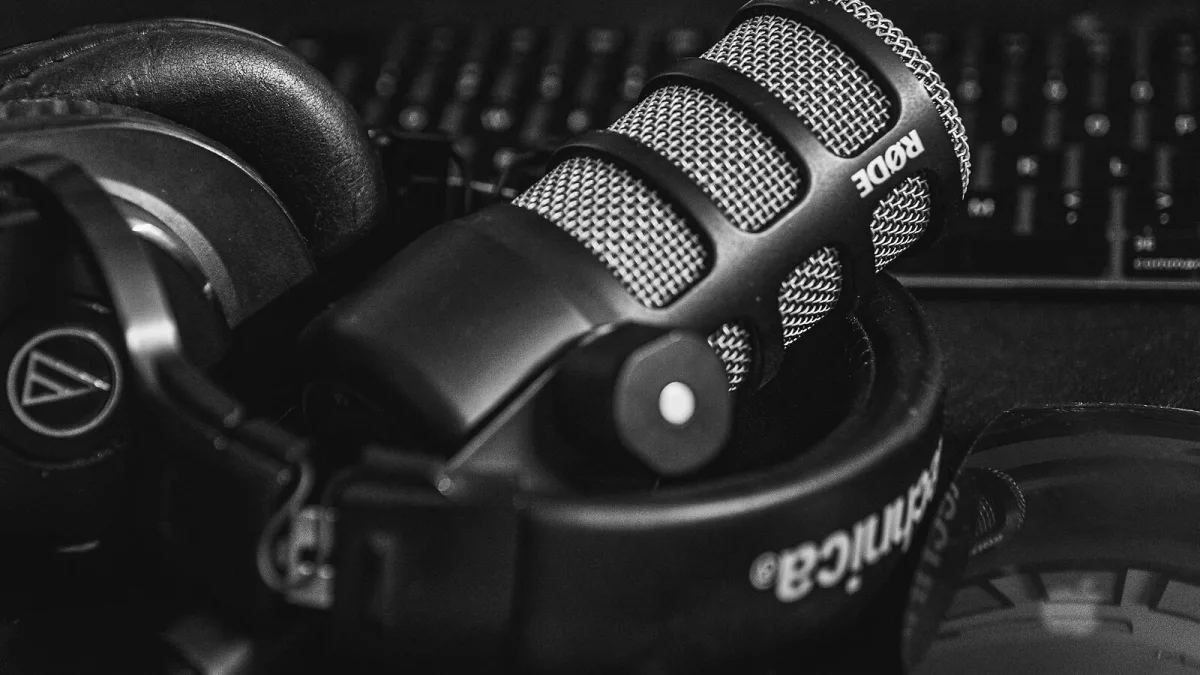
Buying your first proper microphone is a weirdly nerve-wracking moment. You don't want to overspend, you don't want to buy the wrong thing, and half the spec sheet reads like a different language. If you've landed on a Rode mic as your starting point, that's a genuinely sensible instinct — the range is built with home recordists in mind. Let's get you set up without the overwhelm.
Which One Should Your First Rode Mic Be?
Honestly, for most beginners choosing a Rode mic it comes down to one question: do you already own an audio interface? If the answer is no and you don't want to buy one yet, the NT-USB+ is the friendliest starting point — it's a USB condenser that plugs straight into your laptop, with a headphone jack built in so you can hear yourself as you record.
If you'd rather go the traditional route, or you know you'll want to plug in more microphones later, the NT1 Signature Series is the classic choice. It's an XLR condenser, so it needs an interface to supply phantom power, but it's the microphone most people picture when they think "proper studio vocal mic," and for good reason — it's quiet, detailed and forgiving of a slightly imperfect room.
What Else Is Actually in the Box (and What Isn't)
This trips up a lot of first-timers. Here's a quick sense check of what you'll need beyond the microphone itself:
- A pop filter — usually included with the NT1 Signature Series, it stops harsh "p" and "b" sounds hitting the capsule.
- A microphone stand — a boom arm or a simple tripod stand both work fine to start with.
- An audio interface — only if you've gone the XLR route. This is the box that supplies phantom power and turns the microphone's signal into something your computer understands.
- Recording software — something as simple as free software will get you started; you don't need anything expensive to begin.
Setting Up Your First Rode Mic in Five Simple Steps
Don't overthink this part — it really is straightforward once it's in front of you.
- Mount the microphone on its stand, using the shock mount if one's supplied, and position it at around head height.
- If it's an XLR model, connect it to your interface with the XLR cable and switch on 48V phantom power; USB models just need the supplied cable to your computer.
- Open your recording software, select the microphone as your input, and set a comfortable distance — roughly 15 to 30 centimetres away is a sensible starting point.
- Do a quiet test take and watch your levels. If they're clipping (hitting the very top and distorting), turn the gain down slightly and try again.
- Put on headphones and listen back properly before you commit to a full take — your ears will catch problems your eyes won't.
The Noises You'll Worry About (and Shouldn't)
Every beginner hears something odd on their first recording and assumes their new Rode mic is faulty. It almost never is. A few common worries, sorted:
- A faint hiss: some self-noise is completely normal, even on a good microphone. The NT1 Signature Series is rated at roughly 4 dBA, which is genuinely quiet — you're likely hearing your room, not the mic.
- Boominess up close: this is the proximity effect, and it's normal on condensers when you get close. Back off slightly and it settles down.
- Room echo: a bare room with hard walls will sound live and bouncy no matter what you record with. A duvet on the wall behind you helps more than any spec on the microphone.
Do You Need Phantom Power? A Quick Explainer
If you've gone the XLR route, you'll see "48V" mentioned everywhere. This is phantom power — a small voltage sent up the microphone cable from your interface, which condenser microphones like the NT1 need to work at all. It's called "phantom" because it travels invisibly down the same cable as your audio signal, and it's completely safe to leave switched on. USB microphones don't need this at all, because that job happens inside the microphone itself.
When You're Ready to Learn More
Once you've got a few recordings under your belt and you're curious about the wider range, our full guide to Rode mic models lays out how the whole line-up compares. If you're wondering whether to eventually upgrade, our buyer's guide explains the specs that matter once you know what you're looking for, and our round-up of the best Rode mics for the money is a useful next stop.
The Bottom Line
Your first proper microphone doesn't need to be complicated, and a bit of hiss or boom on your first take doesn't mean you've bought the wrong thing. Get it mounted, get your gain roughly right, listen back on headphones, and you're already doing the fundamentals properly. Everything after that is just practice — and it's also worth a quick look at our list of common mistakes to avoid so you don't pick up a bad habit early on.





Comments