


Sound System guide
How to Set Up and Use Sound System
Do it in the right order and setup takes half an hour. Here's the exact step-by-step sequence, from speaker placement to a proper soundcheck.
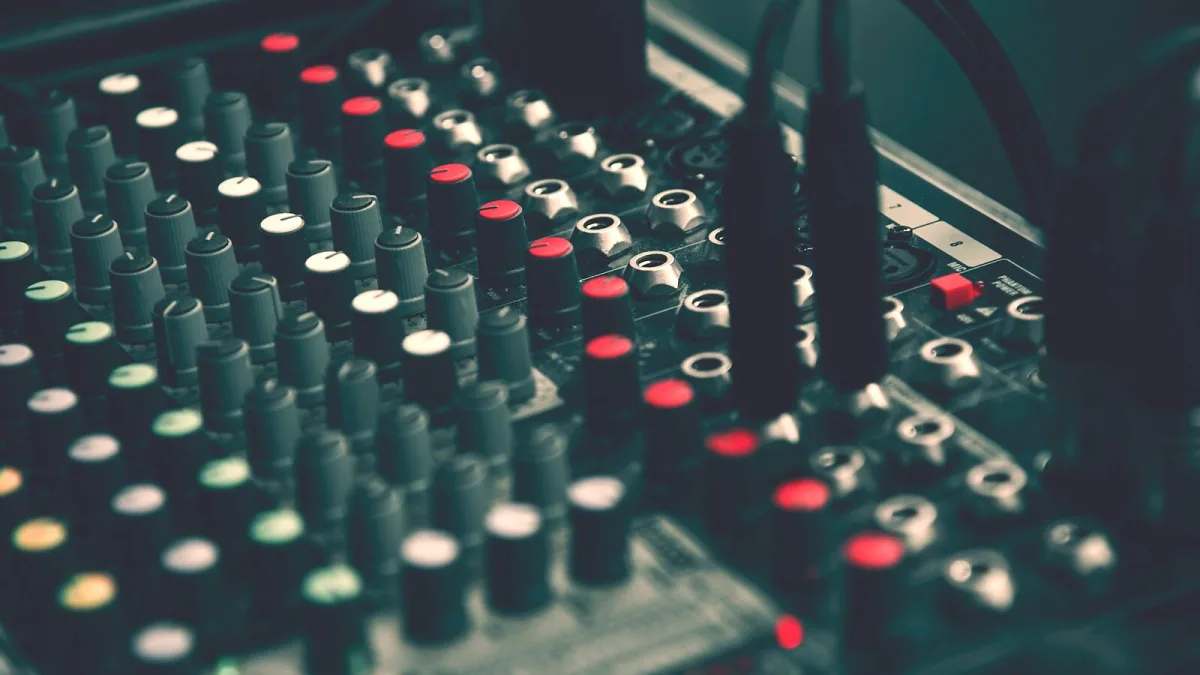
Right, you've got the boxes, and now you need a working sound system rather than a pile of cables on the floor. Do it in the right order and this takes half an hour. Do it in the wrong order and you'll be chasing hum, feedback and dead channels all night. Here's the sequence I actually use.
Before You Plug Anything In
Lay your sound system out where it's going to live: speakers on stands or their final positions, mixer within easy reach, amplifier (if separate) near the speakers it's feeding. Check every cable for damage now, while it's easy to swap a bad one, rather than mid-setup when you're under time pressure.
Setting Up Your Sound System, Step by Step
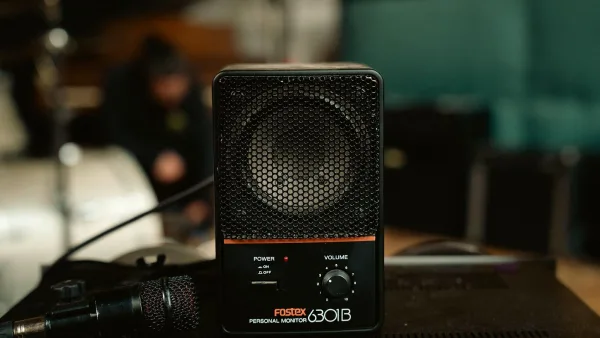
- Position the speakers first. Raise the mains above head height where you can, aim the high end at the audience rather than at nearby walls, and keep them ahead of and away from any microphones to cut feedback risk.
- Run power to everything, but leave it switched off. Connect the mixer, amplifier (if separate) and any powered speakers to the mains, checking voltage and cable ratings as you go.
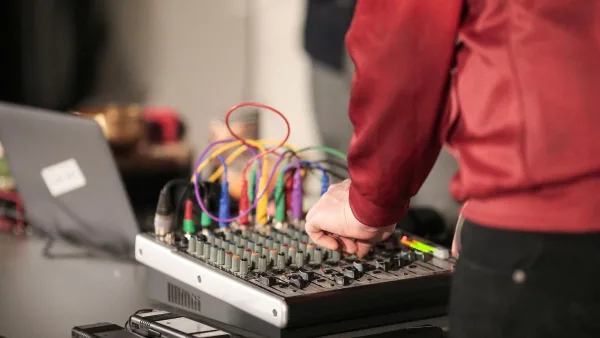
- Connect sources to the mixer. Plug in microphones, DI boxes and any playback devices, keeping cable runs tidy and away from power cables to reduce hum.
- Connect the mixer to the amplifier or powered speakers. Use the main outputs for the audience mix and, if you have them, separate sends for monitor wedges.
- Turn on in the correct order: mixer first, then amplifiers or powered speakers last. This avoids the loud pop that can happen when power hits an already-live amplifier chain.
- Set gain before you touch a single fader. With each channel's fader down, bring the input gain up on a live source until it's healthy but not clipping, then bring the fader up to a working level.
- Ring out the system for feedback. Slowly bring up master volume with a live microphone, and if a frequency starts to howl, pull it back slightly with EQ rather than just cutting the whole channel's level.
- Do a proper soundcheck. Run through every source at real performance level, adjusting the mix and confirming performers can hear their monitors before anyone in the audience arrives.
Why the Order Actually Matters
Turning amplifiers on last isn't superstition — it stops speaker-damaging pops travelling through an already-powered amp chain. Setting gain before faders matters because a fader can't fix a signal that's already clipping at the input; garbage in the front end stays garbage no matter what you do downstream. Skipping the feedback ring-out means you find out about problem frequencies live, in front of people, instead of quietly beforehand.
Common Sound System Setup Snags and Quick Fixes
- Persistent hum — usually a ground loop or a cable running parallel to a power cable. Reroute the cable or try a different mains circuit.
- One channel silent — check the cable first, then the gain, then whether the channel is accidentally muted or routed away from the main output.
- Feedback on one specific frequency — narrow EQ cut on that frequency, or move the offending microphone further from the speaker it's picking up.
- Distorted sound at moderate volume — check input gain isn't clipping before it even reaches the fader; this is a very common cause mistaken for a speaker fault.
Packing Down Properly
Packing down a sound system is simply the reverse of the power-up order: amplifiers and powered speakers off first, then the mixer. Coil cables without kinking them, and label anything that isn't obviously self-explanatory — future you, setting up in a different room next week, will be grateful.
Next Steps
Once your rig is up and running reliably, it's worth reading through our list of common mistakes to avoid, especially if anything above felt unfamiliar. Still building your first setup, our beginner's guide and buyer's guide cover what to own before you get to this stage, and our overview guide explains the terminology used throughout.




Comments