


Mpc Sampler article
Mpc Sampler for Beginners: A Complete Guide
Forget chopping breaks and building whole tracks for now. Here's exactly how to record one clean sample and get it playing confidently from a single pad.
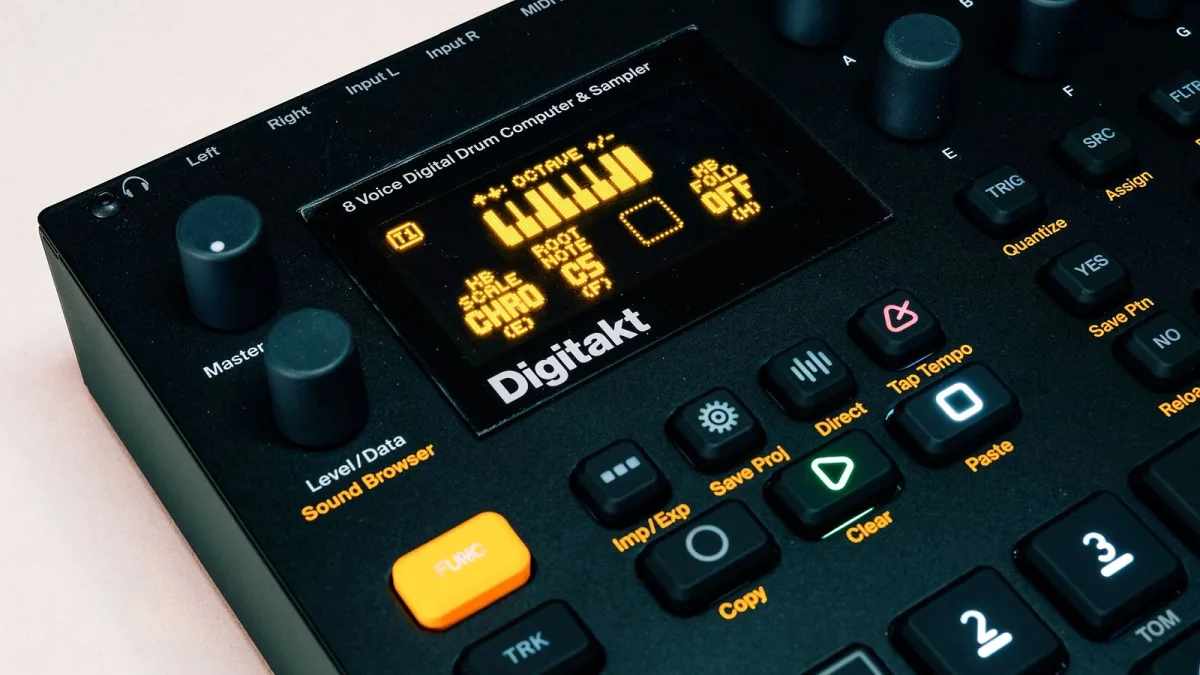
Right, forget everything you've read about chopping vinyl breaks and building whole tracks for a second. Before any of that happens, you need one clean sample sitting on one pad. That's it. That's the whole first goal. Here's exactly how to get there on an MPC sampler, no prior MPC sampler experience assumed.
Before you touch record
Turn your source and monitoring volume down before you connect anything — a pop or a burst of feedback is not how you want to start. Plug in whatever you're sampling from, whether that's a turntable, a synth, a mic or a mixer, and don't worry about getting fancy with your first source. A simple, clean sound — a single drum hit, a short vocal phrase, one chord — is far easier to learn on than a messy, layered recording.
Recording your very first sample
This is the actual step-by-step, straight from how the machine is designed to work:
- Open the Sampler. On most current MPC hardware, this lives under Menu > Sampler on the touchscreen.
- Select the correct input. Choose whichever input your source is actually plugged into.
- Set your input gain. Play your source at its normal volume and raise the gain until the meter reads healthily, without constantly hitting the red.
- Arm the sampler. This puts it in a ready-to-record state, waiting for your signal.
- Record. Either hit record manually, or use automatic threshold recording, which starts capturing once your signal crosses a level you've set — handy for one-shot sounds like a single drum hit.
- Stop and save. End the recording and save the sample to internal storage or removable media like an SD card or USB drive, giving it a name you'll actually recognise later.
That's a genuinely complete recording, start to finish. Everything else on an MPC sampler builds outward from this exact loop.
Don't panic about the gain stage
New users often either whisper their gain in fear of clipping, or blast it and wonder why everything sounds harsh. Aim for the meter to sit comfortably healthy on your loudest expected moment, with a bit of headroom rather than constantly kissing the ceiling. If you're recording a one-shot with threshold recording, test with a quiet pass first to make sure you're not accidentally cutting off the very start of the sound — a clipped attack is one of the most common early mistakes, and it's easily avoided by testing before you commit.
Getting that first MPC sampler recording onto a pad
Once it's recorded and saved, you'll want to hear it back under your fingers. A fresh sample can go onto a pad in a few basic ways: as a straightforward one-shot that plays whenever you hit the pad, as part of a simple drum program alongside other sounds, or pitched across several pads if it's a melodic or tonal sound you want to play like an instrument. Start with a one-shot. It's the simplest option, and it's the fastest way to feel like you've actually made something.
Your first small MPC sampler wins
- Record one clean sample and get it playing reliably from a single pad.
- Trim any silence from the start and end so the pad triggers instantly, with no awkward gap.
- Try recording the same source twice, once quiet and once loud, to hear how gain staging changes the result.
- Record a short pad performance, just a few hits in time, before worrying about a full pattern.
None of this needs to sound like a finished beat yet. The goal is simply getting comfortable with the record-trim-play loop before you add chopping, sequencing or effects on top.
What to leave for later
Resampling, time-stretching, warping, Note Repeat and full song arrangement are all genuinely useful, and none of them need to happen in your first week. Piling all of it on at once tends to overwhelm rather than teach. Get comfortable recording a clean sample and triggering it confidently from a pad first — the rest of the MPC sampler workflow will make a lot more sense once that foundation actually feels natural.
Where to go once you're comfortable
Our complete guide to MPC samplers explains the fuller workflow, including chopping and sequencing, once you're ready to move past a single pad. If you're still deciding what to buy, our buyer's guide and our guide by price tier can help, and it's worth reading our list of common mistakes to avoid once you've got your first few sessions under your belt.
The bottom line
One clean sample, gain set sensibly, sitting confidently on one pad — that's a genuine milestone, not a small one. Everything else an MPC sampler can do builds outward from that same basic loop, so there's no rush to run before you can comfortably walk.



Comments