


Mpc Sample article
Mpc Sample for Beginners: A Complete Guide
One sound, eight steps, ten minutes — here's how to make your first playable beat on the MPC Sample without feeling overwhelmed.
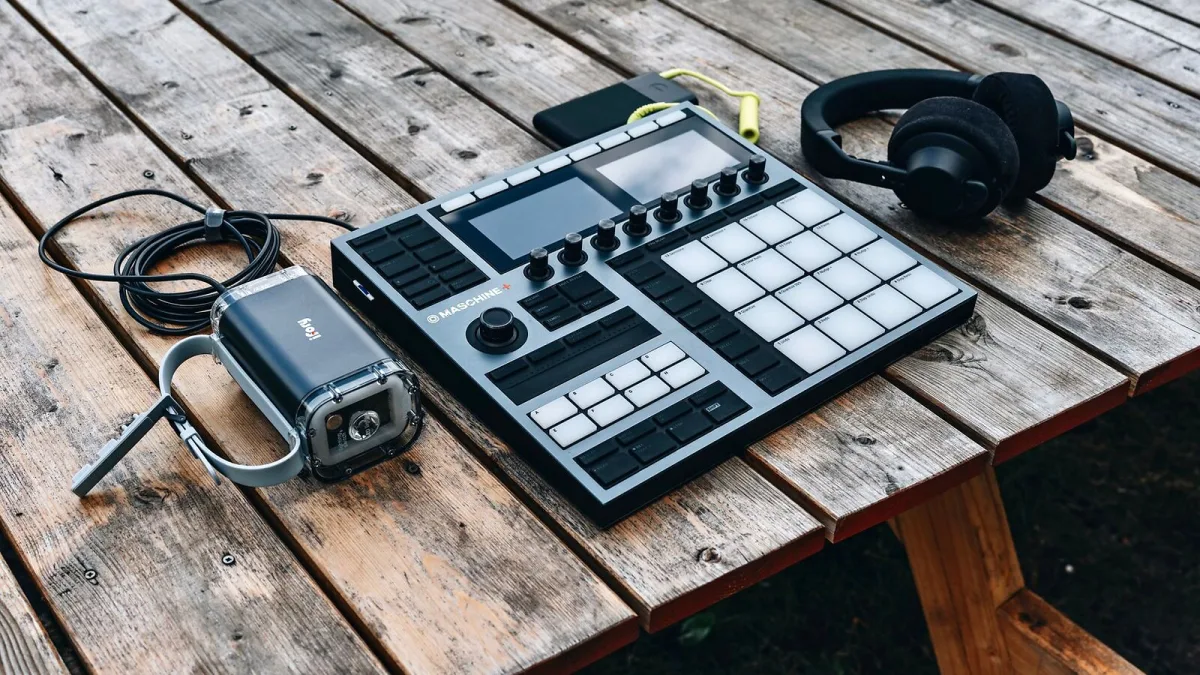
If the pads, menus and technical vocabulary around the Akai MPC Sample feel like a lot right now, take a breath — you don't need to understand everything on day one. This guide walks through exactly one thing properly: turning a single recording into your first playable, sequenced beat, step by step.
Before You Touch a Pad
You don't need a perfect recording, a big sample library or any prior sequencing experience to get started. What you do need is one short sound — a clap, a spoken word, a bit of rhythm you tap out on a table — and about ten minutes without interruptions. Everything below builds from that one sound.
A Few Words You'll See Everywhere
Two terms come up constantly on the MPC Sample and are worth knowing before you start. A one-shot is a single, short sound — a drum hit, a clap, a vocal stab — assigned to one pad. Chopping means dividing a longer recording into sections and spreading those sections across several pads, so you can play them back in any order. Your first project will use both.
Your First Sample, Step by Step
Here's the whole process, condensed down to what actually matters for a first attempt:
- Set your project tempo first if you already know roughly how fast you want the beat to feel — it's easier to fix this early than after you've built something around it.
- Record your sound using the built-in microphone, or import one through the stereo inputs or USB-C connection.
- Trim the start and end so there's no dead air before or after the sound itself — this alone makes a huge difference to how tight a beat feels.
- Check the recording level and adjust the gain if it sounds too quiet or shows signs of clipping.
- Chop it if it's a longer recording, either manually or using Instant Sample Chop, so each meaningful section lands on its own pad.
- Assign the pieces to pads in an order that makes musical sense to you — there's no wrong answer here on a first attempt.
- Adjust each pad's tuning and level so nothing sits jarringly louder or more out of tune than the rest.
- Play the pads into the sequencer to build your first pattern, using the MPC's real-time recording.
That's genuinely it for a first attempt. Everything else — effects, resampling, chromatic mapping — can wait until this basic loop feels comfortable.
What Usually Trips Up a First Try
New users most often struggle with one of two things: leaving too much silence around a sample, which makes the whole beat feel loose and late, or recording too quietly and then pushing the level up afterwards, which brings noise up with it. Both are easy to fix once you know to check for them, and neither means you've done anything wrong — they're just the two habits worth building early.
Building Confidence From Here
Once your first loop feels solid, try the same eight steps again with a different kind of sound — a melodic phrase instead of a rhythmic one, say, mapped chromatically rather than chopped into slices. Repetition with small variations is genuinely the fastest way to get comfortable with the MPC Sample, far more than reading every feature in the manual before you've made anything at all.
It's also worth resisting the urge to fix every small imperfection on your first few attempts. A pad that's slightly too loud, a loop that isn't perfectly quantised, a chop point that's a touch early — none of that matters nearly as much as finishing the loop and moving on to the next one. You'll fix those details naturally once the MPC Sample's basic workflow stops needing your full concentration.
Where to Go Next
Once the basics feel natural, MPC Sample Explained: Features, Types and Tips is a good next read, covering the full range of sample types and features in more depth. If you haven't bought one yet, MPC Sample: A Complete Buyer's Guide covers what actually matters before you commit, and Common MPC Sample Mistakes to Avoid is worth reading before your projects get more ambitious.
The Bottom Line
You genuinely don't need to know everything about the MPC Sample to make something worthwhile on it. One sound, eight steps and ten minutes will get you a real, playable first beat — and every project after that is just this same process with more confidence behind it.




Comments