


Yamaha Dm3 article
Yamaha Dm3 for Beginners: A Complete Guide
The Yamaha DM3 looks more intimidating than it is. This guide walks you through the layout, your first session setup and the habits that will make your first gig far less stressful.
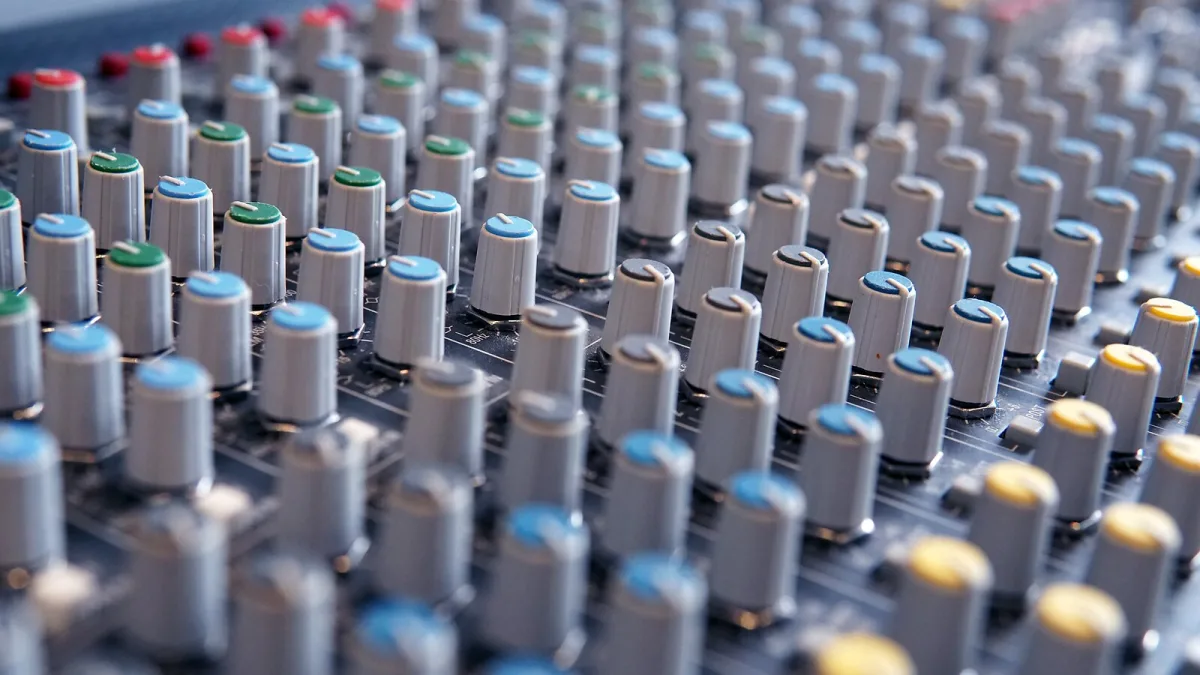
Right. You’ve got a Yamaha DM3 or you’re about to, and the 9-inch touchscreen is staring back at you like it’s waiting for you to make the first move. Don’t panic. This console is far friendlier than it looks once you understand the logic it’s built on. Here’s where to start.
Get to Grips With the Layout First
Before plugging anything in, spend ten minutes just looking at it and reading what’s on the surface. You have eight channel faders and one master fader — that’s fewer than you’d get on a 16-channel analogue desk. Don’t let that throw you. The DM3 uses channel layers: the eight faders can represent different groups of channels depending on which layer is active. You’ll switch between layers to access all 16 inputs.
The 9-inch multitouch display is your main interface for EQ, dynamics, routing and effects. The physical “Touch and Turn” encoder lets you touch a parameter on the screen and adjust it with the knob — once you’re comfortable with that combination, the workflow becomes quite natural.
Set Up Your First Session
For your first proper session with the Yamaha DM3, keep the signal flow simple:
- Patch your sources: Connect microphones and line sources to the XLR inputs on the rear panel. Inputs 1–12 are XLR; inputs 13–16 are combo XLR/TRS for instruments or balanced line sources.
- Set input gain: Use the gain control on each channel to bring the signal up to a healthy level. Watch the meters on the display — aim for peaks around −18 dBFS during a loud passage.
- Assign channels to the stereo bus: By default, all channels route to the main stereo bus. Confirm this in the routing view on the touchscreen.
- Apply EQ and dynamics if needed: Tap a channel on the display to open its processing. A gentle high-pass filter on vocals and speech channels (cutting below about 100 Hz) is a quick win for reducing low-end rumble.
- Set your main output level: Bring up the master fader and listen. Adjust individual channel levels to build a balanced mix.
- Save a scene: Once you’re happy with a basic setting, save it as a scene. This is your recall safety net for the next time you use this venue or setup.
That’s a working signal path. From there, you can explore monitor mixes, effects and routing at your own pace.
Understanding Monitor Mixes
The Yamaha DM3 has six Mix buses, which can each be used as a separate monitor mix. A monitor mix is an independent mix of sources sent to a specific output — for example, the drummer’s wedge, the vocalist’s in-ear monitors, or the guitarist’s side-fill.
To set up a monitor mix: assign a Mix bus to one of the XLR outputs, then adjust the send levels for each channel to that bus separately from the main mix. The GEQ on each Mix bus is useful for removing feedback frequencies in a monitor system — learn to use it early, because a ringing monitor is one of the most common problems at a first gig.
USB Recording: A Beginner’s Best Friend
Here’s a tip that will save you a lot of guesswork: plug the DM3 into a laptop and record your first few sessions to a DAW (digital audio workstation, i.e. music recording software). The 18-in/18-out USB interface means you can capture all 16 inputs plus the stereo mix simultaneously.
Why bother? Because playing that recording back through the DM3 — a function called a virtual soundcheck — lets you practise your mix without a band or speakers. You can tweak EQ, try different effects and explore routing without time pressure. For someone learning a new console, that’s invaluable.
Scenes: Save Everything
One of the most important habits to build on any digital mixer, including this desk, is saving scenes regularly. A scene stores your entire mix state: fader levels, EQ, dynamics, effects, routing — everything. On the DM3, scenes are straightforward to create and recall from the touchscreen.
Get into the habit of saving a “before soundcheck” scene as soon as you’ve patched up, and a “show start” scene after soundcheck. If something goes wrong during the show, you can recall a known-good state rather than rebuilding from scratch under pressure.
The DM3 vs DM3 Standard: Don’t Worry About It Yet
If you are just starting out, the most important thing to know about the Yamaha DM3 series is that both models — the Standard and the Dante model — have the same inputs, faders, buses, effects and USB recording. The only difference is Dante networking, which is an audio-over-IP system used in more advanced rigs. As a beginner, you won’t need to think about Dante until you’re working with networked stageboxes or professional installations.
Practical Tips for Your First Gig
- Arrive early. The DM3’s touchscreen workflow is fast once you know it, but takes longer when you’re learning. Give yourself time.
- Label your channels on the display. The DM3 lets you name channels. A label like “Kick” or “Lead Vox” is far easier to follow during a show than “CH 3”.
- Use the high-pass filter on every channel that doesn’t need low frequencies. Vocals, snare, guitars — filter them. It cleans up the mix noticeably.
- Don’t use too many effects at first. One reverb on vocals and a short delay if it suits the music is plenty. Effects are easy to overdo when you’re excited about having them.
- Check your firmware. Yamaha updates the DM3 regularly; V3.10 was the current release in September 2026. Updated firmware can fix bugs and add features. Do it at home, not on the morning of a gig.
You’ll Get There Quicker Than You Think
The Yamaha DM3 has a learning curve, but it’s not a steep one. The touchscreen gives you clear access to everything, the logical channel structure makes sense once you understand layers, and scene recall means your hard work is never wasted. Spend a few sessions just exploring at home and your first gig will feel much more manageable.
When you’re ready for the next step, the full features and types explainer goes deeper on the DM3’s architecture. The buyer’s guide is useful if you’re still deciding between models. And once you’re more confident, check out the common Yamaha DM3 mistakes to avoid before your first serious show.



Comments