


Yamaha Dm3 article
Common Yamaha Dm3 Mistakes to Avoid
Most Yamaha DM3 mistakes aren't about the console being difficult — they're about assumptions and overlooked habits. Here are the ones that catch engineers out most often.
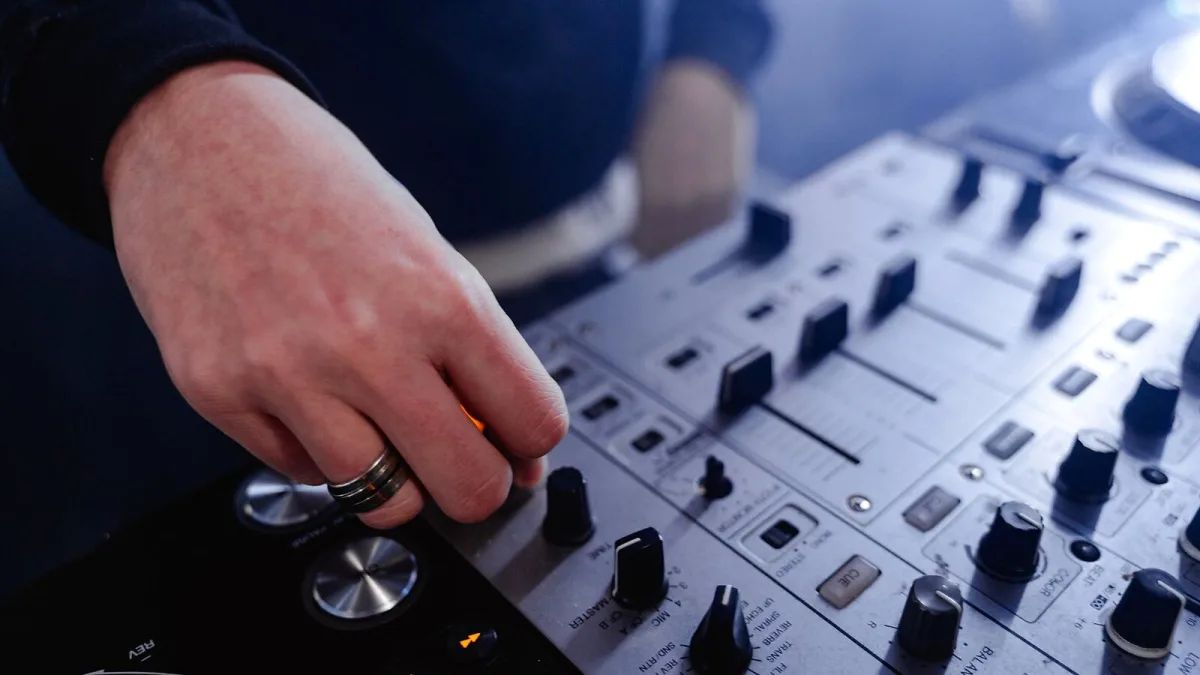
The Yamaha DM3 is a capable console, but like any digital desk, it has a few workflows that catch people out. Most of the mistakes engineers make on the DM3 aren’t because the console is difficult — they’re because of assumptions carried over from analogue mixing, or because a feature was set up once and never revisited. Here are the ones worth knowing before they cost you a show.
Not Understanding Channel Layers
The console has eight physical faders for 16 input channels. Engineers expecting a one-to-one fader-per-channel layout find the first show uncomfortable. The solution is layers, and understanding them early saves a lot of mid-show fumbling.
A channel layer maps a subset of inputs to the eight faders. Switch layers to access different groups of channels. Spend time before a show deciding which channels belong on which layer and configuring your layout deliberately. Put the channels you’ll adjust most often — lead vocal, main instrument group, effects returns — on the default layer so they’re always to hand.
Skipping the High-Pass Filter
One of the fastest ways to clean up a mix on this console is to apply a high-pass filter to every channel that doesn’t need low frequencies. Vocals, snare, guitars, keyboards — most sources don’t need anything below 80–100 Hz, and low-frequency buildup from stage noise, handling noise and room acoustics muddies the mix without you always realising why.
The Yamaha DM3 has a gate, compressor and four-band parametric EQ on every channel. The high-pass filter is built in. Using it by default is a habit worth building from the start.
Not Saving Scenes Before Soundcheck
Digital consoles exist to be recalled, and the Yamaha DM3 handles scenes well — but only if you actually save them. A common mistake is to build a solid soundcheck setting and then lose it when a channel level is accidentally changed, a scene is recalled without first saving, or the console is reset.
Develop a simple scene discipline: save an “after patch, before soundcheck” scene as your safety net, then save a “show start” scene once soundcheck is complete. If anything goes wrong during the show, you have a known-good state to return to. It takes 10 seconds and it’s one of the most reliable habits in live digital mixing.
Forgetting the Dante Firmware Update
On the Dante-equipped Yamaha DM3, there are two separate firmware components: the main console firmware and the Dante module firmware. Yamaha is explicit that both need updating when a new firmware release is issued. Engineers who update the console firmware and miss the Dante firmware can end up with network issues, incompatibilities with other Dante devices on the same network, or unexpected behaviour.
When Yamaha releases a firmware update — V3.10 was current as of September 2026 — check the release notes carefully. If a Dante firmware update is included or recommended, do it at the same time as the console update, well before a production date.
Running Dante on an Unmanaged or Shared Network
Dante is robust audio-over-IP networking, but it works best on a properly configured, dedicated network. A common mistake with the Dante model is connecting it to an unmanaged office or venue switch alongside general internet traffic. Under load or at inopportune moments, this can cause audio dropouts or latency spikes.
For reliable Dante performance, use a dedicated gigabit Ethernet network. Configure your switch correctly — or if you’re not certain how, get advice from someone who is. The audio quality and stability of the Dante model depend on the network, not just the console.
Ignoring the GEQ on Monitor Buses
The Yamaha DM3 provides a graphic EQ on each of the six Mix buses and the stereo output. Monitor engineers who don’t use the GEQ to ring out monitors before the show are leaving themselves exposed. A monitor that’s close to feedback throughout a performance is a problem waiting to happen — and it doesn’t need to be.
At soundcheck, send a signal through each monitor mix, bring up the level carefully and use the GEQ to pull down frequencies that ring. It’s not a glamorous process, but it keeps monitors stable and performers happy.
Not Labelling Channels
Channel labels can be applied to every strip on the touchscreen. An unlabelled channel strip showing only a number is easy to manage in rehearsal with a single band you know well. It’s considerably less easy at a show with multiple acts, a deputy engineer, or a guest input list you didn’t build yourself.
Label channels as part of your standard setup routine. It takes two minutes, it makes the session easier to read at a glance, and it avoids the specific indignity of bringing up the wrong channel at the worst possible moment.
Using 96 kHz Without Checking the Chain
The Yamaha DM3 supports 96 kHz operation, which is a genuine advantage for high-quality recording or high-resolution playback. The mistake is setting the console to 96 kHz without confirming that everything else in the signal chain — the computer, the DAW, the USB driver and any connected digital equipment — supports and is configured for the same sample rate. A mismatched sample rate between devices typically produces no audio or heavily distorted output.
For most live work, 48 kHz is the reliable default. Only switch to 96 kHz when you have a specific reason and have confirmed compatibility across the entire chain.
One More Thing
The most persistent mistake is not reading the manual. The DM3 owner’s manual is thorough and well-organised. Spending an evening with it before your first serious use will save you far more time than it costs.
For the full picture of what the Yamaha DM3 does, read the features and types explainer. For buying decisions, the buyer’s guide covers the key choices. And if you’re still learning the basics, the beginner’s guide is a good place to start.



Comments