


Kick Drum article
Kick Drum for Beginners: A Complete Guide
Setting up, tuning, technique, damping — here's everything a beginner needs to get started with the kick drum, step by step.
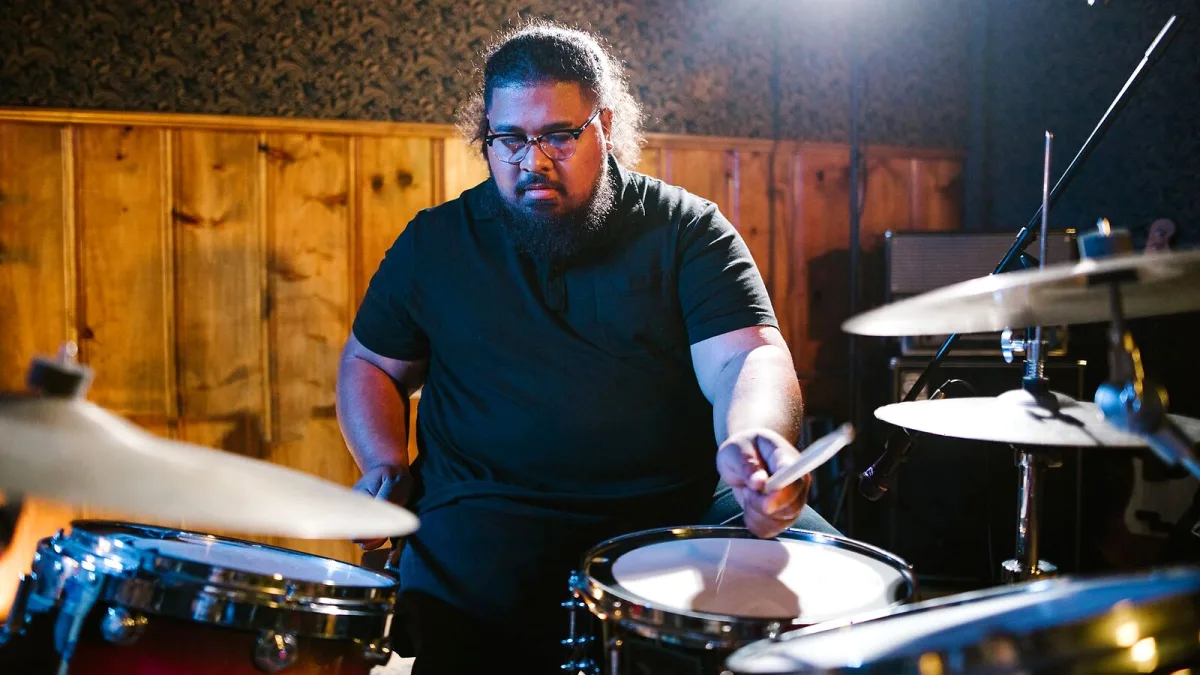
So you've got a kick drum — or you're about to — and you want to know how to actually use it. Good. This is the no-nonsense guide: how it works, how to set it up, how to tune it and how to hit it right. One step at a time.
How the Kick Drum Works
It is the large drum at the bottom of your kit, played with your foot. You press the pedal with your right foot (unless you're left-handed), and the beater — a padded or hard-tipped striker — hits the front of the drum. The drum vibrates, the air moves, and you get the low thump that underpins every beat.
The pedal connects to the beater via a chain, belt or direct linkage. When you press the footboard, the mechanism pulls the beater into the head and then returns it. The spring controls how quickly it comes back. That return speed is part of what makes playing fast comfortable or difficult.
Setting Up Your Kit
Before you play, a few things need to be right:
- Position the drum. It sits on the floor. The spurs — metal feet at the front corners — should be angled into the floor to stop the drum creeping forward as you play. Adjust them until they grip.
- Mount the pedal. Attach the pedal clamp to the hoop at the bottom of the batter side. Tighten it firmly. A loose pedal clamp will move during playing.
- Adjust the pedal height. The footboard angle and spring tension should feel natural — enough tension to return the beater quickly, not so much that every stroke feels like a fight. Adjust the spring tension with the knob on the side of the pedal.
- Set the beater angle. The beater should strike the head near the centre. Adjust the beater rod height so the impact point sits where the head is reinforced (most kick heads have a patch there).
- Check the drum is level. The drum should sit flat and stable. Uneven floor? Use adjustable feet or a drum mat under the whole kit.
Basic Technique
There are two main techniques: heel-up and heel-down.
- Heel-down: the heel rests on the footboard and you press with your whole foot. This gives good control for quieter, more precise playing. Common in jazz and at lower volumes.
- Heel-up: the heel lifts off the footboard and you drive from the ball of the foot or the entire leg. This produces more power and allows faster playing. Preferred in rock and louder contexts.
Most beginners start with heel-down because it's easier to control. As you develop, experiment with heel-up — it unlocks more speed and dynamic range.
The key is consistency. Practice slow, deliberate strokes before trying anything fast. A controlled hit at 60 bpm is more useful than a sloppy one at 120.
Tuning the Drum
Don't ignore this step. A badly tuned drum sounds unpleasant regardless of what you do to it later.
- Seat the head. Lay it flat on the shell and press gently on the centre to settle it before tightening.
- Finger-tighten all the lugs evenly around the drum.
- Tighten in a cross-pattern, a half-turn at a time, working opposite pairs of lugs. This keeps the head even.
- Check the pitch at each lug. Press lightly on the head near each lug and tap gently — all lugs should produce the same pitch. Adjust any that are higher or lower.
- Assess the overall sound. Lower tension gives more body and sustain; higher tension gives more attack and definition.
Add damping — a pillow, foam or a commercial muffling ring — only after you've tuned the drum properly. Damping should be a finishing touch, not a way to cover up poor tuning.
Damping: How Much Is Too Much
Overdamping is one of the most common beginner mistakes. A drum stuffed full of blankets sounds dead and thuddy — there's no life or resonance to it. The goal is control, not silence.
Start with less than you think you need. A single small pillow touching both heads slightly is enough for most applications. Listen to the result before adding more. You can always take it further, but you can't undo the habit of deadening every drum you ever touch.
Playing in Time: the Foundation
The kick drum's job is to anchor the music. In most rock and pop, it lands on beats one and three. In funk and R&B, the placement is more varied — the kick appears on unexpected beats, creating the groove. In electronic and dance music, it usually hits every beat in a four-beat bar.
Practice with a metronome. Start at a tempo where you can play cleanly and accurately, then gradually increase. A steady, well-placed beat is worth more than a technically impressive but inconsistent one.
Connecting to the Bass Guitar
In a band or recording context, the kick drum and bass guitar share the low-frequency range. Listen to how they interact. If they both peak at the same frequency and hit at the same moment, the low end becomes muddy. If they interlock — the kick fills gaps in the bass line, or the bass holds notes while the kick punctuates — the groove clicks into place. Great rhythm sections are built on exactly this relationship.
You're Ready to Play
That's the foundation. Set it up properly, tune it properly, hit it with intention, and listen to how it locks in with everything else. The kick drum is deceptively simple at first and endlessly deep as you develop.
Want to understand the technical details in more depth? See our ultimate kick drum guide. Looking at buying your first kit? The kick drum buyer's guide has everything you need.



Comments