


Kick Drum article
Common Kick Drum Mistakes to Avoid
Most kick drum problems come from the same predictable mistakes. Here's the honest list and how to fix every one of them.
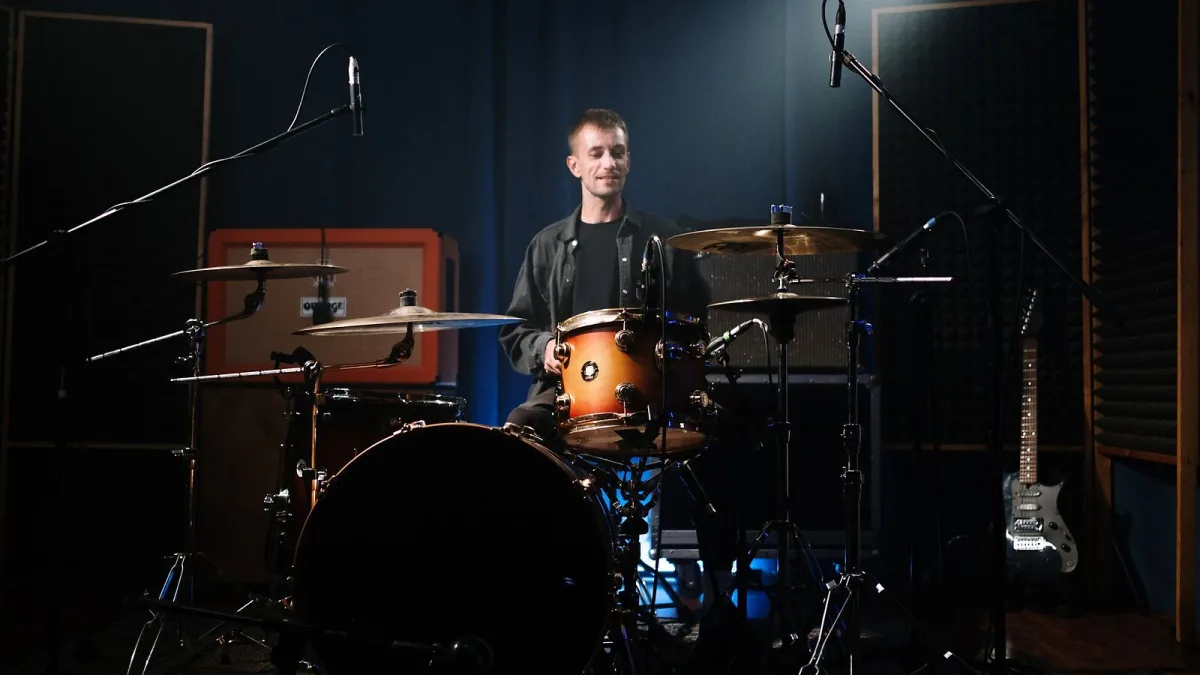
Most kick drum problems come down to a handful of predictable mistakes. The good news: once you know what they are, they're straightforward to fix. Here's the honest rundown — for drummers, producers and engineers alike.
Mistake 1: Over-Damping the Drum
This is the most common one, and it produces that flat, dead thud you hear from beginners who've been told that the kick needs to be tight and controlled. It does need those things — but not at the cost of all resonance. A drum stuffed entirely with a duvet and two pillows sounds lifeless. There's no body, no sustain, no sense that the drum is breathing.
Start with a single small pillow or piece of foam just touching both heads. Listen to the result. Add more only if the sustain is genuinely causing problems. You can always add more damping; you can't easily undo the habit of deadening everything.
Mistake 2: Skipping the Tuning
Plenty of drummers go straight from unpacking a drum to applying damping without ever properly tuning the heads. The result is usually a low-pitched blob of sound with no definition. EQ and compression can't fix a drum that's unevenly tensioned or poorly seated.
Spend five minutes seating the head properly, tightening in a cross-pattern and checking that all lugs are at equal tension. A well-tuned drum with sensible damping will nearly always sound better than a carelessly tensioned one with extensive processing.
Mistake 3: Wrong Beater for the Genre
The beater material shapes the attack character of every stroke. Felt beaters produce a rounder, softer transient. Hard plastic, wood or composite beaters create a sharper, more defined click. The mistake is using a felt beater in a dense metal production and wondering why the kick disappears — or using a hard plastic beater in a jazz context where it feels and sounds intrusive.
Many two-sided beaters let you flip between felt and hard in seconds. Experiment. The right beater for the genre makes the job of recording and mixing considerably easier.
Mistake 4: Microphone Placement Without Phase Awareness
Using two microphones on the drum is common and useful — one inside for attack, one outside for body. The mistake is not checking phase and polarity compatibility between them. Two microphones pointing at the same source from different distances will be at different points in the wave cycle when they're combined. The result can range from a collapsed, thin sound to complete cancellation of certain frequencies.
Before committing to a miked sound, check the combined result in mono. Flip the polarity of one microphone and listen. Use whichever sounds more solid, full and controlled. This step takes less than a minute and frequently reveals a significant problem that processing won't solve.
Mistake 5: Applying EQ Recipes
The internet is full of drum EQ guides that suggest specific frequencies to boost and cut. These are starting points at best, and they can be actively misleading if applied without listening. A boost at 80 Hz on one drum might be exactly right; on another it might push an already boomy instrument into a low-end mess. A cut at 400 Hz might open up one recording and strip the life from another.
The correct approach is to listen first, identify what the drum actually needs, and then act. Boost a narrow band and sweep it through the problem area to find it. Cut before boosting. Make decisions based on the arrangement as a whole, not the isolated drum channel. According to ProSoundWeb, "the best way to accentuate the lows and highs is to remove some low-mids" — subtraction first.
Mistake 6: Ignoring the Kick-Bass Relationship
The bass drum and bass guitar or bass synthesizer share the low-frequency range of the mix. When they're both emphasising the same fundamental at the same moment without any frequency or dynamic differentiation, the low end becomes congested and unclear. This is especially problematic in dance, electronic and hip-hop production, where the sub-bass frequencies are critical.
Solutions include choosing complementary fundamentals, using sidechain compression to duck the bass when the kick hits, applying dynamic EQ on the bass, or shortening the bass envelope. The relationship between these two instruments is a mixing decision, not just an engineering problem.
Mistake 7: Too Much Compression, Too Fast an Attack
Compression on a kick drum is useful for stabilising dynamics and increasing perceived punch, but the most common error is setting the attack time too fast. A fast attack clamps down on the very transient that gives the drum its impact. The result is a kick that sounds smaller, softer and less immediate — exactly the opposite of what compression is usually intended to achieve.
Set a slightly slower attack — 9–15 ms is a common starting range — to let the initial beater transient through before gain reduction engages. The release should recover in time for the next hit without audible pumping. Set by ear against the tempo of the track.
Mistake 8: Recording a Poorly Prepared Drum
Loose hardware rattles. Squeaky pedals add unwanted artifacts. Worn heads respond inconsistently. A pedal squeak that sounds minor in a room will be captured clearly by a microphone placed 20 cm from the batter head. Guitar Center's recording guidance is direct on this: check tuning, loose hardware, rattles and pedal mechanics before placing a single microphone.
The preparation step is not glamorous, but it saves hours of post-production work. A well-prepared kick drum, in a sensible recording position, with appropriate microphone choices, needs far less processing than one that was recorded carelessly.
The Through Line
Most of these mistakes share a common root: reaching for processing before addressing the physical source. Tune the drum, prepare it properly, mic it thoughtfully, and you'll need less EQ, less compression and less of everything else. That's not just good drum technique — it's good engineering practice at every stage.
For the full technical foundation, see our ultimate kick drum guide. If you're buying, our best kick drums for the money breaks down the value at every level.




Comments