


Vinyl Record Cleaning Machines article
Vinyl Record Cleaning Machines for Beginners: A Complete Guide
Nervous about your first cleaning session? Here's why it's almost entirely unfounded, and the three things that actually matter.
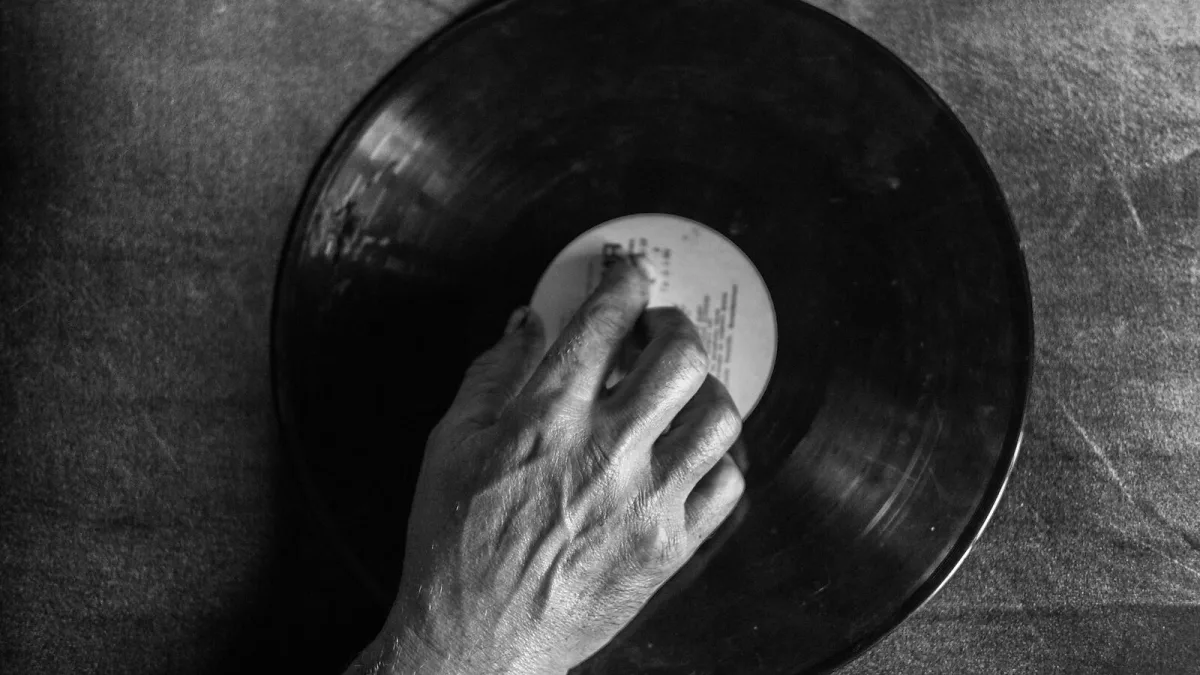
There's a particular kind of nervousness that comes with putting your first record through a record cleaning machine — a sense that you're one wrong move away from ruining something you actually care about. I understand it completely, and I'm happy to tell you it's almost entirely unfounded once you understand what you're actually doing and why.
Why a Record Cleaning Machine Isn't as Risky as It Feels
The fluids and processes involved are designed specifically for vinyl, and the whole point of any decent machine is to remove contamination without harming the groove underneath it. The nervousness usually comes from not understanding what's happening — once you know the fluid is loosening dirt rather than attacking the vinyl itself, and that the machine is built to remove that fluid safely, the whole process starts to feel a lot less like a gamble.
What Actually Needs a Record Cleaning Machine
You might assume this is only for genuinely filthy second-hand finds, but that's not quite right. Even a factory-fresh record can carry fingerprints, handling marks and inner-sleeve lint. Second-hand records vary enormously — some need real attention, others just a gentle pass. Learning to tell the difference by eye, before you even start, is one of the first useful skills you'll pick up.
The Three Things That Actually Matter
Forget every small detail for a moment and focus on these three things, because they cover almost everything that can genuinely go wrong:
- Protect the label. Keep water and cleaning fluid away from it every single time — this is the one part of the record that fluid can genuinely damage.
- Dry it properly. Never sleeve a damp record. If you remember nothing else, remember this.
- Use a clean sleeve afterwards. There's no point removing contamination just to put the record straight back into the source of it.
Everything beyond those three is refinement. Get those right from day one, and you're already doing this properly.
Your First Session: What to Actually Expect
Pick an ordinary record for your first attempt — something you like well enough to care about, but not your most treasured pressing. Go slowly. Read your record cleaning machine's instructions properly rather than assuming you already know how it works, because small details vary between manual, vacuum and ultrasonic systems. The first record will probably take longer than it should; that's completely normal, and it gets quicker the moment the process stops feeling unfamiliar.
Common Beginner Worries, Answered Honestly
"What if I damage the label?"
This is exactly what the clamp or label protector is for. Use it every time, and this genuinely stops being a concern.
"What if the record still sounds dirty afterwards?"
Sometimes cleaning improves things dramatically. Sometimes the noise you're hearing is actual groove wear or a pressing defect that no amount of cleaning will touch — and that's a limitation of the record, not a sign you did something wrong.
"Am I using too much or too little fluid?"
Follow the record cleaning machine's or fluid's instructions rather than guessing. Too much surfactant can leave its own residue, so more is genuinely not always better here.
A Little Encouragement
I've watched plenty of people hover nervously over their very first cleaning session, convinced they'd somehow ruin a record they loved. None of them did. A record cleaning machine used sensibly, following its own instructions, is a genuinely low-risk process — the biggest danger is overthinking it into something more complicated than it actually is.
Building Confidence From Here
Once your first few records feel routine rather than nerve-wracking, our full step-by-step setup guide is worth working through properly, covering the complete routine in more technical depth. If you're still deciding which type of machine to buy in the first place, our buyer's guide covers that decision properly too.
Bottom Line
Every collector who now cleans records without a second thought was nervous the first time too. Protect the label, dry thoroughly, sleeve cleanly, and go slowly on your first attempt — the confidence comes from doing it, not from reading about it, and it comes faster than you'd expect.




Comments