


Vinyl Record Cleaning Machines guide
How to Set Up and Use Vinyl Record Cleaning Machines
The machine matters less than the routine around it. Here's the exact step-by-step process worth following every single time.
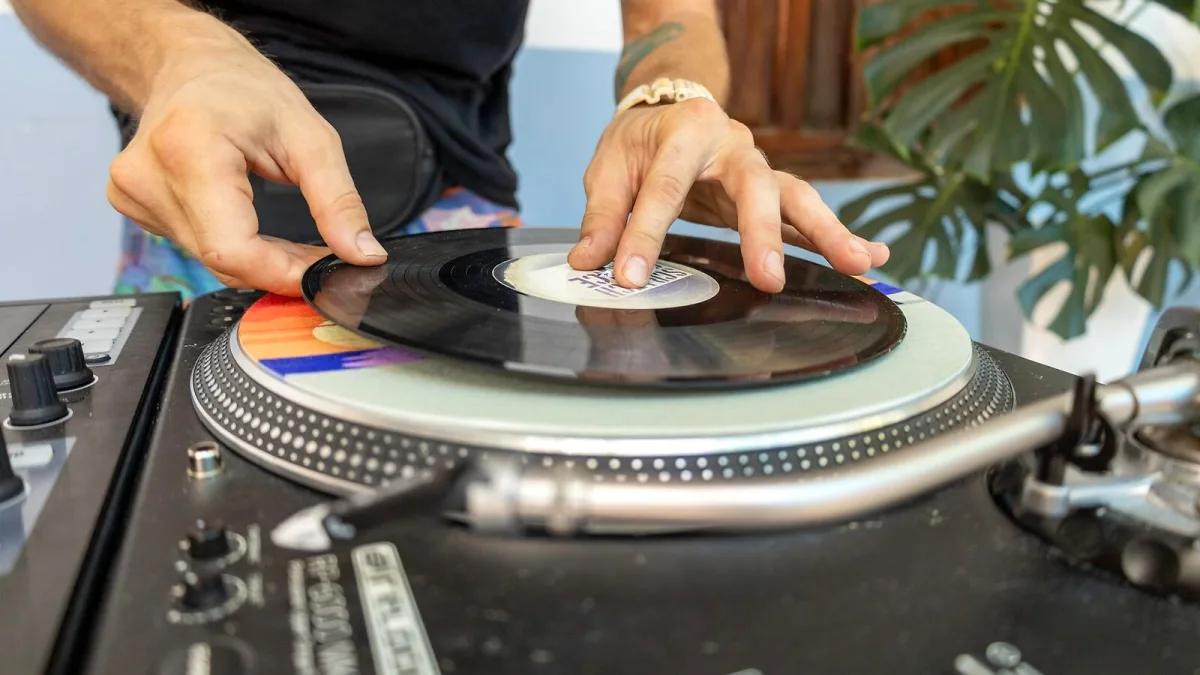
I've cleaned more records than I could honestly count over the years, and the thing nobody tells you at the start is that your record cleaning machine matters less than the routine around it. Get the process right, and even a modest manual washer will treat your collection properly. Get it wrong, and an expensive ultrasonic unit won't save you. Here's the process I'd hand anyone setting one up for the first time.
Before You Clean a Single Record on Your Cleaning Machine
Have everything ready before the first record goes anywhere near fluid: the machine itself, the correct cleaning fluid for your system (or a verified compatible formula), clean drying cloths or the machine's own drying mechanism, and a stack of fresh inner sleeves. Cleaning a record and then sliding it back into its old, contaminated sleeve rather defeats the purpose.
The Full Cleaning Routine, Step by Step
- Inspect the record first. Separate anything visibly mouldy, greasy or heavily contaminated from records that are only lightly soiled — they may need different handling.
- Remove loose dust with a proper record brush. Do this before any wet cleaning, so you're not grinding loose particles further into the groove.
- Protect the label. Use your machine's clamp or a dedicated label protector every time — water or fluid reaching the label can cause staining, swelling or adhesive failure.
- Use the manufacturer's fluid, or a verified compatible one. Excess surfactant or an unsuitable additive can leave its own residue behind, undoing the whole point of the exercise.
- Run the record through the machine's normal cycle. Don't rush this step or improvise a shortcut on your first few attempts.
- Rinse if your system or fluid calls for it. A purified-water rinse afterwards can meaningfully reduce leftover residue, especially after a stronger cleaning solution.
- Dry the record completely. Never put a damp record back into a sleeve — trapped moisture causes its own problems.
- Sleeve it in a clean inner sleeve. Reusing an old, dirty one just reintroduces the contamination you've spent the last few minutes removing.
- Store it vertically, in a clean outer sleeve, away from direct heat and sunlight.
If You're Using a Vacuum Machine
Technique matters more here than with any other type. Make sure the vacuum slot sits properly against the record surface — poor contact means poor fluid removal. Don't over-vacuum; running it for too long can actually increase static rather than reduce it. Keep your cleaning brushes dedicated to the correct fluid, and never let contaminated fluid recirculate back onto a record.
If You're Using an Ultrasonic Machine
The bath itself needs attention, not just the record. Check fluid formulation, temperature and record spacing according to your machine's instructions, and change or filter the bath once it's visibly dirty rather than letting it keep working past its useful life. Drying matters just as much as the cleaning stage — residual liquid left on the surface can redeposit dissolved contamination or leave its own mineral trace behind.
A Note on Pre-Cleaning Before the Record Cleaning Machine
For genuinely dirty or valuable records, a lot of experienced collectors run a manual or vacuum pass first, before finishing on an ultrasonic machine. It's more time and more fluid, but it spares your main ultrasonic bath from heavy contamination and generally gives a more thorough result on records that need real attention.
Common Setup Mistakes Worth Avoiding
- Using ordinary tap water without considering mineral residue.
- Treating a dry-brush pass as a substitute for proper wet cleaning.
- Cleaning shellac 78s with the same procedure as modern vinyl — check compatibility first.
- Assuming reduced surface noise afterwards means physical damage has somehow been repaired.
Where to Go From Here
If you're setting one of these up for the very first time and want a gentler, more encouraging walkthrough, our beginner's guide is worth reading alongside this one, and if you're still deciding which machine to buy, our buyer's guide covers that ground properly.
Bottom Line
A record cleaning machine only performs as well as the routine behind it. Inspect, dust, protect the label, clean, rinse where needed, dry fully, and always finish with a clean sleeve. Follow that same sequence every time, and whatever machine you own will keep treating your collection properly for years.




Comments