


Vinyl Cleaner Kit guide
How to Set Up and Use Vinyl Cleaner Kit
Oliver Thompson walks through his own record-cleaning setup, from clearing the table to a full wet-clean routine and drying a record properly before it goes back in its sleeve.
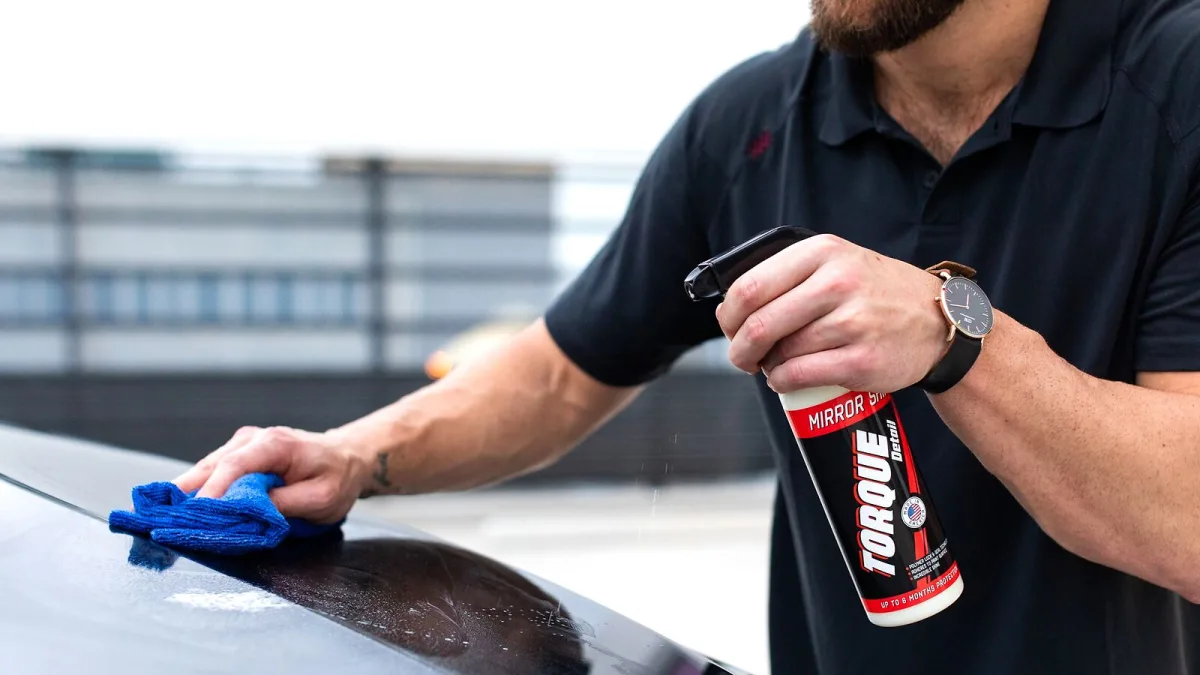
Setting up a vinyl cleaner kit properly the first time is the difference between a five-minute routine you'll actually keep doing and a faff you abandon after two records. I've refined my own set-up over more years of crate-digging than I'll admit to, so here's exactly how I do it — from clearing a bit of table space to getting a record bone dry and back in its sleeve.
What you'll need on the table
- A carbon-fibre or conductive dry brush
- A record-specific wet-cleaning fluid
- A velvet or microfibre application pad
- A separate, clean microfibre cloth kept only for drying
- A label protector or clamp, if your kit includes one
- A clean, flat, stable surface — a table, not your lap
Lay everything out before you start. Half the point of a proper setup is not having to go hunting for the fluid bottle with a wet record in your hand.
Setting up your cleaning space
Pick a spot away from direct sunlight and away from anything that sheds fibres — a carpeted floor is fine to stand on, not to work on. Wipe the surface itself down first; there's no point cleaning a record onto a dusty table. If your vinyl cleaner kit came with a support stand or a drying rack, set it up within reach now, not after the record's already wet.
Step by step: dry cleaning before every play
This is the quick routine, worth doing every single time a record comes out of its sleeve:
- Place the record on the turntable platter.
- Hold the carbon-fibre brush lightly across the playing surface, bristles flat rather than digging in.
- Let the record rotate through one or two full turns under the brush.
- Sweep the brush outward off the edge of the record, carrying the dust away rather than pushing it back into the groove.
- Give the brush itself a clean before you put it away — a dirty brush just redistributes what it's meant to remove.
Step by step: the full wet clean
This is the one to reach for on fingerprints, visible residue or anything that's been sitting in a charity shop crate for a decade:
- Take the record out of its sleeve, handling it only by the edge and the label.
- Set it on your cleaning surface or in the kit's support, and fit the label protector if you have one.
- Apply only the amount of fluid the maker specifies — a light, even coat, not a soaking.
- Work the fluid along the groove direction with your pad, never side to side or in circles.
- Give it a few seconds to loosen the grime, then lift the dirty fluid off with a clean section of the pad.
- Switch to your dedicated drying cloth and remove every trace of moisture before the record touches anything else.
- Stand the record on a rack, or lean it safely, until it's completely dry to the touch.
- Slide it into a clean inner sleeve — a fresh one if the old sleeve was shedding paper fibres.
Drying properly matters more than people think
It's tempting to rush this bit, but leftover moisture is where things go wrong. A damp record picks up fresh dust immediately, can transfer residue to the stylus on its first play, and — if it goes straight back into its sleeve — can leave that sleeve compromised too. Give it the time it needs. A rack helps, but even leaning it carefully against something clean and letting it air for a few extra minutes costs you nothing.
Keep your stylus routine separate
Don't fold stylus cleaning into the same setup. A vinyl cleaner kit deals with the record; your stylus needs its own dedicated cleaner, applied the other way round — fluid on the tool, stylus facing upward, worked gently from back to front. Mixing the two routines, or using record fluid anywhere near the cartridge, is asking for trouble.
Looking after the kit itself
A vinyl cleaner kit that's never cleaned stops doing its job properly:
| Item | Care needed |
|---|---|
| Carbon-fibre brush | Clean the bristles regularly; a clogged brush spreads dust instead of lifting it |
| Velvet or microfibre pad | Wash it separately from other laundry, away from fabric softener |
| Drying cloth | Keep it strictly for drying — never use it to apply fluid |
| Fluid bottle | Store with the lid sealed, away from direct heat |
The bottom line
A good setup is mostly about sequence: dry brush before every play, a proper wet clean when a record needs it, thorough drying before anything gets sleeved, and a stylus routine that never overlaps with the record one. If you haven't picked your kit yet, our buyer's guide to vinyl cleaner kits will help, and our common mistakes to avoid is worth a read before your first wet clean.





Comments