


Audio Technica Turntable article
Audio Technica Turntable for Beginners: A Complete Guide
Unsure which switch does what on your new deck? Here's the calm, step-by-step guide to your first Audio-Technica turntable, from unboxing to your first record.
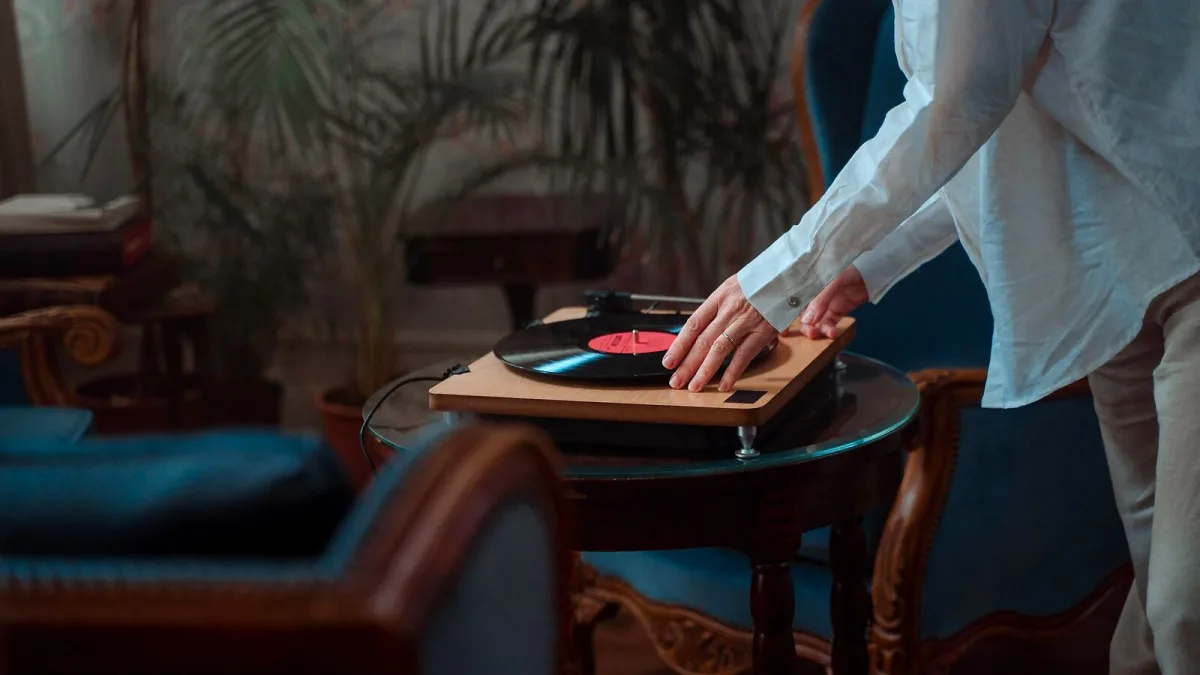
I still remember unboxing my first turntable, laying the belt in wrong, and being convinced the thing was broken. It wasn't — I just hadn't been shown the handful of small steps that make it all click. If you've just brought home your first Audio-Technica turntable, or you're deciding whether to, this guide is the reassuring, no-jargon version: how to set it up properly, what to check first, and the little worries every beginner has that turn out to be nothing at all.
Don't Overthink Your First Turntable
The good news is that Audio-Technica makes this decision easy for a first-timer. A fully automatic, belt-drive model — the AT-LP60X is the classic example — starts, plays and stops the record at the touch of a button, with a built-in cartridge and preamp you never need to think about. If you'd like to record your old records onto a computer one day, the USB version of that same simple design does the job without adding any real complication. Save the manual, direct-drive decks for later, once you know what you actually enjoy about the hobby.
Setting Up Your Audio-Technica Turntable, Step by Step
Setup takes about ten minutes, and none of it is difficult once you've done it once.
- Choose a stable, level surface. Avoid anything wobbly or close to loudspeakers, which can cause vibration.
- Check the platter is level. A small spirit level app or a real bubble level will show you; adjust the little feet underneath if it isn't.
- Fit the belt correctly, if your model has one. It should loop cleanly around the motor pulley and the underside of the platter, without twists.
- Place the platter and slipmat, then remove the stylus guard. Keep the little plastic guard safe for storage later — don't throw it away.
- Set the tonearm counterweight and anti-skate, if your model asks for it. Fully automatic entry-level decks usually arrive pre-set, so you can often skip this step entirely.
- Choose PHONO or LINE on the output switch. PHONO for a dedicated phono input on an amplifier; LINE for AUX inputs or powered speakers.
- Select the correct speed, 33⅓ or 45 rpm. Automatic models usually set this for you once you tell them the record size.
- Lower the tonearm and enjoy the record. On an automatic deck, one button does the rest.
That's genuinely the whole process. Do it once carefully and every record afterwards takes seconds.
Making the Right Connection Without a Manual
The one setting that trips up almost every beginner is the PHONO/LINE switch, usually a small toggle on the back of the turntable.
- Plugging into an amplifier's dedicated phono input? Set the switch to PHONO.
- Plugging into an AUX socket, a soundbar, or powered speakers? Set the switch to LINE.
Get it the wrong way round and you'll assume something's broken — PHONO into a LINE input sounds far too quiet and thin, while LINE into a PHONO input can sound distorted. It's almost never the turntable at fault; it's just the switch.
Little Worries Every Beginner Has
"Is it normal to hear a faint hum?"
A very quiet hum is common, especially if a cable runs near a power lead. A louder buzz usually means a loose ground wire connection on the amplifier's phono terminal, if it has one.
"The record sounds quiet even on PHONO."
Double-check the amplifier's volume and input selection first — it's the most common culprit, far more often than the turntable itself.
"Should I be worried about the stylus?"
Only if it's visibly worn, bent, or making records sound distorted or crackly. Otherwise, leave it alone; it's doing exactly what it's meant to.
"My record skips in the same spot."
That's almost always the record, not the deck — check for dust, a scratch, or slight warping before assuming a fault.
Simple Habits That Keep Your Records Happy
You don't need an elaborate routine, just a few sensible habits from the start:
- Handle records by the edges and label, never the playing surface.
- Keep the dust cover down when the turntable isn't in use.
- Store records upright, not stacked flat, to avoid warping.
- Wipe the stylus gently with a proper brush, never your finger.
- Replace the stylus as soon as it looks worn — a tired stylus can damage the very records you're trying to protect.
When You're Ready for More
Once you've had your Audio-Technica turntable running for a while, you might start wondering about direct drive, removable cartridges or DJ-style handling. That's a good sign you're ready to look further afield — our overview of the full Audio-Technica turntable range explains what those extra features actually do, and the buyer's guide is there for when you're weighing up an upgrade.
You've Got This
Every vinyl enthusiast you'll ever meet, myself included, started out exactly where you are now: unsure which switch does what, and slightly nervous about the needle. Follow the steps above, be gentle with the stylus, and you'll be enjoying records properly within the hour — no manual required.



Comments