


Mic to XLR article
Mic to Xlr for Beginners: A Complete Guide
A relaxed, no-jargon start for anyone new to this: what you actually need, and a gentle walkthrough of your very first connection.
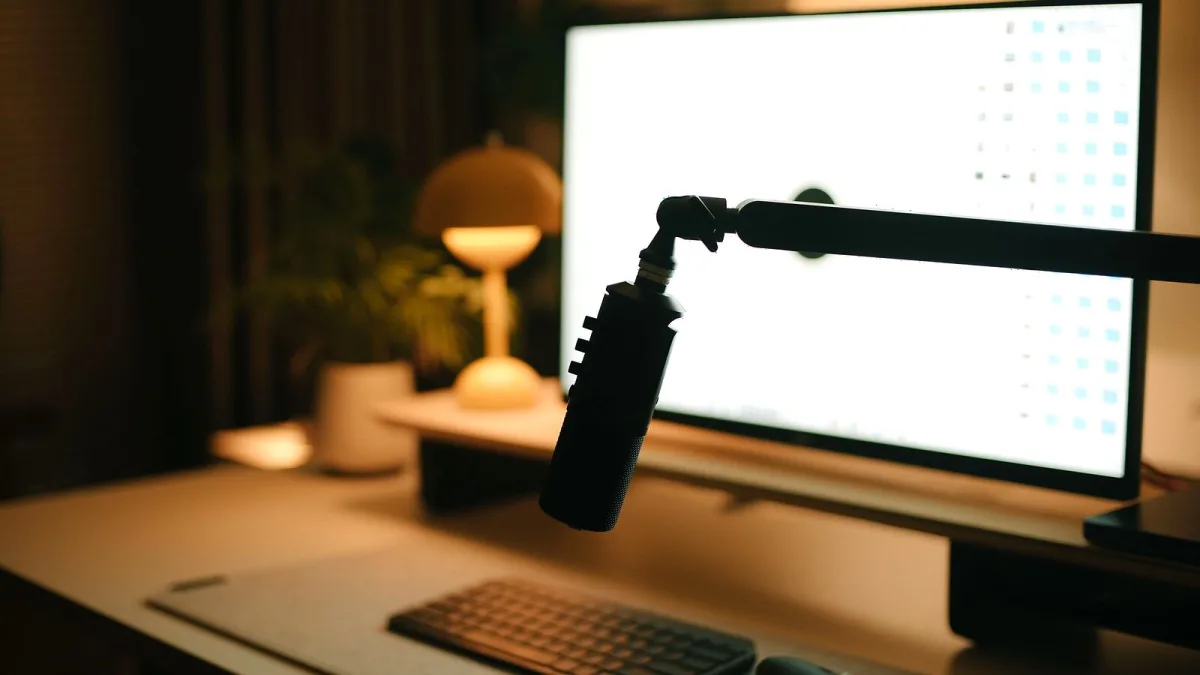
If the words "phantom power" and "gain staging" are making this feel more intimidating than it needs to be, let's fix that right now. Connecting an XLR microphone properly is one of the friendliest bits of recording technology out there once the jargon gets out of the way.
The Absolute Basics, No Jargon
An XLR microphone turns sound into an electrical signal. That signal travels down a cable to something that can amplify it and, if you're recording, turn it into data your computer understands. The three-pin connector most professional microphones use is called XLR, and it's built to carry that signal cleanly, without hum, over reasonably long distances. That's genuinely the whole concept.
What You Actually Need (and What You Don't Yet)
- A microphone — dynamic or condenser, whichever you already have.
- A proper microphone cable — don't substitute a random three-pin lead from a drawer.
- Something to plug into — an audio interface if you're recording on a computer, or a small mixer if you're not.
- Headphones — genuinely useful early on, so you can hear exactly what's being picked up.
You don't need a treated room, an expensive preamp, or a rack of outboard gear to get a usable first XLR microphone recording. That can all come later, if you even want it.
Dynamic or Condenser: Does It Change Anything for You?
A little, but not dramatically. Dynamic microphones generally don't need any extra power and are fairly forgiving of a loud source close up. Condenser microphones usually need phantom power — a small voltage, commonly +48 V, sent up the very same cable that carries the signal back — and they tend to be a touch more sensitive to background noise. Neither type is genuinely difficult; you just need to know which one you've got before you start.
A Relaxed Walkthrough of Your First Connection
Turn your volume down before you touch anything — that's the one habit worth building from day one. Plug the cable into the microphone, then into the input on your interface or mixer. If you've got a condenser microphone, switch on phantom power once everything's connected, not before. Then simply talk or sing at a normal level while you bring the input level up slowly, watching for a response on whatever meter you've got in front of you. No response at all almost always means a connection or a setting, not a broken XLR microphone — genuinely, faulty gear is the rare explanation, not the common one.
Common Beginner Worries, Answered
- "What if I plug it in wrong?" You genuinely can't force it into the wrong socket — the connector only fits where it's meant to.
- "What if phantom power damages something?" For the vast majority of ordinary dynamic and condenser microphones, it's designed to be safe. Older or unusual ribbon microphones are the one category worth extra caution with.
- "Why is there no sound at all?" Check the input is selected correctly in your software, and that the channel isn't muted — this catches out almost everyone at least once.
- "Do I need to understand every setting straight away?" No. Get sound in reliably first; refine the details once that's second nature.
Ready for the fuller technical picture? Our complete overview explains how the wiring and phantom power actually work, and our step-by-step setup guide is worth following exactly once you're ready to be precise about gain staging.
The Bottom Line
You really don't need to understand every technical detail about an XLR microphone to get a clean, working recording on your very first attempt. Volume down, connect properly, power up a condenser microphone only after it's plugged in, and bring your level up slowly while you listen. Everything else is refinement you can pick up gradually. Our list of common mistakes to avoid is worth a quick read once you're comfortable with the basics above.





Comments