


Mic to XLR article
A Guide to Mic to Xlr
The full signal chain explained: why XLR won the microphone connector war, how the wiring works, and what phantom power actually does.
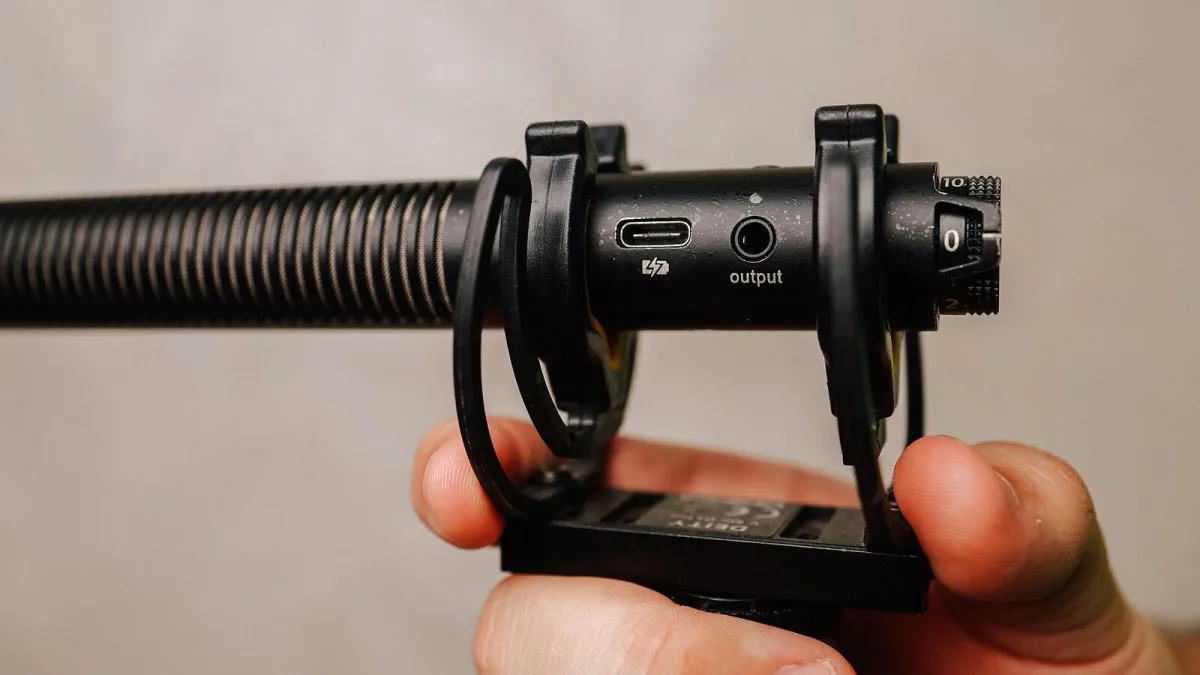
Right, let's geek out about connectors for a minute, because this one genuinely matters. Getting a microphone talking to your interface or mixer properly is the foundation everything else in your recording gets built on — and it's a lot simpler than the jargon around it makes it look.
What "Mic to XLR" Actually Means
At its simplest, it's this signal chain: microphone → balanced XLR cable → mic input on a preamp, interface or mixer → speakers, headphones or your computer. The three-pin XLR connector is the professional standard for getting a microphone's signal from the stand to wherever it's being recorded or amplified, and understanding why it won that job explains most of what you need to know.
Why XLR Won the Microphone Connector War
XLR became the dominant choice for good, practical reasons. It locks in place so it won't yank out mid-performance, it's built around a balanced, shielded design that resists interference over long cable runs, and — crucially — it can deliver phantom power to microphones that need it. A cheap unbalanced jack connection simply can't offer all of that at once.
Inside the Cable: Balanced Signal and Pin Wiring
An XLR microphone cable carries the audio signal on two conductors running in opposite polarity, plus a shield. In standard wiring, pin 1 is the shield or ground, while pins 2 and 3 carry that balanced signal. Interference picked up along the cable tends to hit both signal conductors equally, and the receiving input can cancel that shared noise out — a trick called common-mode rejection. That's why this kind of connection stays quiet even near lighting rigs, mains cables and other electrically noisy stage gear.
Phantom Power, Briefly
Some microphones need a bit of help to work at all. Condenser microphones typically require phantom power — commonly +48 V — sent up the same balanced cable that carries the signal back down. Dynamic microphones generally don't need it. Ribbon microphones deserve extra care, since some older or passive designs can be sensitive to incorrectly wired phantom power.
| Microphone type | Typical power need |
|---|---|
| Dynamic | Usually none |
| Condenser | Usually +48 V phantom power |
| Passive ribbon | None — use caution with phantom power |
| Active ribbon | May require phantom power — check the manual |
An XLR Microphone Is Not a USB Microphone
Worth clearing up early: a USB microphone isn't simply an XLR microphone with a different plug on the end. USB mics have their own built-in analog-to-digital conversion and plug straight into a computer. This kind of microphone, by contrast, needs an actual mic preamp, and usually an audio interface if you're recording to a computer. A passive cable alone can't convert one into the other.
XLR, TRS and TS: Not Interchangeable
XLR-to-XLR is the standard choice for a microphone input. XLR-to-TRS can work for connecting a balanced source to a compatible TRS input, but you need to understand what that specific input expects. XLR-to-TS generally creates an unbalanced connection and usually won't deliver phantom power correctly. None of these are safe assumptions to make without checking your actual gear.
Ready to actually put one together? Our step-by-step setup guide walks through connecting everything properly, and our buyer's guide covers exactly what to buy if you're starting from scratch.
The Bottom Line
An XLR microphone connection isn't complicated once you see the whole chain: a locking, balanced, shielded connector that can carry both signal and phantom power reliably. Understand pins 2, 3 and 1, know whether your specific microphone needs +48 V, and you've genuinely got the fundamentals covered. If you're brand new to any of this, our beginner's guide is the gentler starting point.





Comments