


Yamaha Studio Monitors article
Yamaha Studio Monitors for Beginners: A Complete Guide
Getting accurate results from HS monitors requires more than connecting them. This guide covers placement, calibration and the monitoring habits that make the difference.
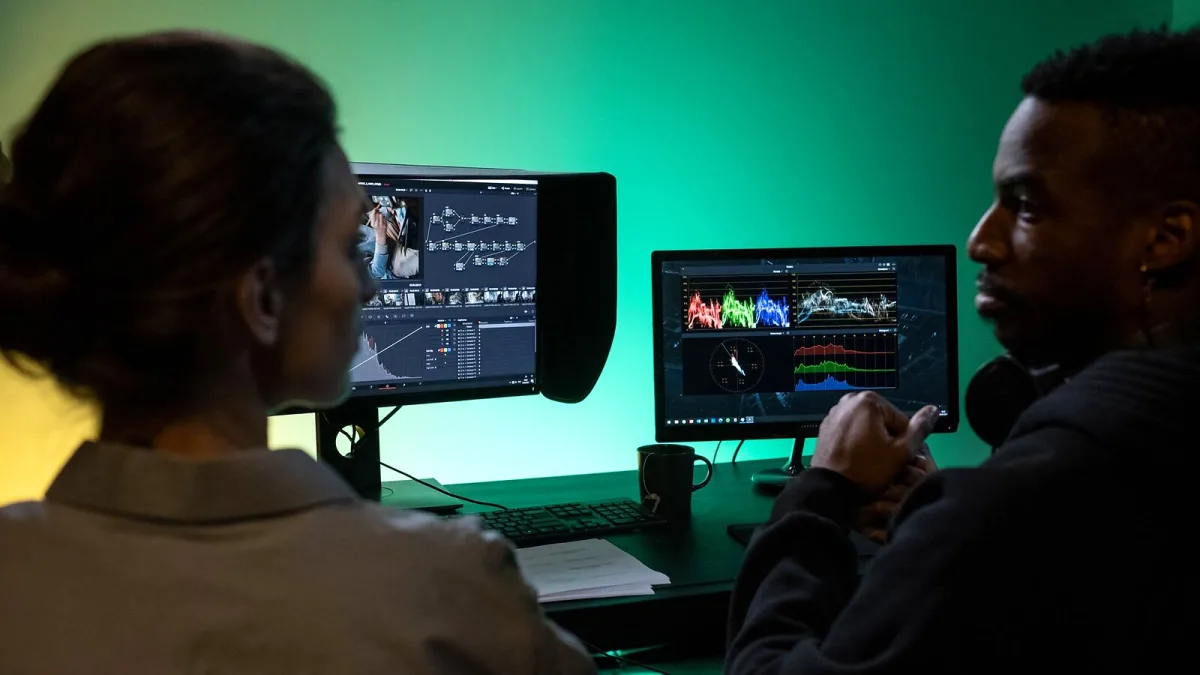
Getting useful results from studio monitors requires more than buying and plugging them in. Placement, calibration and the habits you build around monitoring decisions all determine whether you get the accuracy the monitors are capable of. This guide takes you through the setup process for Yamaha studio monitors from nothing to a working reference system.
What You Need Before You Start
Before setting up Yamaha studio monitors, you need: an audio interface with balanced outputs (XLR or TRS), balanced cables of appropriate length, and a suitable desk or monitor stands that position the tweeters at ear height. Placing the monitors directly on a hard desk surface without isolation is common and problematic; mass-loaded isolation pads substantially reduce the transmission of low-frequency vibration through the desk into the listening position.
How to Set Up Yamaha Studio Monitors from Scratch
- Position the monitors in an equilateral triangle with your listening position. The two monitors and your head should form a triangle with roughly equal sides. For a 1.5-metre listening distance, the monitors should be 1.5 metres apart and 1.5 metres from your ears. Tweeters at ear height, angled inward at approximately 30 degrees toward the listening position.
- Connect balanced cables from your audio interface to each monitor. Use XLR-to-XLR if your interface has XLR outputs; otherwise use TRS-to-XLR or TRS-to-TRS. Avoid unbalanced connections where possible: the balanced connection rejects interference over long cable runs.
- Set the input sensitivity trim on each monitor to a neutral starting position. This is the −dB/0/+dB trim on the rear of each unit. Start at 0 and adjust after you have confirmed the interface output level.
- Set the Room Control switch based on your placement. If the monitors are near a wall or corner, select −2dB or −4dB to compensate for bass reinforcement. If they are in free space, leave it at 0dB. Consult Yamaha’s placement guide for specific recommendations.
- Play a familiar reference track and check for stereo balance. Use a mono reference if available. Both monitors should produce equal volume at the listening position. If they do not, adjust the input sensitivity trim on the louder monitor until balance is achieved.
- Calibrate monitoring level using a test tone and an SPL meter. Play a 1kHz sine tone at a consistent output level from your DAW and measure the SPL at your listening position. A target of 79–83dB SPL (C-weighted) is a common studio standard and gives an accurate reference level for level-critical decisions.
What the Switches Do
The Room Control and High TRIM switches on Yamaha studio monitors are acoustic compensation tools rather than EQ for creative use. Room Control reduces bass output to compensate for bass reinforcement from nearby walls. High TRIM adjusts treble output for rooms that are acoustically too bright or too dead at high frequencies. Neither switch should be used to make the monitors ‘sound better’ — they are tools for getting the monitors to sound accurate in their specific placement.
Building Monitoring Habits
A monitoring system is only useful if you use it consistently. Reference mixes regularly at low to moderate levels; ear fatigue at high levels distorts judgement. Cross-reference on other systems — a phone speaker, a car stereo, earphones — before finalising any mix decision. With time, you will learn the character of your Yamaha studio monitors and trust them as a calibrated reference rather than a flattering system.
Where to Go Next
Our overview covers the full range in context. Our buyer’s guide helps you choose the right model. Our best value guide gives direct budget recommendations. And our mistakes guide explains what goes wrong and how to avoid it.





Comments