


Yamaha Studio Monitors article
Common Yamaha Studio Monitors Mistakes to Avoid
Most problems with HS monitors come from setup and usage errors rather than hardware. Here are the mistakes worth understanding before they become problems.
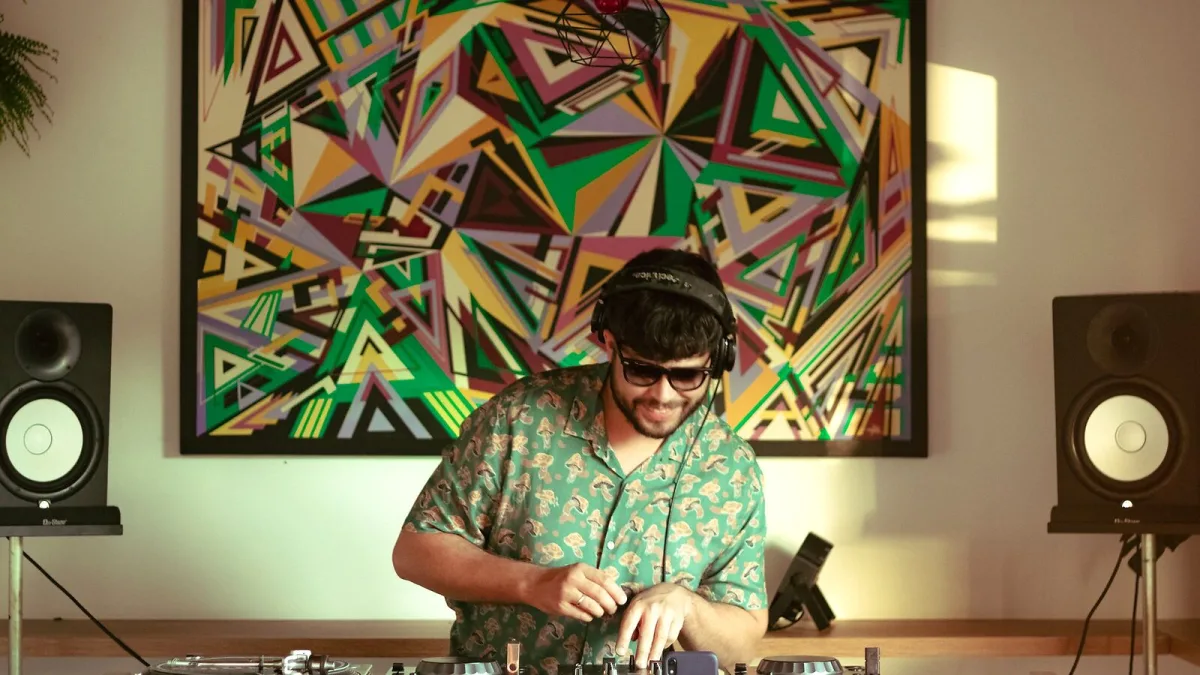
Most problems that people encounter with Yamaha studio monitors are not hardware failures — they are setup and usage errors that prevent the monitors from performing as intended. Understanding these errors in advance saves both time and the frustration of chasing mix problems that originate in the monitoring chain rather than the mix itself.
Buying the Wrong Model for the Room
The most common purchasing error with Yamaha studio monitors is choosing a larger model than the room can accommodate. An HS8 in a small bedroom studio does not deliver better monitoring — it delivers problematic low-frequency build-up that makes bass decisions impossible to trust. The right model is the one matched to the room’s acoustic dimensions and the intended monitoring distance. For rooms under 10 square metres, the HS5 is almost always the correct choice.
Ignoring Placement and Isolation
Placing Yamaha studio monitors directly on a hard desk surface without isolation pads causes low-frequency vibration to couple into the desk, which then re-radiates sound back to the listening position. This blurs the low-end response and adds colouration that makes accurate bass judgements harder. Monitor isolation pads — mass-loaded foam or rubber pads — decouple the monitor from the surface and are worth using regardless of monitor brand or price.
Similarly, placing monitors in corners or flush against walls reinforces bass beyond what the monitor’s Room Control switch can compensate for. The monitors need room to breathe. A distance of at least 20–30cm from the rear wall is a practical minimum.
Not Using the Calibration Switches
The Room Control and High TRIM switches on the rear of each monitor are there to compensate for acoustic placement problems. Engineers who leave these at factory defaults regardless of placement are accepting inaccuracies that the switches are designed to correct. If the monitors are near walls, try the −2dB Room Control setting and assess the result with a familiar reference. If the room has excessive high-frequency brightness, the High TRIM adjustment is available to compensate.
Monitoring at Excessive Volume
Ear fatigue from monitoring at high levels is a reliable path to poor mix decisions. The perceived frequency balance changes at high volumes due to the ear’s non-linear response — bass and treble appear louder relative to the mid-range, which encourages over-compensation. Most experienced mix engineers work at moderate levels (around 79–85dB SPL) for the majority of a session, with occasional brief checks at higher levels for specific decisions. These monitors are accurate enough at moderate levels to support this approach.
Using the Monitors as the Only Reference
No single monitoring system tells the complete story. Even well-set-up Yamaha studio monitors in an acoustically treated room have a specific character that differs from consumer playback environments. Cross-referencing on earphones, a phone speaker, a car stereo and a Bluetooth speaker before finalising a mix catches problems that the studio monitors cannot reveal. The monitor is a primary reference, not the only one.
Where to Go Next
For context on the full range, our overview covers the HS series history and design. Our buyer’s guide helps with model selection. Our best value guide gives budget-specific recommendations. And our beginner guide covers setup from scratch.





Comments