


Yamaha Hs8 article
Yamaha Hs8 for Beginners: A Complete Guide
Just unboxed your first pair of studio monitors? Here's the beginner-friendly walkthrough for setting up a Yamaha HS8 without the overwhelm.
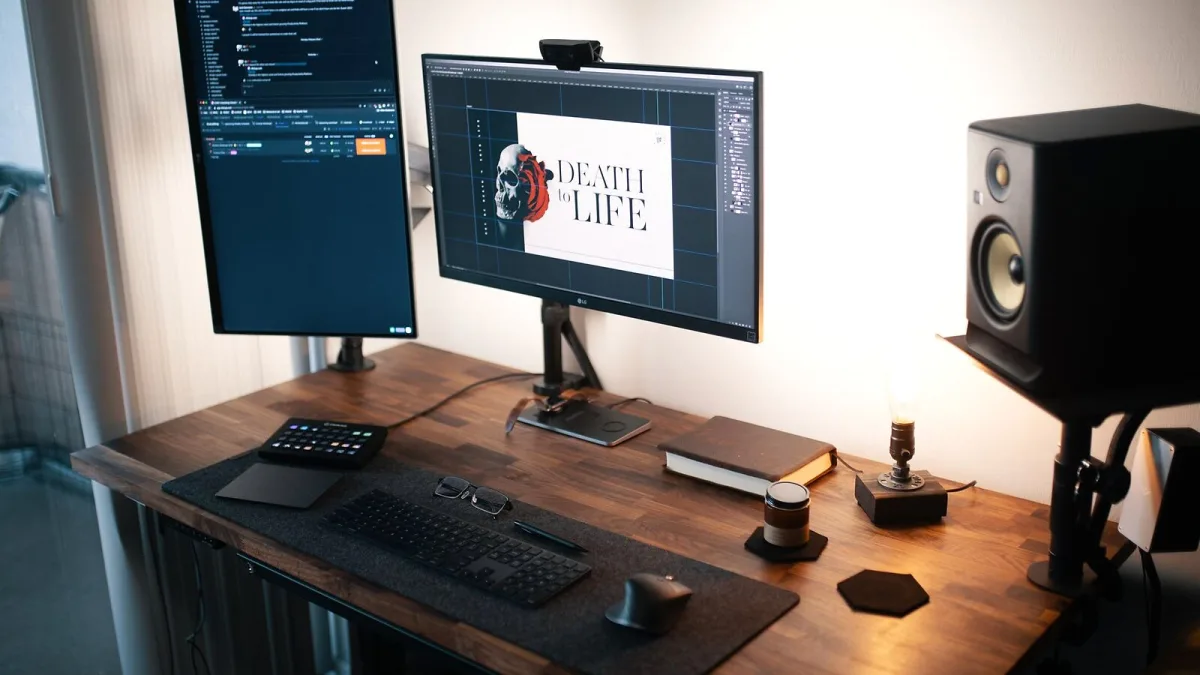
Right, so you've just unboxed a pair of Yamaha HS8s and you're staring at the back panel wondering what half those switches even do. Don't panic — I remember that exact moment with my first pair of monitors, standing in my bedroom in Sheffield surrounded by cardboard, absolutely no idea if I'd bought the right thing. Short answer: you probably have. This guide is the one I wish I'd had when I set up my first Yamaha HS8, written for someone doing this for the very first time.
What You're Actually Holding
A Yamaha HS8 is what's called an "active" monitor, which just means the amplifier is already built in — you're not hunting for a separate power amp, which is one less thing to worry about. Each cabinet has an 8-inch woofer for the bass and mids, and a small 1-inch dome tweeter for the top end, each with its own dedicated power. That's it. Plug it in, feed it a signal, and it does the rest.
The reason these (and monitors generally) sound different from normal speakers is that they're built to be honest rather than flattering. A hi-fi speaker might make everything sound a bit nicer than it really is. A monitor tells you the truth, warts and all — which is exactly what you want when you're trying to fix a mix.
Setting Up Your Yamaha HS8s for the First Time
Here's the exact order I'd do things in, first time round:
- Pick your spot. Put one monitor on each side of your desk, roughly equal distance from where you'll be sitting.
- Angle them in. Point the tweeters roughly at your ears, so the two speakers and your head form a triangle.
- Leave gap behind them. The HS8 vents out the back, so don't jam it flush against a wall.
- Connect with balanced cables. Use XLR or TRS from your audio interface into the back of each monitor — don't run plain unbalanced jack leads if you can help it.
- Set Room Control to 0 dB to start. Leave the rear switches flat for your first listening session; you can adjust later once you know your room.
- Turn the monitor's own volume down, then bring it up gradually from your interface or monitor controller, not the other way round.
That's genuinely most of it. You don't need anything fancier for session one.
Getting Used to How They Sound
Here's the thing nobody tells beginners: your first reaction to studio monitors is often "these sound worse than my headphones." That's normal, and it's usually a good sign. Consumer gear tends to boost bass and treble to sound exciting; a monitor plays things flatter, so a mix that sounded huge on your headphones might suddenly sound thin or boxy through a Yamaha HS8.
Spend your first week just listening — play tracks you know inside out, streamed properly, nothing you've made yet. Get your ears calibrated to what "normal" sounds like on this specific pair before you start judging your own mixes on them.
The Two Switches on the Back (Don't Ignore Them, But Don't Overthink Them Either)
There are two small switches round the back: Room Control and a high-frequency trim. Room Control quietly cuts some bass if your monitor's sitting close to a wall or in a corner — try 0 dB first, and only drop to −2 or −4 dB if things sound boomy after a week of listening. The high-frequency trim nudges the top end slightly if your room feels unusually bright or dull. Neither is a magic fix, and you genuinely don't need to touch either one on day one.
Common Beginner Worries, Answered
- "Do I need acoustic treatment straight away?" Not immediately, but even a couple of cheap foam panels behind your head and where the monitors fire will help more than you'd think. It's not urgent for week one.
- "Should I mix loud to hear detail better?" No — keep the volume moderate. Loud sessions fatigue your ears fast, and a tired ear makes worse decisions, not better ones.
- "Do I need a subwoofer?" Not to start with. The HS8 already covers a good chunk of low end on its own; a sub is something to consider much later, if ever.
Once you've had a few weeks with them, it's worth reading through the specific pitfalls people run into — our list of common Yamaha HS8 mistakes covers the ones that trip up almost everyone, beginner or not.
Where to Go Next
Once the basics feel comfortable, our full guide to the Yamaha HS8 gets into the technical detail — the exact specs, how it compares to the rest of Yamaha's range, and what the numbers on the box actually mean. And if you're still deciding whether to buy at all, the buyer's guide is worth a read before you commit.
Bottom Line
You don't need to understand every spec or master every switch to get real value from a pair of HS8s on day one. Set them up sensibly, give your ears time to adjust, and leave the fine-tuning for later. Everyone who's any good at this started exactly where you are now.





Comments