


Podcast Microphone roundup
Podcast Microphone: A Complete Buyer's Guide
Choosing a podcast microphone doesn't have to be overwhelming. Learn what questions to ask about your space, your setup and your workflow, then make a choice you won't regret.
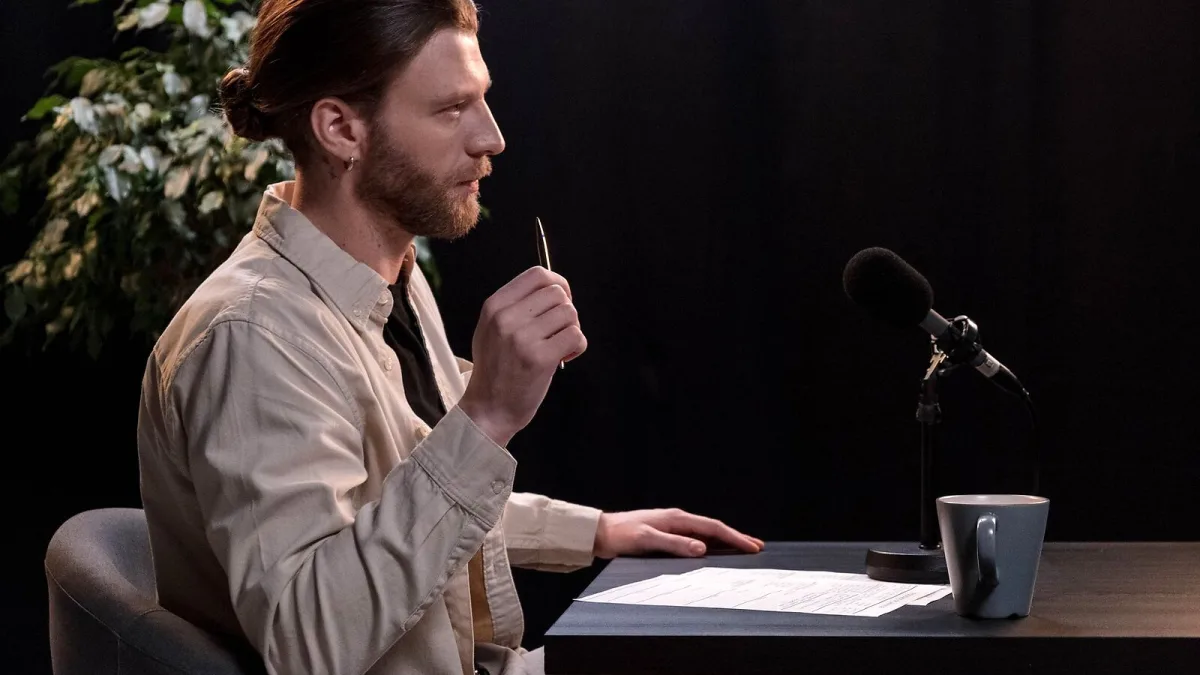
Choosing a podcast microphone often feels like standing in front of a wall of options without a clear way to narrow them down. The good news is that a few practical questions—about where you record, whether you're working alone or with others, and how likely your setup is to change—take most of the guesswork out of it. You don't need the most expensive microphone in the room. You need one that matches your environment, your workflow and your budget, and then you need to use it correctly. Let's walk through how.
Start with Your Space
The biggest single predictor of podcast microphone success is the room you record in. An untreated bedroom with hard walls, a desk fan and a computer might be perfect for a cardioid dynamic podcast microphone, which rejects side and rear noise well. That same dynamic mic in a treated studio with soft furnishings and acoustic panels might feel dark or boomy compared to a condenser, which would shine in that controlled space. Before you pick a microphone type, be honest about your recording environment: Is it quiet? Are there reflective surfaces? Can you close the door on traffic or household noise? The answers shape every choice that follows.
Dynamic or Condenser?
Dynamics are the safer choice for most home podcasters. They're less sensitive, which means they reject background noise more forgivingly. They're also more durable and usually more affordable than condensers. A cardioid dynamic podcast microphone positioned close to your mouth will give you a focused, controlled voice recording even in an average room. That's why they're used in radio and professional voiceover work.
Condensers are more sensitive and can capture subtle vocal detail—sibilance, breathiness, intimate tone—beautifully. But that sensitivity is a double-edged blade. In a quiet, treated room, it's a strength. In a typical home with ambient sound and hard surfaces, a condenser will catch every HVAC hum, keyboard click and dog bark. Condensers also require phantom power. On XLR, that power comes from your audio interface or mixer. On USB, the power comes through the cable. Both work, but you need compatible equipment.
Ask yourself: Is my recording space genuinely quiet and acoustically treated? If yes, a condenser can give you beautiful results. If no—and for most of us, the answer is no—a dynamic is the pragmatic choice.
USB or XLR?
This is primarily a choice about complexity and expandability. A USB podcast microphone plugs directly into your computer and works immediately. You get built-in analogue-to-digital conversion, and most USB models include features like headphone monitoring and a mute button. That simplicity is genuinely valuable if you're recording solo, doing remote interviews, or working in a small space.
An XLR microphone requires an audio interface, mixer or recorder to convert the analogue signal to digital. That's an extra piece of equipment to buy, connect and learn. But XLR gives you separation of concerns: the microphone does one job, the interface does another, and your computer does a third. That modularity means you can swap the microphone later without replacing the interface, add a second microphone, plug in an external preamp, or upgrade to a different converter. For a growing podcast or a setup that might change, XLR is more scalable.
Hybrid USB/XLR podcast microphone models exist as a middle ground. They work as USB microphones out of the box but also have an XLR output for connection to an interface later. This lets you start simple and expand without re-buying the microphone. However, not all hybrid implementations are equal—some let you use both outputs simultaneously, others switch between them—so check the manufacturer's specifications before assuming the flexibility you want is there.
Key Features to Evaluate
Once you've settled on dynamic or condenser and USB or XLR, several practical features matter for real-world recording:
- Polar pattern: Cardioid is standard and usually sufficient for one-person podcasting. Supercardioid or hypercardioid are narrower and can help in noisy rooms, but they're more sensitive to exact positioning. Omnidirectional is rarely useful unless you're recording a group or room sound intentionally.
- Headphone output and direct monitoring: Headphone output lets you monitor your recording in real time. Direct monitoring—where you hear your voice with minimal latency—is more useful than monitoring through software, which often introduces delay. Not all USB microphones offer direct monitoring, so check if it matters to you.
- Physical mute button: A hardware mute is simpler and more reliable than reaching for a software control. If you take calls or need to pause without stopping the recording, a dedicated mute button is useful.
- Built-in gain control: If the microphone has its own gain knob, you can adjust the recording level without touching your computer settings. This is handy during recording if you find yourself too loud or too quiet.
- Frequency response and sensitivity: A published frequency range like 50 Hz–16 kHz tells you what the microphone claims to capture. The actual frequency-response curve is more informative than the nominal range. Sensitivity tells you how loud the output is for a given input—useful if you're pairing with a very quiet preamp.
- Maximum SPL: Maximum sound-pressure level matters if you're recording loud sources like drums or live instruments. For speech only, it's less critical.
- Self-noise (for condensers): All microphones produce a tiny amount of electrical noise—a hiss. For USB condensers, which often sit in quiet spaces, low self-noise (below 20 dB-A) is a practical advantage.
- Included accessories: A desk stand, shock mount, pop filter or windscreen saves you money and setup time. Check what's included before assuming you'll need to buy these separately.
Budget and Practicality
A podcast microphone doesn't need to be expensive to work well. Some of the most consistent choices—such as Audio-Technica ATR2100x-USB, Blue Yeti and RØDE PodMic models—are available at moderate prices. More expensive models from Shure or Electro-Voice add broadcast heritage and robust build quality, but they don't automatically sound better in your room with your voice. Spending more often buys durability, consistency across units and the possibility of getting a replacement for a damaged microphone, not a guaranteed upgrade in voice quality.
Consider the total cost of your setup, not just the microphone. If you choose XLR, you'll need an audio interface (Focusrite, PreSonus, RODE and others make affordable models). If you choose USB, you'll need nothing else. That difference can be hundreds of pounds. Start with a realistic budget for the whole chain and work backward.
Making the Choice: A Practical Decision Tree
Start here: Are you recording in a quiet, treated room or a typical home? If quiet and treated, consider a condenser. If typical home, choose a dynamic. Next: Is your setup permanent or might it change? If permanent and solo, USB is simpler. If it might grow—more microphones, guests in the room, future upgrades—XLR scales better. If you're uncertain, a hybrid USB/XLR podcast microphone buys you both paths.
Finally, test before you buy if you can. Audio shops sometimes let you listen to microphones in a booth. Online retailers often have good return policies. A podcast microphone that sounds great on YouTube reviews might not work for your voice or room, and you won't know until you try.
Making a Buying Decision
The best podcast microphone for you is the one that fits your actual recording situation, not the one with the longest feature list or the highest price. A modest cardioid dynamic USB microphone used correctly in a quiet corner will outperform an expensive condenser positioned far from your mouth in a reflective room. Spend your money on practical features—reliable build, included pop filter, good headphone monitoring—rather than chasing microphone names or studio prestige. Get the podcast microphone home, set it up correctly, practice consistent technique, and listen critically to the result. That's how you know you've made the right choice.





Comments