


Podcast Microphone guide
How to Set Up and Use Podcast Microphone
Setting up a podcast microphone correctly—positioning, pop filter, headphone monitoring—makes the difference between a muddy recording and a clear, close vocal. Follow this practical guide from stand placement to your first recording.
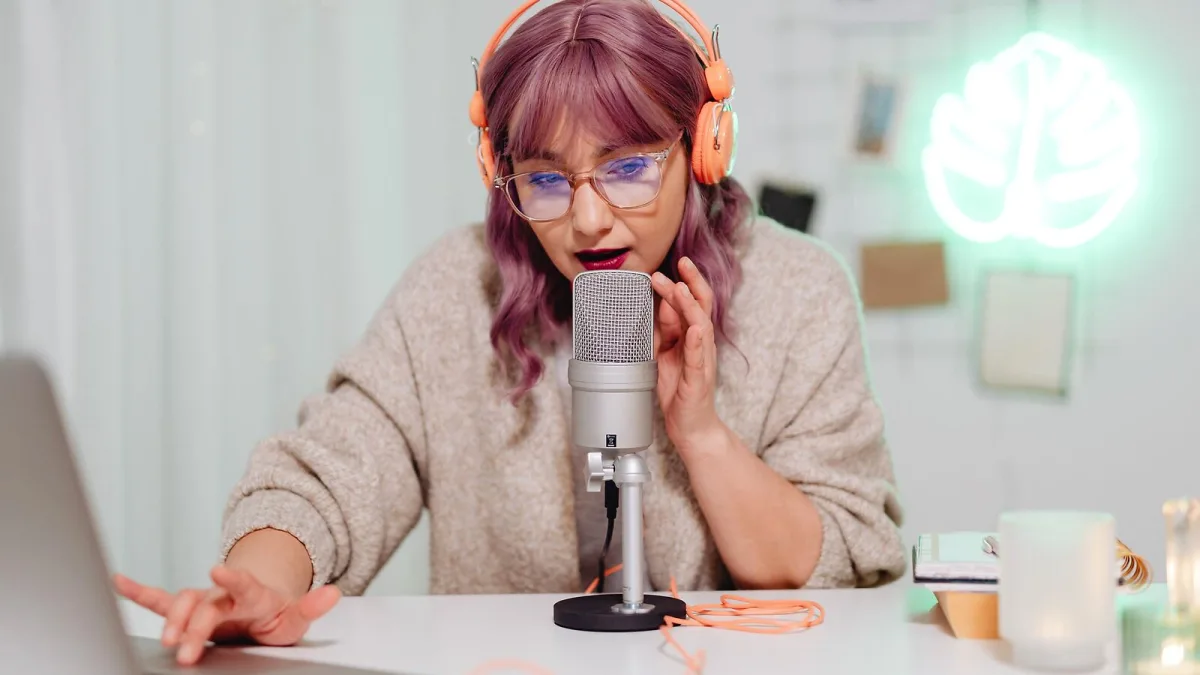
Getting a podcast microphone working properly is more about placement and technique than equipment wizardry. The difference between a muddy, echo-y recording and a clean, close vocal often comes down to positioning the microphone six to twelve inches from your mouth, keeping it stable, and listening through headphones as you record. This guide walks you through the physical and software steps, whether you've got a USB microphone on your desk or an XLR setup with an interface.
Physical Setup: Stand and Position
Start with a stable mount. A podcast microphone sitting loose on a desk picks up vibration from typing, mouse clicks and accidental bumps. Use a proper desk stand, a boom arm, or a shock mount that isolates the microphone from vibration. If you're using a boom arm, mount it to the edge of your desk so the microphone reaches your mouth without obstruction. The goal is to have the podcast microphone positioned consistently at the same distance every time you record, without needing to hold it or reach for it.
Position the microphone so the grille faces toward your mouth, usually with the capsule slightly off-axis—about fifteen to twenty degrees from a direct mouth-to-capsule line. This angle reduces plosive bursts from sounds like "p," "b" and "t". If your podcast microphone has an on/off switch or pattern selector, leave it in cardioid mode and leave it powered on throughout your session. Toggling power between recordings can introduce noise artifacts.
Pop Filter and Windscreen
A pop filter—a screen on a gooseneck between your mouth and the podcast microphone—catches fast air bursts without significantly colouring your voice. Some microphones come with a pop filter included; others need you to buy one separately. A foam windscreen (a squishy cover around the grille) also helps with plosives and can reduce wind noise if you're recording outdoors or near a fan.
Mount the pop filter so it's between your mouth and the microphone grille without touching the podcast microphone itself. Most goosenecks adjust easily. Test the fit by speaking normally and checking that the screen doesn't obstruct your sight line to the rest of the room, which can feel oddly claustrophobic once you start talking.
Room Preparation
You don't need expensive acoustic panels to record a podcast microphone acceptably. Use what you have: soft furnishings, curtains, rugs, bookshelves and cushions reduce reflections and absorb sound. Sit in the corner of a room if possible—corners naturally reduce reflections compared to the middle of a space. Close windows to reduce traffic noise. Turn off fans, air conditioning, or anything that hums. Put your phone in another room. Close browser tabs playing video.
Position your podcast microphone away from hard walls. If you have to record at a desk against a wall, tilt the desk slightly or move the microphone to angle away from the wall. This reduces direct reflections that can make your voice sound boxy or distant.
Connections and Drivers
For a USB podcast microphone, connect it directly to your computer's USB port rather than through a hub if possible. Direct connection gives you a more reliable signal. Most USB microphones show up as audio devices automatically on Windows, Mac or Linux without needing drivers. Check the manufacturer's website if the microphone doesn't appear in your operating system's audio settings within a few seconds of plugging in.
For an XLR podcast microphone, connect the XLR cable firmly to both the microphone and the audio interface, twisting the connector clockwise until it clicks. If your interface has a phantom-power switch (for condenser microphones), turn it on if your microphone is a condenser and leave it off for dynamics. Phantom power won't damage a dynamic podcast microphone, but it's cleaner to keep it off. Connect the interface to your computer via USB, and install any drivers or software the manufacturer recommends.
Recording Software Settings
In your operating system's audio settings or your recording software, select your podcast microphone as the input device. This is crucial—if your software is still listening to your laptop's built-in microphone by mistake, your recording will sound terrible no matter how good your podcast microphone is. Test this by speaking into the microphone whilst watching the input level meter. You should see the level move. If the meter doesn't budge, you've selected the wrong device.
Set the input level so that normal speech sits comfortably between –12 dB and –6 dB on the meter, leaving headroom to avoid digital clipping if you speak louder. Avoid setting the level too high and then trying to turn it down in software after recording—that compounds any noise already in the signal.
Headphone Monitoring
Connect headphones to either your podcast microphone (if it has a headphone output) or your audio interface. Monitor the input directly rather than listening to playback delay from your computer, which adds lag. With direct monitoring enabled, you'll hear your voice in real time as you speak. This lets you catch plosives, gain changes and background noise immediately, rather than discovering them in the edit.
Use closed-back headphones where possible, which reduce the risk of feedback if you record near a speaker. Set the monitoring volume so you can hear yourself clearly without discomfort. You're listening to a mix of your voice and any background ambience the podcast microphone is picking up—if you hear hum, fan noise or harsh sibilance, you can adjust your distance, angle or room settings before recording.
Gain and Levels During Recording
Once your podcast microphone is connected and monitoring is active, do a quick test recording. Speak normally, laugh, clear your throat and check the levels. If you're using a USB microphone with built-in gain control, adjust the gain knob on the microphone itself—this is more reliable than adjusting software levels. If you're using an interface, adjust the preamp gain on the interface. The goal is the same: keep your normal speech at around –6 dB to –12 dB, with peaks no higher than –3 dB to avoid clipping.
Consistency matters. Speak at the same volume and distance throughout your recording. Moving closer fattens your bass through proximity effect; moving farther away lets room sound in. Once you find a comfortable distance and speaking level, stick with it for the entire session.
Recording Your Podcast Microphone
Once everything is set up and tested, the actual recording process is straightforward:
- Hit record in your software and speak normally at the distance you've practised.
- Keep the podcast microphone at the planned distance and angle throughout your session.
- Monitor your headphones to catch problems in real time—if you hear chair squeaks, move it; if plosives persist, angle the microphone a few more degrees; if the room sounds echo-y, shift to a softer corner.
- When you finish speaking, let the recording run for a few silent seconds to capture room tone for editing.
- Stop recording and save the file with a clear naming convention: episode number, date and any notes about the content or recording issues.
- Before your next session, listen back to a short sample on speakers or different headphones to confirm levels are correct and any environmental issues are solved.
Disconnecting and Storage
Disconnect your podcast microphone from power only after you've stopped recording and the software has saved the file. Sudden disconnection during recording can corrupt files. For daily use, leave a USB microphone connected and powered on—it's designed for that. For long-term storage, a USB microphone is fine unplugged indefinitely. An XLR microphone can stay connected to the interface; turn off the interface's phantom power if the microphone is a condenser and you're not recording, to extend the capsule's lifespan. That five-minute check after each session prevents you from discovering a problem three hours into a recording session.





Comments