


Microphone and Recorder article
Microphone and Recorder for Beginners: A Complete Guide
Gain, phantom power, file format, monitoring — here's everything you need to get a clean first recording and understand what went right or wrong.
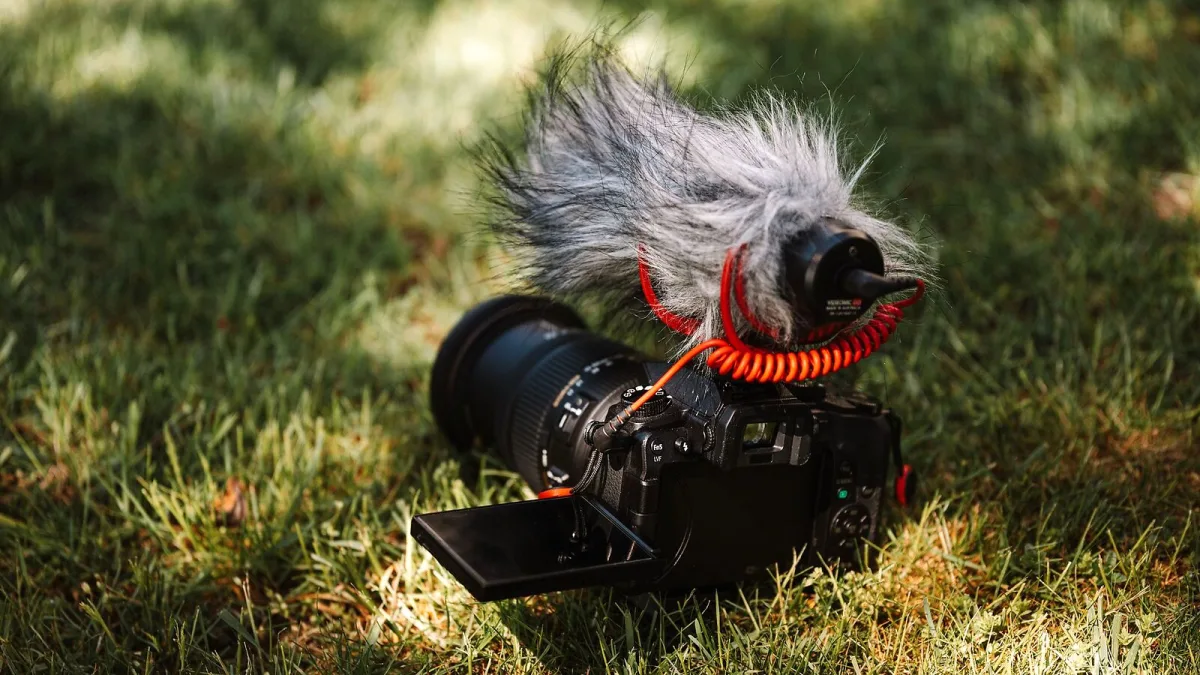
Setting up a microphone and recorder for the first time is not complicated, but there are enough variables — phantom power, gain, file format, monitoring — that it's easy to miss one and end up with nothing usable. This guide covers everything you need to get a clean, usable recording from your first session.
What You Need Before You Start
The minimum requirements are: a portable recorder (with built-in mics or XLR input), a microphone if using an external one, a charged battery or power source, an SD card, and headphones for monitoring. Most portable recorders run on AA or AAA batteries — take fresh ones. An SD card of 32GB or more in Class 10 or UHS-1 speed class is fine.
First Session: Step by Step
- Insert the SD card and batteries. Make sure the card is fully seated. Check the battery level before starting.
- Set the input. If using the built-in microphones, select the built-in input in the recorder's menu. If using an external mic via XLR, select the XLR input and enable phantom power if your microphone requires it (most condensers do).
- Set the recording format. Use WAV at 24-bit/48kHz for any serious work. The setting is usually in a menu labelled "REC FORMAT" or similar. Avoid MP3 if you plan to edit.
- Test the gain level. Press record and speak or play at the levels you expect to capture. Watch the input meters. Aim for the level to peak around −12 to −6 dBFS on loud passages — well below the top of the meter. Clipping (going into the red) ruins the recording and cannot be fixed in post.
- Monitor through headphones. Plug in your headphones and listen to what you're actually capturing. Background noise you didn't notice — air conditioning, traffic, computers — often reveals itself here. Deal with it before recording anything you plan to keep.
- Record and check a short test. Record 30 seconds of audio, then play it back on the recorder. Listen carefully. If it sounds clean, you're ready to proceed. If there's hum, noise or distortion, diagnose before continuing.
Gain: The Most Important Setting
Gain sets how much the recorder amplifies the microphone signal. Too low and the audio is quiet and noisy when you boost it later. Too high and it clips — a harsh, unpleasant distortion that's unfixable. Aim for peaks around −12 dBFS to give yourself headroom for unexpected loud moments. If you're unsure, record a bit lower rather than higher: quiet can be boosted; clipping cannot.
Phantom Power: What It Is and When You Need It
Phantom power (48V) is a DC supply sent through the XLR cable to power condenser microphones. If you're using a condenser mic and hear nothing or a very quiet, thin signal, phantom power is probably disabled. Enable it in the recorder's menu. Dynamic microphones and most lavalier mics don't need it.
Managing Background Noise
The environment contributes as much to recording quality as the equipment. For voice recording, find the quietest space available, move away from hard reflective walls, and if possible record closer to the microphone at a lower gain setting rather than further away at higher gain. Distance between the microphone and the source amplifies room noise relative to the signal.
Transferring Files
Remove the SD card and insert it into a card reader connected to your computer. WAV files can be opened directly in any audio application — Audacity, GarageBand, Adobe Audition, Reaper. Back up original files before editing. Label files by date and content immediately so you can find them later.
You're Ready
A microphone and recorder setup rewards attention to the basics: gain, phantom power, environment, monitoring. Get those right and the equipment does the rest. Use your headphones on every session — they'll catch problems that look fine on the meters but sound wrong in practice.
Looking at which recorder to buy? Our best value guide covers every tier. For the full technical picture, see our complete guide to microphone and recorder setups.






Comments