


Audio Technica At2020 article
Common Audio Technica At2020 Mistakes to Avoid
Most AT2020 problems trace back to the same handful of errors that are easy to fix once you know what to look for.
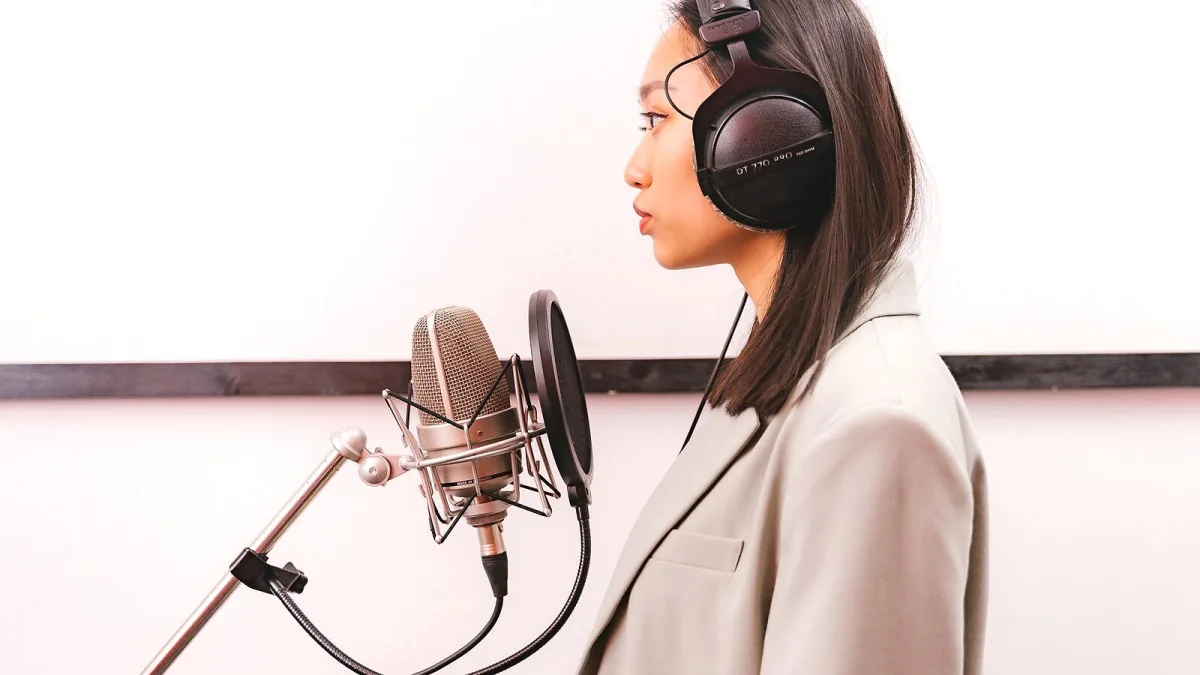
The AT2020 is a capable microphone, but it will give you mediocre results if you make the mistakes that most beginners make. The good news is that most of these errors are easy to understand and quick to fix once someone points them out. Here is what goes wrong most often and how to sort it.
Pointing the Wrong End at Yourself
This is number one because it is genuinely how common it is. The AT2020 is a side-address microphone — sound should reach the front face of the body, not the top end. The correct recording position is with the AT2020 vertical (or at an angle), with the face bearing the Audio-Technica logo pointing toward the source.
Recording into the top of the microphone produces a noticeably duller, quieter and less detailed sound because you are using the off-axis response rather than the on-axis pickup. If your recordings have ever seemed oddly flat and toneless, check the orientation first.
No Phantom Power, or Phantom Power Off
The AT2020 is an active condenser microphone that cannot produce any useful signal without 48-volt phantom power from the interface. If you plug in and get nothing, or get only noise, the most likely cause is phantom power being switched off, not yet engaged or not supported by the interface.
Check the 48V button on your interface. Enable it after the XLR cable is connected. Some interfaces require a restart or a preset change to activate phantom power — consult the manual if the button alone does not resolve it. Note that the AT2020USB is different: it powers itself through USB and does not need phantom power at all.
Not Using a Pop Filter for Vocals
A condenser microphone at close recording distances is particularly sensitive to plosive consonants — the hard P, B, T and D sounds that produce a burst of air toward the capsule. On the AT2020, this shows up as a sharp low-frequency thump in the recording that is very difficult to fix in post without affecting the rest of the audio.
A pop filter is the straightforward solution. Place it 5–10 cm in front of the capsule. The mesh breaks up the air burst before it reaches the capsule. It costs almost nothing and solves the problem completely. A microphone without a pop filter on vocals is one of the most avoidable quality issues in home recording.
Cranking the Interface Gain Too High
This condenser has a sensitivity of –37 dB (14.1 mV/Pa), typical for a microphone of this type. It does not need massive gain from the preamp. A common mistake is pushing the interface gain high to make the signal "louder," which amplifies the noise floor along with the signal — introducing hiss and electronic noise that are difficult or impossible to remove cleanly.
Target peaks of –12 to –6 dB on your recording track. That leaves headroom and keeps the signal-to-noise ratio clean. If you are struggling to get enough level at reasonable gain settings, the problem is usually microphone placement (too far from the source) or the room acoustics, not insufficient gain.
Ignoring the Room
Its cardioid pattern reduces sound from the rear but does not eliminate room acoustics. In a bare, reflective room — hard floors, bare walls, no soft furnishings — the recording will pick up reflections, flutter echo and room tone that cannot be removed in post.
Basic room treatment makes a significant difference: thick curtains, a sofa, a bookshelf full of books, hanging clothes in a wardrobe all absorb high-frequency energy. For vocals, recording in a small, soft room is far more effective than any amount of post-processing on a recording made in a reverberant space. The microphone reveals the room — treat the room, not just the signal chain.
Placing the AT2020 Too Close or Too Far
Distance matters on condenser microphones because of proximity effect — the low-frequency buildup that occurs when a directional microphone is used very close to a source. On the AT2020, recording too close (under about 15 cm for vocals) can produce an unnaturally boomy, bass-heavy sound. Recording too far away (over about 50–60 cm for most vocal work) introduces room tone and reduces presence.
Start at around 20–30 cm for vocals. For a slightly more intimate, present sound, move closer. For a more natural or ambient sound, move farther back. Adjust to taste based on what you hear, but understand that the position affects the tonal balance, not just the level.
Using the AT2020 Directly Without an Interface
The standard XLR AT2020 will not work connected to a laptop's built-in microphone socket. The signal path is fundamentally incompatible: the AT2020 needs a balanced XLR connection and phantom power, neither of which a consumer headphone/microphone jack provides.
Some beginners try adaptors or converters to work around this. They do not produce usable results. If you need a microphone that connects directly to a computer without an interface, the AT2020USB is the correct product. The XLR model requires an audio interface — there is no shortcut here.
Not Accounting for the Microphone's Tonal Character
The microphone has a presence boost in the upper frequencies that adds clarity and detail — which is generally a good thing, but it also means it emphasises sibilance, bright room reflections and pick attack on acoustic guitar. Beginners often interpret this as a problem with the microphone when the underlying issue is the room or the source.
If recordings sound harsh or overly bright, evaluate the recording environment first. Check for hard reflective surfaces close to the microphone. Then consider whether EQ in your DAW — a gentle high-shelf reduction or a targeted de-ess on vocals — addresses the specific frequency that is causing the problem.
For a deeper understanding of what the AT2020 does and how its specifications translate to practice, the complete overview is worth reading. For guidance on placement and use cases, see getting the most from your AT2020. And if you are still in the buying process, the buyer's guide covers what else you need to buy alongside it.
Most Problems Are Environmental, Not Technical
A recurring theme in this list is that the AT2020's biggest limitations in home-studio use are the room, the placement and the recording chain — not the microphone itself. Get the phantom power right, use a pop filter, control the room as best you can, and set sensible gain levels. Most of the common problems disappear. The AT2020 is a good microphone; it just needs the surrounding setup to be right.






Comments