


Microphone Stand article
Microphone Stand for Beginners: A Complete Guide
A friendly introduction to microphone stands for anyone setting one up for the very first time.
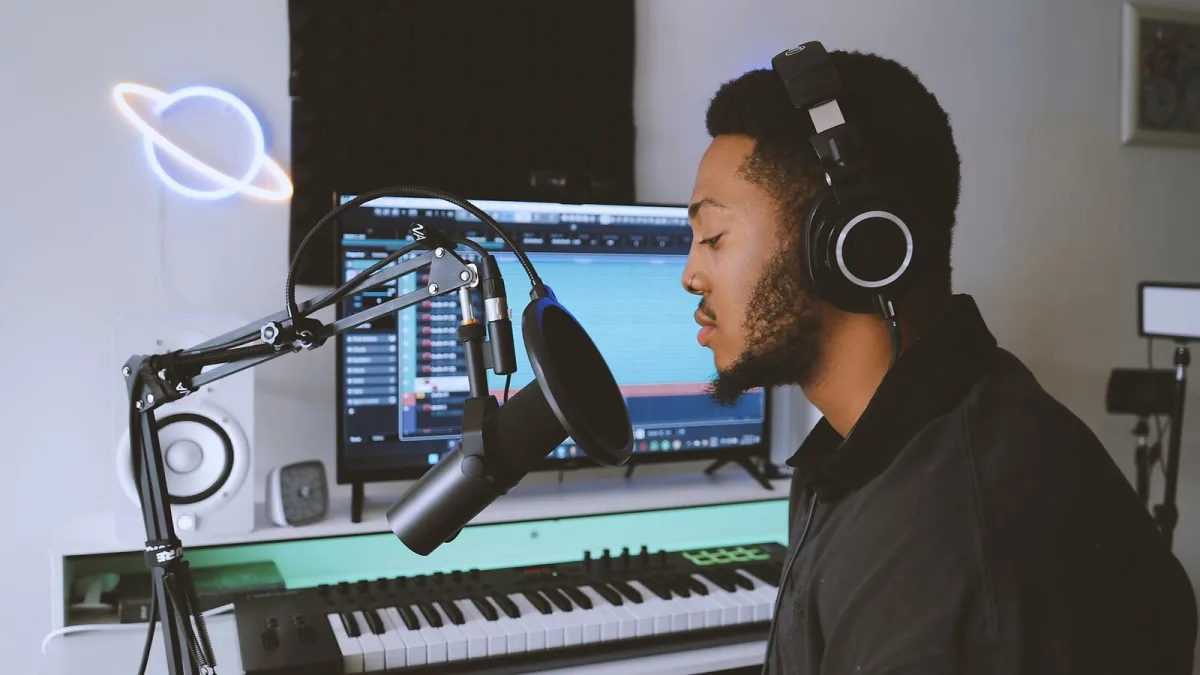
Got your first proper microphone and now staring at an equally new microphone stand, wondering if you're about to break something? Honestly, it's simpler than it looks. Let's go through the basics gently, so you can get it set up properly and stop worrying about it.
You Don't Need Anything Fancy to Start
A basic straight or tripod microphone stand is genuinely enough for most beginners. You don't need a heavy-duty studio boom on day one, and you definitely don't need to understand every spec before you plug a mic in and start recording or practising. Simple is completely fine here.
The One Bit of Jargon Worth Knowing: The Boom
You'll see the word "boom" everywhere. All it means is the angled arm that lets the microphone reach out sideways from the main upright part of the stand, rather than sitting directly above the base. Useful once you need to mic something you can't stand right over — but if you're just doing vocals standing in one spot, you may not need one at all yet.
Threads: The Small Detail That Trips People Up
A microphone stand and a mic clip connect using a screw thread, and the most common size is 5/8-inch with 27 threads per inch. Some microphone clips and shock mounts use a slightly smaller 3/8-inch thread instead, which is why little metal adapters exist — if your clip won't screw onto your stand, this mismatch is very likely why, and it's a completely normal, easy fix.
Setting Yours Up for the First Time
- Open the legs or base fully and put the stand on level ground before you touch the height.
- Loosen the clutch (the locking collar) properly before you try to adjust the height — don't force it.
- Bring the stand to a comfortable height, then tighten the clutch just enough to hold firmly.
- If there's a boom, try to keep one leg roughly underneath it once it's extended — it genuinely helps balance.
Please Don't Overtighten
It's tempting to really crank the clutch shut so nothing ever slips, but overtightening actually damages the threads and the mechanism over time, and it won't make the stand meaningfully safer. A firm, confident tighten is all it needs. If you want the fuller list of things worth avoiding, our common microphone stand mistakes guide covers it clearly.
Keeping Your Cable Tidy
Don't wrap your cable in tight coils around the stand — it puts twisting pressure on it over time. One loose loop around the upright, and another around the boom if you have one, is usually enough to stop it swinging around without straining the cable itself.
When You're Ready to Learn More
Curious about the different types and what each one actually suits? Our full explainer on microphone stands covers straight, boom, tripod, round-base and desktop designs properly. And whenever you're thinking about buying a second one, our buyer's guide and guide to the best options are both written to help, not overwhelm.
The Bottom Line
A microphone stand really isn't something to be nervous about — loosen the clutch before you move it, don't overtighten, keep a leg under the boom, and you've covered nearly everything that matters as a beginner. Everything else is just getting comfortable with your own setup over time.






Comments