


Focusrite article
Focusrite for Beginners: A Complete Guide
New to recording? Here's how to choose, connect and set up your first Focusrite interface, one step at a time.
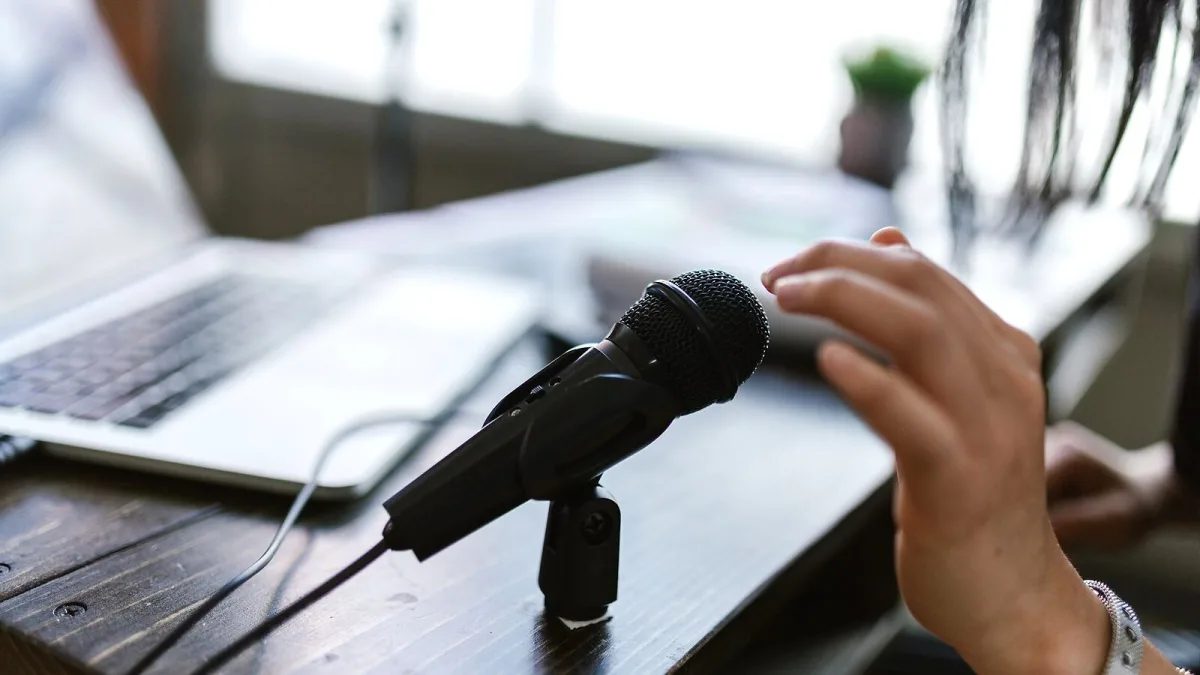
Getting your first Focusrite interface out of the box can feel like a lot, especially if nobody's shown you the basics before. I like to teach things in order, so that's exactly how this guide is built: work out what you need, choose sensibly, connect everything correctly, and set your levels safely. By the end, you'll have your Focusrite interface set up properly and recorded your first proper take.
Working Out What You Actually Need
Before buying anything, be honest about what you're recording right now, not what you might record in a year. One vocalist speaking or singing alone needs only a single input. A guitarist plugging in directly needs an instrument input rather than a microphone one. If you want to record a vocal and a guitar at the same time, you'll need two inputs working together. Most beginners are well served by Focusrite's smallest models, and there's no shame in starting small — you can always add a second Focusrite input later if your needs grow.
Choosing Your First Scarlett
Focusrite's entry-level range is called Scarlett, and for a first purchase it's usually the right family to look at. The Solo has a single preamp and suits one source at a time. The 2i2 has two, which covers a vocal-and-guitar combination comfortably. Unless you already know you need more inputs than that, resist the pull towards a bigger model — you'll learn faster on a simple one.
Setting Up Your Interface: Five Steps
Here's the process in order, the same way I'd walk a student through it in person:
- Install the software first. Download Focusrite Control 2 from Focusrite's own site and install it before you plug anything in, so your computer recognises the interface correctly the first time.
- Connect the interface to your computer. Use the supplied USB cable, and plug directly into your computer rather than through an unpowered hub if you can.
- Plug in your microphone or instrument. Use the XLR input for a microphone or the instrument input for a guitar or bass — they are not interchangeable, so check which is which before you connect anything.
- Turn on phantom power if you're using a condenser microphone. Dynamic microphones don't need it, so only switch it on when your microphone's own instructions say to.
- Select the interface as your input and output device in your recording software's settings, then do a short test recording before you commit to anything longer.
Setting Your Gain Without Guesswork
Once everything is connected, turn the gain knob down to start, then sing or play at the volume you'll actually use while slowly increasing it. Watch the meter in your recording software rather than guessing by ear — you're aiming for a strong signal that never quite reaches the red “clipping” zone, even at your loudest moment. If newer Auto Gain features are available on your model, they'll do a reasonable first pass for you automatically, though it's still worth checking the meter yourself afterwards.
Turning On Direct Monitoring
If you notice a small delay between playing or singing and hearing yourself back, that's latency, caused by your computer processing the signal. Focusrite interfaces solve this with direct monitoring, which lets you hear your input immediately, before it ever reaches the software. Look for a direct-monitoring switch or software setting and turn it on — most beginners find it fixes the problem completely.
A Few Terms You'll See Along the Way
| Term | What it means |
|---|---|
| Preamp | Boosts a quiet microphone signal to a usable level |
| Phantom power | 48-volt power that condenser microphones need to work |
| Direct monitoring | Lets you hear yourself instantly, without software delay |
| Clipping | Distortion caused by a signal that's too loud — avoid it, don't chase it |
Common First-Session Wobbles
A few small things trip up almost everyone in their first week with a new Focusrite interface, and none of them mean you've done anything wrong. If you hear no sound at all, check that your recording software has actually selected the Focusrite as both the input and output device, since computers often default back to their built-in speakers and microphone. If you hear yourself twice, very slightly out of time, you're probably monitoring through both direct monitoring and your software at once — switch one off. And if a passive guitar sounds thin or distorted, double-check it's plugged into the instrument input on your Focusrite, not a microphone or line input; they look similar but behave very differently.
Building the Habit
Try to run through the same short routine every time you sit down to record: connect the interface, open your software, confirm the right input and output are selected, and record a five-second test before anything longer. It feels slow at first, but within a couple of weeks it becomes automatic, and it will save you from discovering a mistake only after you've recorded an entire song.
What to Do Once You're Comfortable
Once you've recorded a few takes and feel steady with the basics, it's worth reading our complete buyer's guide if you're thinking about upgrading, or our overview of the whole Focusrite range to understand what the more advanced models and features actually add.
The Bottom Line
Learning Focusrite properly is a short, manageable process once you take it one step at a time: install the software, connect things in the right order, set a safe gain level, and switch on direct monitoring. Master those four habits, and you already know almost everything you need for confident, clean home recording.



Comments