


Behringer Wing article
Behringer Wing for Beginners: A Complete Guide
Staring at a Behringer Wing for the first time? Here's the calm, step-by-step version of your first session on it.
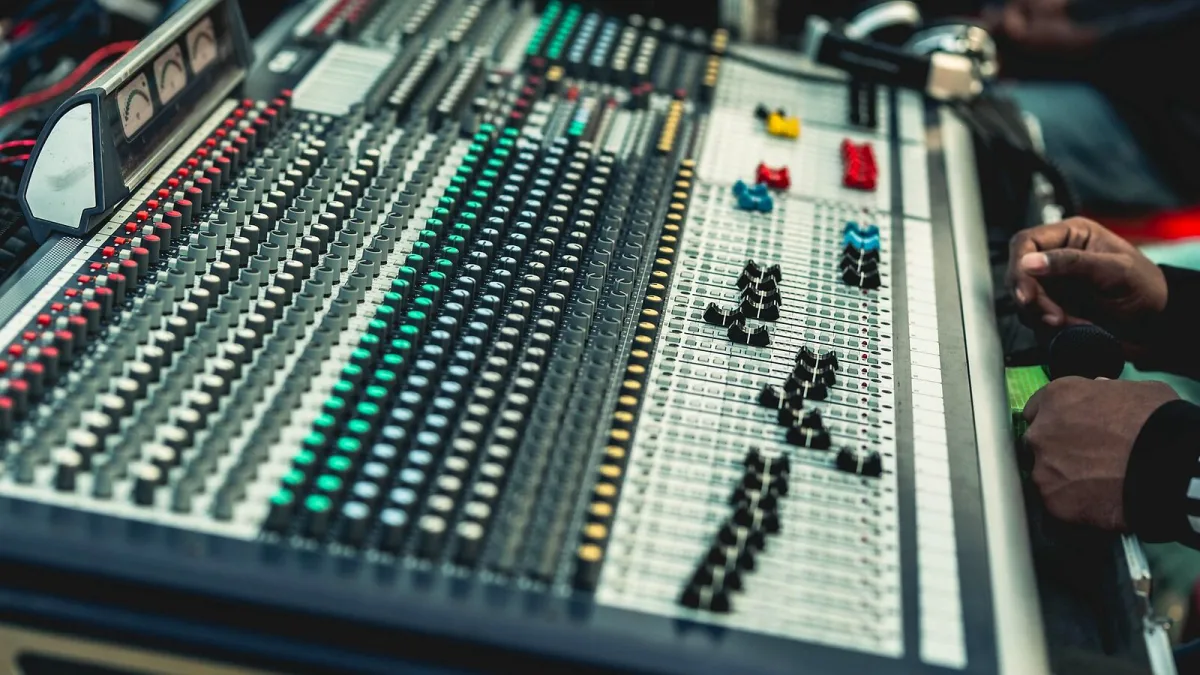
First time staring at a Behringer Wing? Don't panic — it looks like a spaceship console, but it's built on a handful of ideas that click surprisingly quickly once someone walks you through them properly. This is that walkthrough, aimed squarely at your first session, not your fiftieth.
The One Idea You Need Before Anything Else
On most mixers, plugging a mic into input three makes channel three your vocal, forever, until you unplug it. The Wing doesn't work like that. It asks you to name your inputs first — these are called sources — and then hand each one to a channel, a bus or a send. It feels like an extra step at first. Stick with it; it's the whole reason the desk is so flexible later on.
You don't need to understand the full routing philosophy on day one. You just need to know that "where a sound comes from" and "which channel controls it" are two separate decisions on this desk, not one.
Your First Session, Step by Step
Here's the order that avoids the most confusion for a first-timer:
- Power on and check the firmware. If it's an older or second-hand unit, update it before you do anything else — but confirm the update file matches your exact model first.
- Name your sources. Go through each local input and network input and give it a real name: "Lead Vox", "Kick In", "Guitar DI" — not "Ch 1", "Ch 2".
- Assign sources to channels. Drag or tap each named source onto a channel strip. This is the step that replaces old-fashioned patching.
- Set your gain, one channel at a time. Work through the band slowly rather than rushing the whole stage at once.
- Save a scene. Once you've got a working starting point, save it — so a wrong tap never costs you the whole session.
Do those five things in order and you'll have a usable mix before you've even opened the effects section.
Terms That Trip Up Newcomers
Part of feeling lost on a new desk is just vocabulary. Here are the words you'll hear most in your first week on one.
- Source — any input the console can see: a local mic lead, a network input, a USB return from a laptop.
- Channel — the processing strip (EQ, dynamics, fader) that a source gets assigned to.
- Bus — a shared destination like a monitor mix or a group, fed by several channels at once.
- AES50 — the network connection that lets a stagebox talk to the console over one cable instead of a wall of XLR leads.
- Scene — a saved snapshot of your whole setup, so you can recall it instantly.
None of these are complicated on their own. What throws people is expecting the desk to behave like a traditional mixer where those four things are all the same thing.
Don't Try to Learn Everything at Once
It can do an enormous amount — sixteen effects engines, plug-in modelling, matrix routing, multitrack recording. Ignore almost all of it for your first few sessions. Get comfortable naming sources, assigning channels and saving scenes, and let the rest wait. Trying to learn matrix routing and plug-in chains in the same session you're also learning basic gain staging is how people convince themselves the desk is harder than it actually is.
A Gentle Safety Net
Every newcomer worries about breaking something mid-show. A few habits make a Behringer Wing hard to get badly wrong, even under pressure.
- Save often. Scenes are free and instant — there's no reason not to save one every time you reach a good state.
- Use the undo history if you're unsure what you just changed.
- Practise at home first if you can, even without real inputs connected — the interface behaves the same either way.
- Ask before you assume. If you're stepping in on someone else's show file, check their naming conventions before you start renaming things.
What to Read Next
Once the basics feel comfortable, our full Behringer Wing explainer goes deeper into the whole family and its features. If you're still deciding whether to buy one at all, the buyer's guide and our roundup of the best Wings for the money both help narrow the choice. And when you're a few sessions in, it's genuinely worth reading the common mistakes new owners make — most of them are avoidable once you know they're coming.
The Bottom Line
A Behringer Wing looks intimidating because it does more than most consoles you'll have met before. But the actual first-session workload is small: name your sources, assign your channels, set your gain, save your scene. Everything else can wait until you're ready for it, and you'll get there faster than you expect.




Comments