


Analog Mixer article
Analog Mixer Explained: Features, Types and Tips
An analog mixer routes multiple audio sources into a single output through physical circuitry. This guide explains exactly how it works — from channel strip to master section — and what to look for in each type.
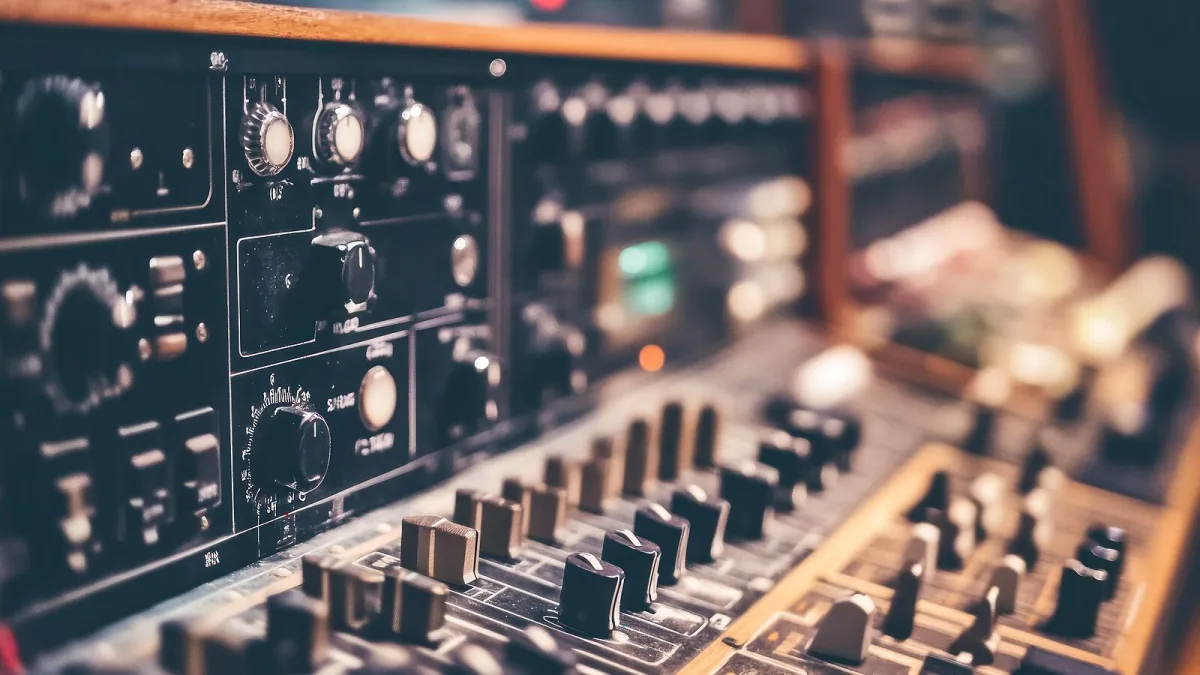
An analog mixer is the physical centrepiece of any live sound setup or recording chain — the desk where every microphone, instrument, and playback source comes together before it reaches the speakers or recorder. If you've ever stood behind one during a soundcheck, you'll know the layout: rows of knobs and faders, each channel handling a single source. This guide explains what all of it actually does, the different types available, and a few tips that make the whole thing less intimidating.
What an Analog Mixer Actually Does
At its simplest, it takes in multiple audio signals and combines them into one or more outputs. Each input source — a microphone, a guitar DI, a keyboard, a playback device — gets its own channel strip. The operator adjusts level, tone, and routing for each channel independently, then sends the combined result to the PA system, the recording interface, or both.
The key distinction from digital mixers is that analog processing happens entirely through circuitry — capacitors, resistors, op-amps — rather than computer algorithms. That means no boot time, no software updates to manage, and a very direct relationship between what you turn and what you hear. For many engineers, that directness is exactly the point.
Anatomy of an Analog Mixer Channel Strip
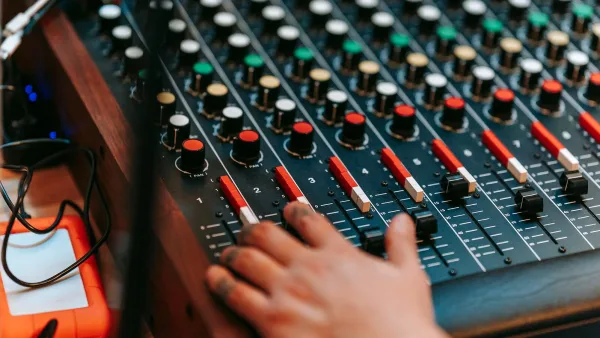
Understanding the channel strip is the key to understanding the whole desk. A typical strip, from top to bottom, includes:
- Mic/line input and gain (preamp): The top of the strip. The gain knob sets how much the incoming signal is amplified before it hits anything else. Getting gain right is the single most important adjustment on the desk.
- Low-cut filter: Removes low-frequency rumble below a set point — typically 80 or 100 Hz. Essential for microphones, where handling noise and stage rumble would otherwise muddy the mix.
- EQ section: Usually three or four bands — high, mid, low (and sometimes a sweepable mid). These shape the tonal character of each source.
- Aux sends: Sub-mixes sent to a separate output. Used for monitor mixes (so each performer can hear what they need) or effects units (reverb, delay).
- Pan control: Places the signal left or right in the stereo field.
- Mute and solo: Mute silences the channel in the main mix; solo lets you hear a single channel in isolation for troubleshooting.
- Channel fader: The long slider at the bottom of the strip. Sets the channel's contribution to the overall mix.
The Master Section
To the right of the channel strips sits the master section, which handles the overall output and any return signals. Key elements include the main stereo bus faders (which set the overall output level), the aux returns (for effects coming back into the mix), and often a graphic EQ or basic tone controls for the main output. Some desks include a built-in effects processor here; on others, effects are handled by outboard gear connected via the aux loop.
Types of Analog Mixer
These desks come in several formats, and choosing the right type depends on your use case:
Compact desktop mixers (4–12 channels)
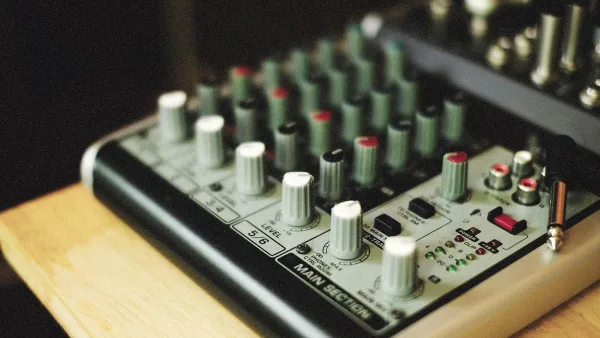
These are small-format desks designed for home studios, podcasting, rehearsal rooms, or small venues. They handle a handful of sources and are generally straightforward to operate. Models like the Yamaha MG series or Behringer Xenyx are common in this bracket. Compact desks sacrifice some routing flexibility for simplicity and portability.
Mid-format mixers (16–24 channels)
A standard choice for small-to-medium live venues, houses of worship, and recording setups. At this size, you get more aux buses, better EQ sections, and often built-in effects. The Mackie ProFX16v3 and Soundcraft Signature 16 sit comfortably here.
Large-format mixers (32+ channels)
Professional touring and installation desks. More channels, more aux buses, often a separate monitor bus. These require experienced operators and significant investment, but they offer the routing flexibility that serious productions demand.
Analog vs Digital: What the Analog Mixer Gets Right
Digital mixers have significant advantages in routing flexibility, onboard effects, and recall (the ability to save and load entire mix settings). But the analog format holds its own in several areas:
- Instant response: Every control is physical and immediate. No menu diving, no latency.
- Reliability: No software to crash, no firmware to update mid-gig.
- Lower entry cost: At equivalent channel counts, analog is generally cheaper.
- Muscle memory: Experienced engineers can work a familiar analog desk very quickly.
- Warm signal path: A matter of debate, but many engineers find analog circuitry imparts a pleasing character, particularly in the preamps and EQ.
Tips for Getting the Best from an Analog Mixer
- Set gain properly first, before touching anything else. Clip indicators on the channel strip tell you when you've gone too far.
- Use the low-cut filter on every microphone by default. You can always turn it off if the source needs it.
- Label your channels with tape and marker before a gig. It sounds obvious, but it saves time and stress.
- Leave your faders at unity (0 dB mark) as a starting point, and use the gain to set levels before the fader.
- If you're getting hum or buzz, suspect ground loops — try balanced cables and make sure all your gear shares a power source.
Where to Go Next
If you're ready to buy, our complete buyer's guide walks through what to look for before you commit. For recommendations at specific budgets, see the best mixers for the money. And if you're brand new to mixing altogether, the beginner's guide covers everything from first principles.




Comments