


Singing Bowl article
Singing Bowl for Beginners: A Complete Guide
A squeaky first attempt doesn't mean you're doing it wrong. Here's a patient, step-by-step guide to actually playing a singing bowl.
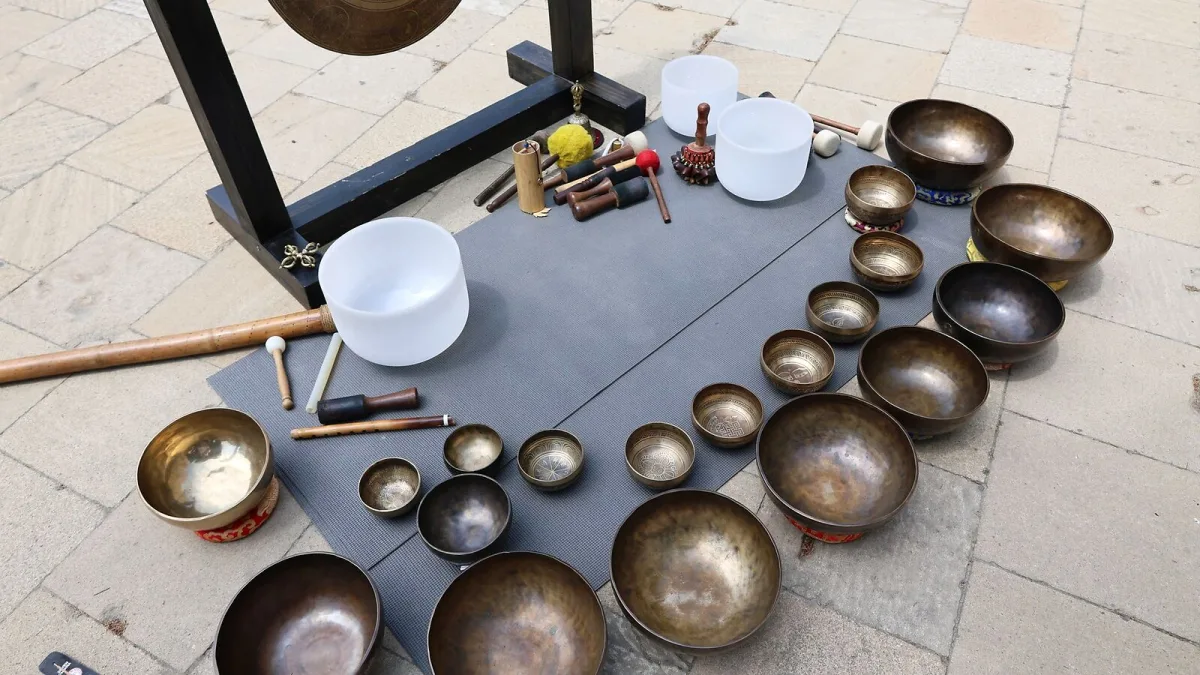
If your singing bowl has been sitting quietly on a shelf because you're not quite sure how to actually play it, you're not alone, and there's nothing to feel silly about. It looks simple, and it is simple, but a few small technique details make the difference between a clean, sustained tone and a squeaky scraping sound. Let's go through it properly, one step at a time.
What You're Actually Trying to Do
A metal bowl makes sound in two different ways: a single struck note, or a continuous "singing" tone created by rubbing the rim steadily with a mallet. Both are completely valid, and most players use a mix of the two. Neither one is harder than the other — they're just different skills, and you'll likely find one comes more naturally to you than the other at first.
How to Play Your Singing Bowl, Step by Step
- Set it down properly. Rest the singing bowl on an open, flat palm or a stable cushion. Try not to grip its sides, since touching the vibrating wall damps the sound before it can develop.
- Pick up a suitable mallet. A padded or wooden mallet is the standard choice, and it's usually the one that came with your bowl.
- Try a struck tone first. Tap the outside rim or upper side with a moderate, confident tap, then lift the mallet away immediately rather than letting it rest on the bowl.
- Move on to a sustained tone. Hold the mallet loosely and let it contact the outer rim at roughly a 45-degree angle.
- Circle the rim slowly and evenly. Keep light, consistent pressure as you move, rather than pressing harder to force more volume.
- Troubleshoot any scraping or squealing. If the tone breaks up, simply reduce your pressure, adjust the angle slightly, slow down, or try a different mallet.
- Experiment once it feels comfortable. Try the inside of the rim, a different support surface, or a different mallet, and notice how each small change shifts the sound.
None of this needs to happen in one sitting. Give yourself permission to spend a whole first session just on step four — finding that sustained tone is genuinely the trickiest part, and it clicks for almost everyone with a bit of patient repetition.
Why It Sometimes Won't "Sing" at First
If you're getting a scratchy or inconsistent sound rather than a smooth tone, it's very rarely because you're doing something fundamentally wrong. The most common causes are pressing too hard, moving too quickly around the rim, or gripping the bowl itself rather than letting it sit freely. Slow everything down before you assume the bowl or the mallet is the problem.
A Gentle Word on Safety
Keep the bowl at a sensible distance from your ears and never place your head inside it or hold it right against your head — at close range, the sound is far more intense than it seems from a normal listening distance. If you're ever using one in a group setting, it's worth reading our guide to common mistakes, which covers this in more depth.
Building a Simple Practice Habit
You don't need a long session to benefit from this. Even five unhurried minutes, morning or evening, is enough to notice a difference in how settled you feel. Let the sound fade completely before you strike or rub again — the silence afterwards is as much a part of the practice as the tone itself.
If you haven't chosen a bowl yet, our buyer's guide will help, and our explainer piece is a lovely companion read once you're curious about why the sound works the way it does.
Be Kind to Yourself While You Learn
Nobody produces a perfect, sustained tone in their first five minutes, and that's completely normal. Treat the wobbly, squeaky early attempts as part of the process rather than a sign you're getting it wrong. With a little patience, playing a singing bowl becomes one of the most quietly satisfying small skills you can pick up, rewarding you for every minute you give it.




Comments