


Snare article
Snare for Beginners: A Complete Guide
No wiring, no software, just a shell, two heads and a set of wires. Here's the honest, no-nonsense version of what a beginner actually needs to know.
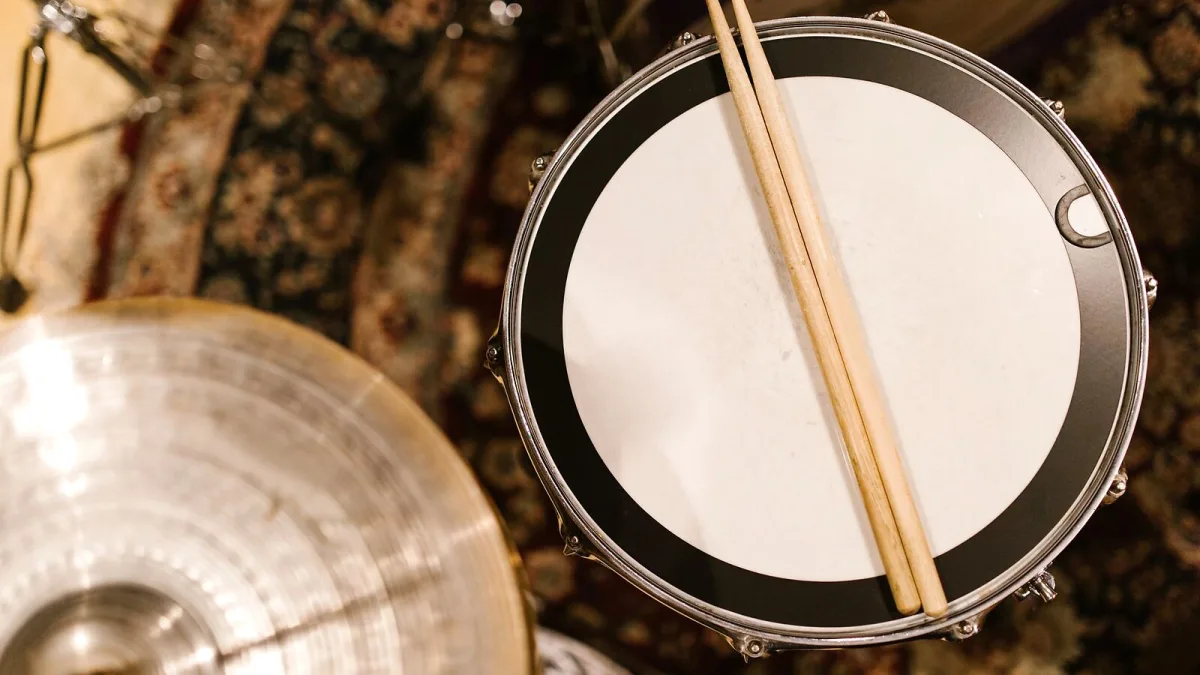
Right, let's keep this simple, because it doesn't need to be complicated. A snare drum is one of the easier parts of the kit to get sounding decent quickly — no wiring, no software, just a shell, two heads and a set of wires. Here's the honest, no-nonsense version of what you actually need to know starting out, straight from someone who's made every rookie mistake on one already.
Don't Overthink Your First One
If you've already got a kit, you've probably already got one — most starter kits come with a perfectly usable standard-sized shell. A 14-inch diameter with a depth of around 5.5 inches is the industry default for a reason: it's versatile enough to work for almost any style you'll play early on. Don't get pulled into buying a specialist piccolo snare drum or a deep, dark studio piece before you know what you actually like. Learn on something ordinary first.
Getting It Set Up and Sounding Decent
Tuning sounds intimidating until you've actually done it once. Here's the version that works:
- Loosen every tension rod evenly, then finger-tighten them all back up so the head sits flat with no slack.
- Working in a star pattern — never round the rim in order — give each rod a small, equal turn.
- Tap gently about an inch and a half in from each rod and listen for the pitch to match all the way round.
- Repeat on the underside, tuning that lower head a touch higher than the top one to start with.
- Engage the wires and adjust the tension until it responds cleanly without buzzing or choking.
That's genuinely most of it. You'll get faster and more confident with your ears the more times you do it.
Knowing the Parts, in Plain English
The head you hit is the batter head. The thinner one underneath, against which the wires sit, is the resonant head. The wires themselves create the buzz that makes a snare drum sound distinctive, and they're switched in and out using a lever called the throw-off. That's genuinely most of the vocabulary you need before you're capable of having a sensible conversation about the thing at a jam or in a shop.
You'll also hear people talk about the "snare bed" — a small, shallow dip machined into the shell so the wires and the lower head sit flat without digging in at the edges. You don't need to do anything about it; it's just useful to know the term exists so it doesn't throw you the first time someone mentions it.
Learning to Actually Play It
Hit it dead centre and you get the fullest, roundest sound. Move toward the edge and it thins out with more overtone — useful, not a mistake. A rimshot, where the stick catches the rim and the head at once, gives you the loudest, sharpest accent it's capable of, and it's worth practising early since so much rock and pop leans on it for the backbeat. Don't worry yet about ghost notes, buzz rolls or cross-sticks — they'll come naturally once centre hits and rimshots feel automatic.
Three Things I Wish Someone Had Told Me
- A cheap head upgrade changes more than you'd think. If yours came with a basic stock head, a decent single-ply coated replacement is the fastest, cheapest improvement available.
- Tune it at the volume you'll actually play at. Something that sounds fine tapped lightly can choke or ring under a proper hit.
- Less muffling than you think. A bit of tape or a gel damper goes a long way; smothering the head kills the character you're trying to develop.
The Bottom Line
Start with an ordinary snare drum, learn to tune it properly, and get comfortable with centre hits and rimshots before chasing anything fancier. Once the basics feel automatic, our overview of how it all works fills in the deeper detail, and when you're ready to spend money on a better one, both our buyer's guide and our list of common mistakes to avoid are worth a read.




Comments