


Cymbals article
Common Cymbals Mistakes to Avoid
The habits behind most cracked or choked cymbals, and the simple fixes for each — from over-tightening to poor transport.
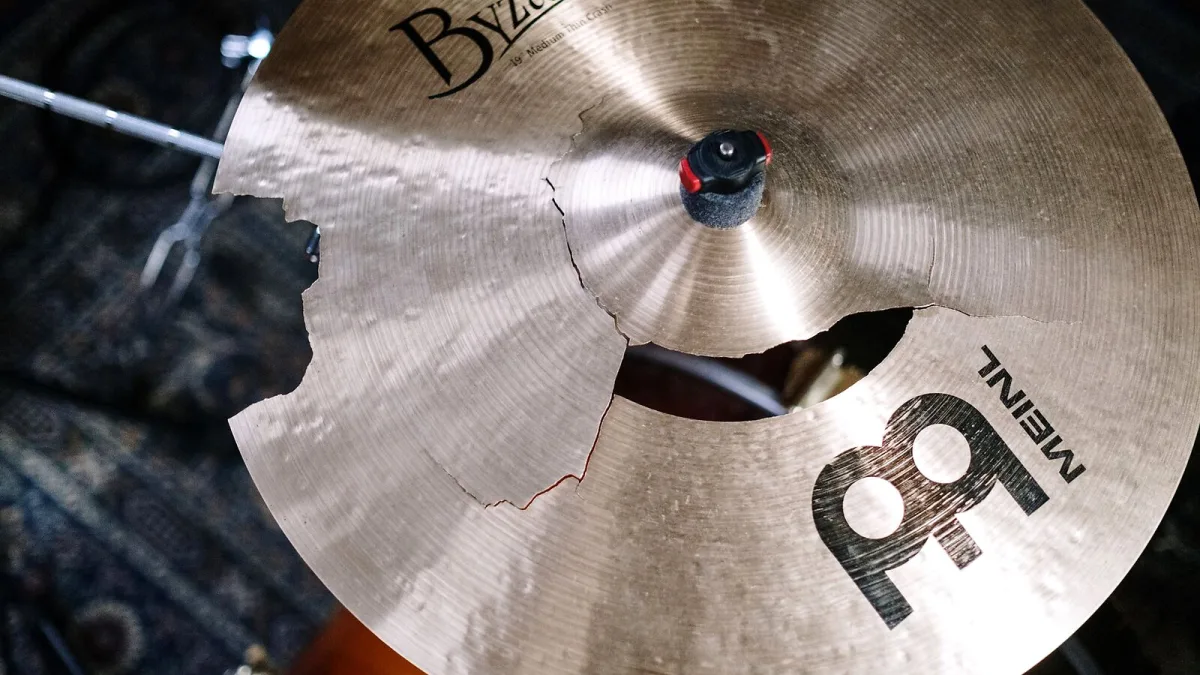
Most cracked, choked or short-lived cymbals were not victims of bad luck — they were let down by a handful of habits that are easy to fix once you know to look for them. After years behind a mixing desk watching touring drummers set up night after night, the same six problems come up again and again. Here they are, with what to do instead.
Mistake 1: Clamping Them Too Tightly
This is the big one. A cymbal needs freedom to move and vibrate; squeeze it rigid between two felt washers and the wingnut, and it cannot ring properly — it chokes, and the stress concentrates right at the centre hole where cracks most often start.
Fix it: tighten the wingnut until snug, then back it off slightly. The cymbal should be able to wobble a little on the stand. If it cannot move at all, it is too tight.
Mistake 2: Striking Straight Down Instead of Across
Hitting a cymbal like a drum head — a direct, perpendicular blow — puts a sharp, concentrated shock through the metal. Over hundreds of gigs, that adds up to fatigue cracks, particularly near the edge.
Fix it: use a glancing stroke that grazes across the surface rather than driving straight into it. It produces a fuller sound for less physical effort, which is a rare case of the easier technique also being the correct one.
Mistake 3: Ignoring Worn Hardware
Felt washers go thin and hard with age, plastic sleeves split, and once that happens the cymbal starts making direct contact with bare metal. It is a slow, invisible problem right up until the day it is not.
Fix it: check felts and sleeves at the same time you change drum heads. They are cheap, and replacing them before they fail costs far less than replacing the cymbal they were meant to protect.
Mistake 4: Choosing by Price or Looks Alone
A shiny finish or a familiar badge tells you nothing about how a cymbal will actually behave in your setup. I have watched plenty of expensive cymbals disappear completely once a full band kicked in, simply because nobody checked how they sat in a mix before buying.
Fix it: play any cymbal at the volume you will actually use it at, ideally with other instruments present, before deciding. Our complete buyer's guide to cymbals covers exactly what to check in the shop.
Mistake 5: The Wrong Cymbal for the Room
A big, washy crash that sounds glorious alone in a shop can bury a quiet acoustic set, while a small, dry setup can vanish under a loud rock band. This is less about quality and more about matching the instrument to the context it will actually work in.
Fix it: think about volume and density before tone. A dry, controlled cymbal earns its keep in a busy mix or a quiet room; a bigger, washier one needs space to actually be heard properly. If you are unsure what fits your situation, our guide to how cymbals work explains the terminology worth knowing before you decide.
Mistake 6: Poor Transport and Storage
Cymbals thrown loose into a car boot or stacked flat without separation pick up dents, scratches and, eventually, cracks from edges knocking together. It is one of the most preventable causes of damage, and one of the most common.
Fix it: use a proper cymbal bag or case with padded dividers between each one, and never stack them flat without something soft in between. Beginners in particular can find this a useful habit to build early — our beginner's guide covers safe setup and handling from day one.
The Bottom Line
None of these six mistakes are complicated to fix, and none require spending more money — if anything, avoiding them saves you from replacing cymbals unnecessarily. Mount loosely, strike at an angle, check your hardware, listen before you buy, match the instrument to the room, and transport them properly. Do those six things consistently and most cracks simply stop happening. For a tiered look at where spending more genuinely helps, see our best-value guide to cymbals.






Comments