


Vinyl Record Cleaner Machine guide
How to Set Up and Use Vinyl Record Cleaner Machine
Got your machine out of the box and not sure where to start? Here's the proper workflow, step by step, for a genuinely clean record.
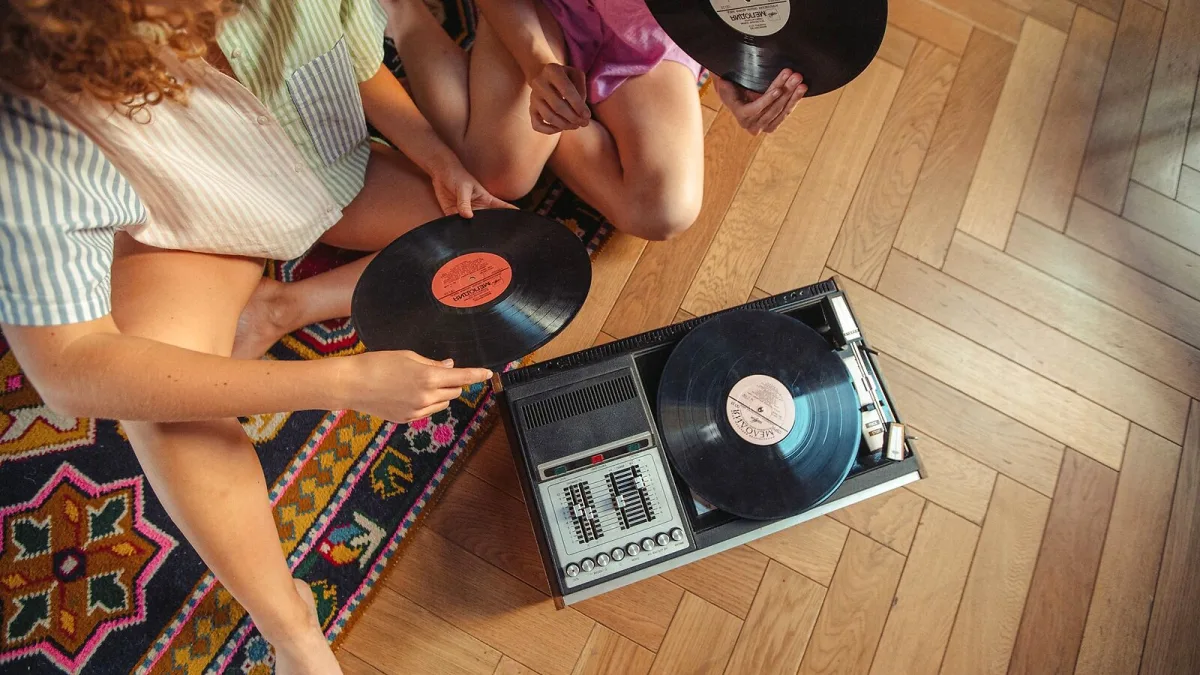
Right, you've got your machine out of the box and you're staring at it wondering where to actually start. Fair enough — nobody's born knowing this stuff. Here's the proper workflow, step by step, for getting a genuinely clean record without making a mess of your setup or your evening.
Before You Even Switch On Your Vinyl Record Cleaner Machine
Get your workspace sorted first. You want a flat, stable surface, a power socket within reach, and — if you're using a vacuum machine — somewhere you don't mind a bit of noise. Have your cleaning fluid, a clean brush and somewhere to stand cleaned records upright while they dry. Rushing this bit is how fluid ends up somewhere it shouldn't.
How to Use a Vacuum Record Cleaner Machine, Step by Step
- Dry-brush the record first. Use a carbon-fibre or other record-safe brush to lift loose surface dust before any liquid touches the groove.
- Place the record on the platter and centre it properly on the spindle.
- Apply a suitable cleaning fluid — sparingly, and only one designed for your specific machine.
- Spread the fluid with the dedicated brush while the record rotates, working it into the groove rather than just across the surface.
- Vacuum the fluid off using the machine's extraction arm, letting it draw the dirty liquid away completely.
- Repeat on the other side, and go over particularly grubby sections again if needed.
- Let the record dry fully before it goes anywhere near an inner sleeve.
If You're Using an Ultrasonic Machine Instead
The broad idea's the same, but the mechanics differ. Records go into a fluid bath rather than onto a vacuum platter, with high-frequency cavitation doing the agitation work instead of a brush. A few things matter more here than with a vacuum setup:
- Keep records properly spaced so they don't touch each other or the tank walls.
- Use distilled or deionised water rather than tap water, to avoid mineral residue.
- Pre-clean anything visibly filthy with a brush or manual wash first — don't dunk a genuinely grimy record straight into a shared bath.
- Follow your specific machine's guidance on drying — some fan-dry, some use a separate cycle, and mixing up the wrong additive with the wrong drying method can leave residue behind.
Getting the Fluid Right
Don't assume one bottle does everything. Whatever machine you've got, the fluid matters as much as the mechanism itself. A fluid designed for a vacuum machine isn't automatically safe in an ultrasonic bath, and vice versa. Keep fluid away from paper labels unless your machine is specifically built to protect them, and never reuse fluid that's already visibly contaminated — you'll just be redepositing what you were trying to remove in the first place.
Drying Properly (Don't Rush This Bit)
A record that goes into its sleeve even slightly damp is asking for trouble — mould, residue, a sleeve stuck to the label. Let it dry completely, whether that's on a proper drying rack, standing upright in clean air, or through your machine's own drying cycle if it has one. If you're fan-drying and your machine used any kind of surfactant, check the manufacturer's guidance first — some additives can dry onto the surface rather than lifting away cleanly.
A Sensible Session Routine
If you've got a stack of records to get through, work through them in a consistent order rather than jumping around: dry-brush the whole pile first, then clean one at a time properly rather than trying to rush several through half-finished. It's tempting to batch things when you're excited about a big haul from a record fair, but rushing the drying stage especially is where most avoidable damage happens. Give yourself more time than you think you'll need, particularly the first few times through the process.
Looking After the Machine Itself
The machine needs care too, not just the records going through it. Clean the vacuum lip, brush and any filters regularly, and don't let fluid sit and dry inside the mechanism between sessions. A neglected machine can start reintroducing dirt rather than removing it, which rather defeats the point.
Once you're comfortable with the basics, our common mistakes guide covers the habits that trip people up even after they've got the hang of the process, and our full overview is worth a read if you want to understand the mechanics a bit deeper.
Bottom Line
A vinyl record cleaner machine isn't complicated once you've got the order right: dry-brush, fluid, agitate, extract, dry completely. Get that sequence down properly on your first few records, and the rest is just repetition — genuinely satisfying repetition, if you ask me.




Comments