


Pioneer DJ Decks guide
How to Set Up and Use Pioneer Dj Decks
From wiring to your first blend, here is the proper order for setting up Pioneer DJ decks, preparing a rekordbox USB, getting your gain staging right and fixing the setup problems that trip up newcomers.
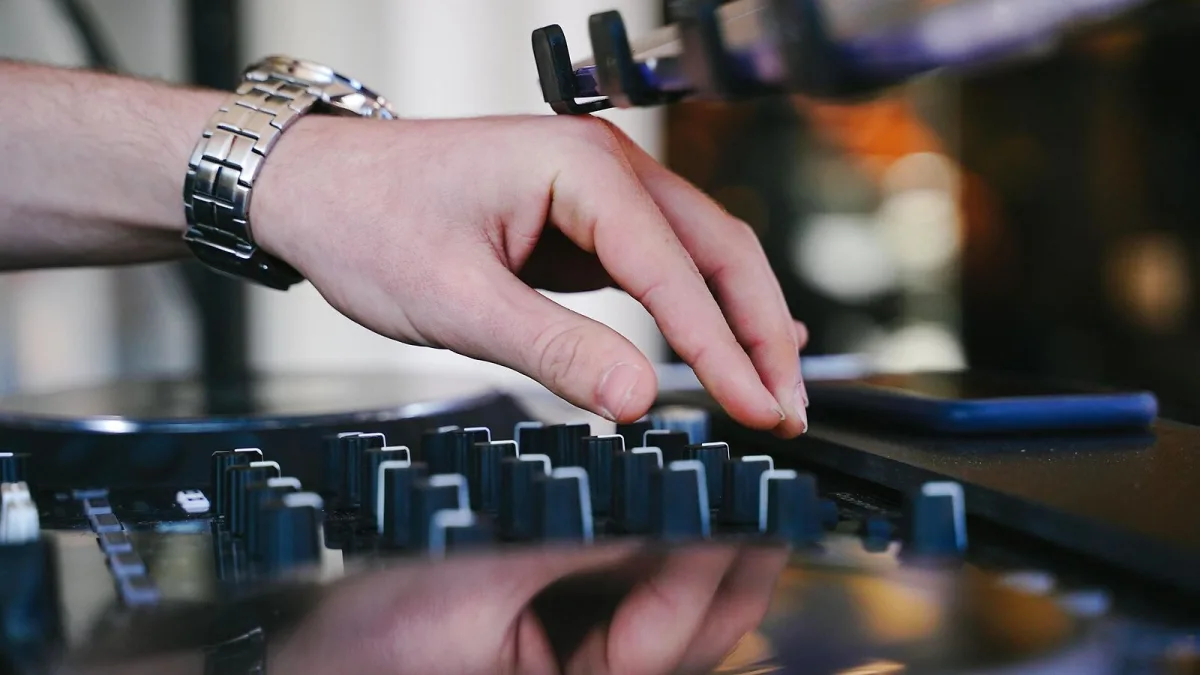
Getting a pair of Pioneer DJ decks out of the box and actually mixing cleanly is a shorter journey than it looks, provided you do the steps in the right order. Rush the wiring or skip the USB preparation and you will spend your first session fighting the gear instead of the mix. Here is the setup process laid out properly, from unboxing to your first blend.
What You Will Need Before You Start
- Two or more CDJ or XDJ media players (or an all-in-one XDJ system)
- A DJ mixer with enough channels for every player, unless you are on an all-in-one
- A laptop with rekordbox installed, for preparing your USB drive
- At least one properly formatted USB drive — two if you want a backup, which you should
- Headphones with a connector that matches the deck's headphone output
- Powered speakers, or an amplifier and passive speakers
- Enough cabling: RCA or XLR from each deck to the mixer, and mixer to speakers
Setting Up Pioneer DJ Decks Step by Step
- Position the players and mixer. Place each deck either side of the mixer, on a flat, stable surface, exactly as you would find them in a booth. This layout matters because it is what your hands will learn to expect.
- Wire each deck to the mixer. Run a cable from each player's output into its own numbered channel on the mixer, then connect the mixer's master output to your speakers or amplifier.
- Power everything up in order. Switch on the mixer first, then each deck, to avoid any startup pops reaching your speakers.
- Prepare your USB drive in rekordbox. Import your tracks, let rekordbox analyse them for tempo and key, check the beat grids manually, and build a couple of playlists.
- Set hot cues and loops while you still have the tracks in software. Marking an intro or a drop now saves fumbling for it live later.
- Export the library to USB, then duplicate it to a second drive. Test both drives on the actual hardware before you rely on either.
- Load a track on each deck and set your gain. Use the trim or gain control so the channel meter sits comfortably in its normal working range, not permanently in the red.
- Cue the next track through your headphones. Use the cue button and headphone mix control to find your entry point privately before it reaches the crowd.
- Bring the second channel in on the mixer and adjust EQ. Pull down clashing frequencies, most often the bass, as you blend from one deck to the other.
Getting the Levels Right
Gain staging trips up more new users than any control on the deck itself. Every channel should read roughly the same level on the mixer's meters before you touch the EQ or crossfader. If one track needs the gain much higher or lower than the other to match, check that both files were analysed and normalised consistently in rekordbox — wildly inconsistent source levels are the usual culprit.
Troubleshooting Common Setup Problems
| Symptom | Likely cause | Fix |
|---|---|---|
| USB drive not recognised | Wrong format or a damaged drive | Reformat as instructed by rekordbox and re-export |
| No sound from one deck | Wrong channel selected, or a loose cable | Check the mixer's channel source switch and reseat the cable |
| Sync will not lock two tracks together | A poor or missing beat grid | Re-analyse the track and check the grid manually in rekordbox |
| Distorted or clipping audio | Gain set too high on the channel | Pull the trim back until the meter sits in its normal range |
| Jog wheel behaves oddly | Vinyl mode enabled unintentionally | Check the mode switch beside the jog wheel |
Linking Multiple Players Together
If you are running three or four units rather than a simple pair, most current models support networked linking, often called Pro DJ Link. Connecting the players with an ethernet cable, rather than daisy-chaining through USB alone, lets every deck on the network see the same USB drive and library at once. That means you can queue a track on deck three while it is loaded and playing on deck one, without physically swapping the drive between units. It is a small habit to build early, since fumbling with a single shared USB stick mid-set is exactly the kind of avoidable mistake this step-by-step approach is meant to prevent.
Looking After the Setup Once It Is Running
A little routine maintenance keeps everything reliable once it is wired up and working. Wipe the jog wheels and screens with a dry, soft cloth rather than anything abrasive. Eject USB drives properly through the deck's menu rather than pulling them out mid-write, which is a common cause of a corrupted database that then needs rebuilding in rekordbox. Keep firmware reasonably current, since updates occasionally fix real playback or USB-recognition bugs rather than just adding features. None of this is complicated, but skipping it is how a setup that worked perfectly on day one starts throwing odd faults a few months later.
Before You Sit Down at the Decks
If any of the terms above are new to you, our overview of Pioneer DJ decks explains what the jog wheel, hot cues and sync are actually doing before you touch them. If you have not bought your gear yet, our buyer's guide covers what to check first, and our beginner's guide is a gentler starting point if the whole idea still feels new.
The Bottom Line
A clean setup on Pioneer DJ decks comes down to sequencing: position and wire the hardware first, prepare your music properly in rekordbox second, and only then start setting levels and mixing. Follow the steps in order once, and every session after it will take a fraction of the time.



Comments