


Record Cleaning Machines guide
How to Set Up and Use Record Cleaning Machines
Buying the machine is the easy part. Here's the complete, repeatable process for getting genuinely good results out of it every single time.
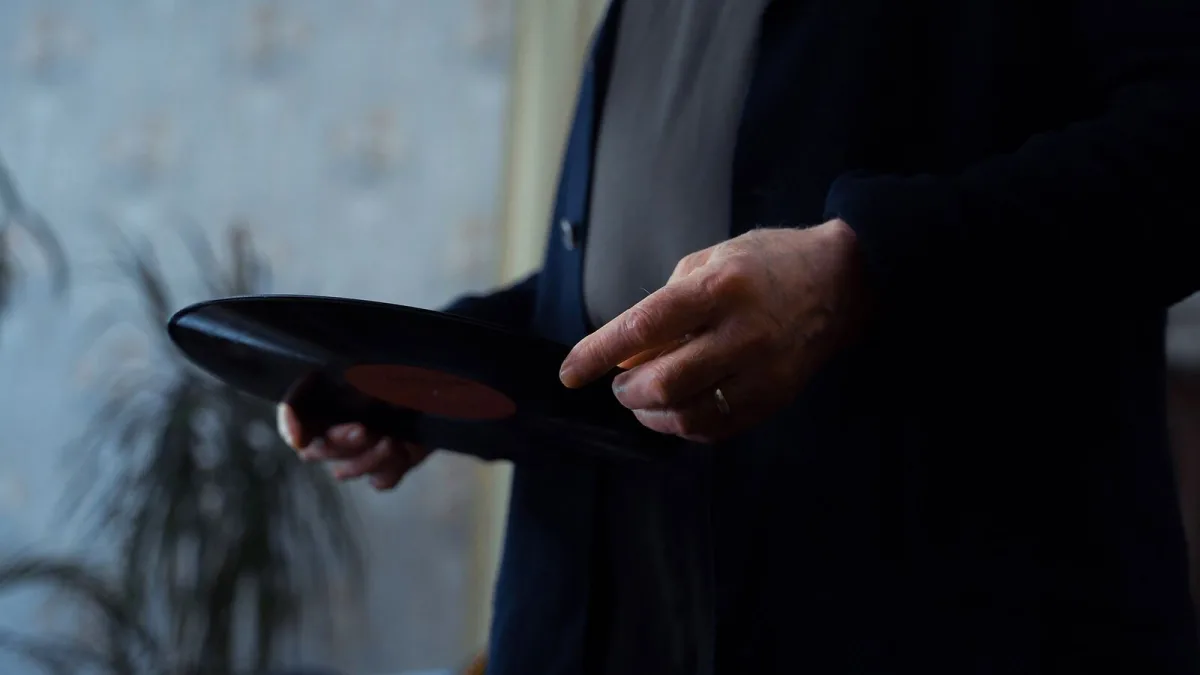
Buying one of these record cleaning machines is the easy part. Getting genuinely good, repeatable results out of it depends on following the process properly, every time, rather than rushing to hear the difference. Here's the complete workflow, step by step, along with the bits that change depending on which type of machine you own.
Before You Start Using Record Cleaning Machines
Have everything within reach before you begin: your cleaning fluid, a carbon-fibre or record-safe brush, clean drying cloths or a rack, and fresh inner sleeves for anything coming out of an obviously contaminated one. Working in a clean, dust-free space matters more than people expect — there's little point extracting dirt from the groove only to let fresh dust settle straight back onto a damp record.
The Step-by-Step Process
- Inspect the record first. Separate anything visibly mouldy, oily or unusually contaminated — it may need a gentler pre-clean before it goes anywhere near your machine.
- Remove loose dust with a dry brush. Doing this before any fluid touches the record stops your bath or solution getting dirty unnecessarily fast.
- Protect the label. Fit the machine's clamp or label guard properly before adding any fluid — a soaked label is very hard to undo.
- Apply the correct fluid, at the correct ratio. Follow your machine or fluid manufacturer's instructions exactly rather than guessing quantities.
- Clean the record. Agitate with the brush on a manual or vacuum system, or run the appropriate ultrasonic cycle if that's what you own.
- Extract or rinse. A vacuum machine should remove all visible fluid; a manual bath system may need a separate clean-water rinse pass afterwards.
- Dry the record completely. Never sleeve a record while it's even slightly damp — trapped moisture invites exactly the problems you just cleaned away.
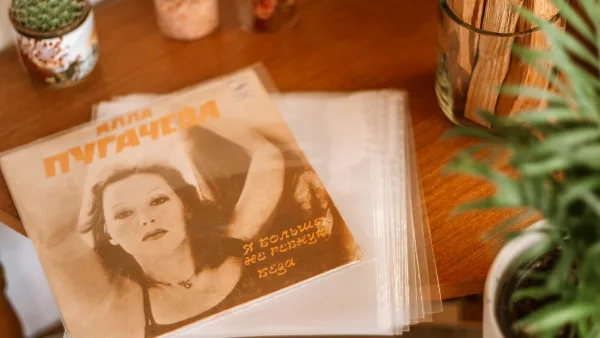
- Use a fresh, clean inner sleeve. Returning a newly cleaned record to its old, contaminated paper sleeve undoes a good part of the work.
- Clean your stylus. Loosened residue transfers straight back onto the groove of the next record played if the stylus isn't kept clean too.
- Store the record vertically. Keep it away from heat, direct sunlight and damp storage conditions once it's properly dry.
What Changes Across Different Record Cleaning Machines
The core sequence above holds regardless of what you own, but a few steps look different in practice:
- Manual bath systems put more of steps 5 and 6 in your hands — you control the rotation speed, brush pressure and how thoroughly you rinse.
- Vacuum machines handle step 6 for you via suction, but the brushing and fluid application in step 5 still need doing manually first.
- Ultrasonic machines largely automate steps 5 and 6 through a programmed cycle, though you still need to load the record correctly and protect the label yourself.
Common Setup Mistakes to Avoid With Record Cleaning Machines
- Skipping the dry-brush step and going straight to fluid — this just dirties your bath faster.
- Using tap water instead of distilled water in the fluid mix, which can leave mineral residue behind.
- Rushing the drying stage and sleeving a record that's still damp.
- Forgetting the stylus, and wondering why noise reappears within a few plays.
Not sure which machine actually suits your collection yet? Our complete buyer's guide covers that properly, and our features and types guide explains how each method actually works. Brand new to all this? Start with our beginner's guide instead.
The Bottom Line
Across every type of record cleaning machines, the sequence matters as much as the machine itself. Follow it properly every time, and even a modest manual system will keep a collection sounding genuinely clean for years.



Comments