


Sound Proof Panels guide
How to Set Up and Use Sound Proof Panels
Good placement beats expensive panels in the wrong spot — here's exactly how to find your reflection points and set up properly.
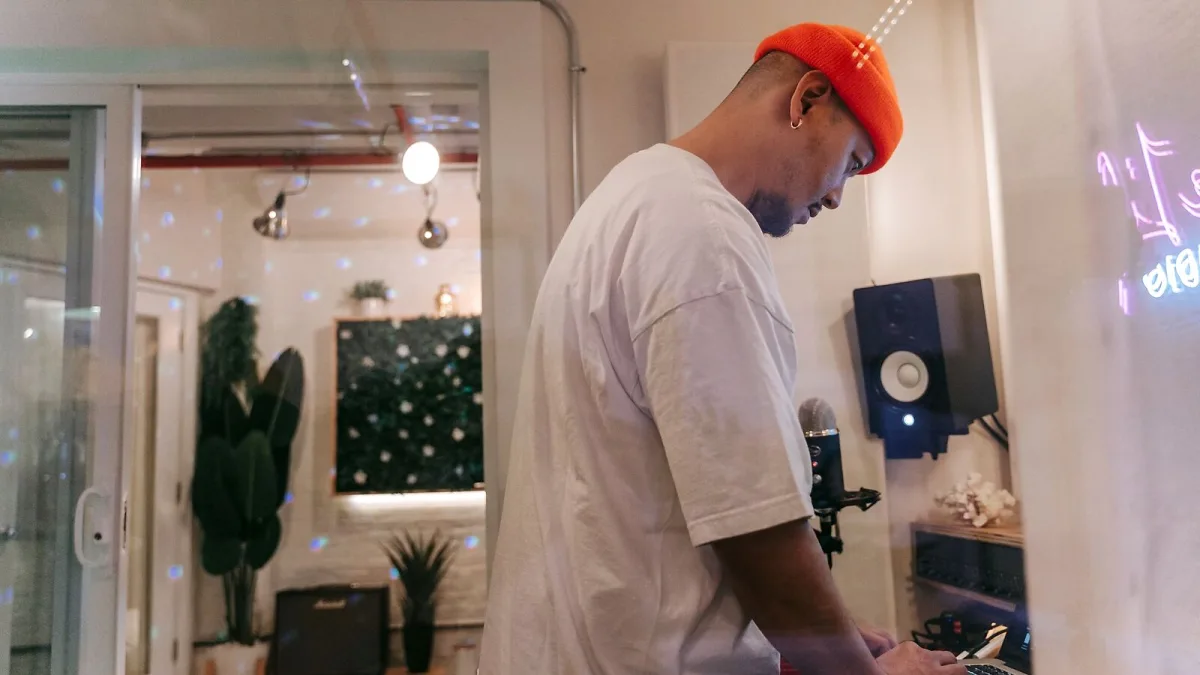
Buying panels is the easy bit — getting real results out of them comes down to where you actually put them. I've rearranged more home studios than I can count, and the difference between "meh, sounds about the same" and "wow, that's noticeably clearer" almost always comes down to placement, not the panels themselves. Here's exactly how to find the right spots and get set up properly.
Quick Reality Check First
Setting these up will genuinely improve how your room sounds for recording and monitoring — reflections, flutter echo, that boxy harshness. It won't stop sound reaching your neighbours; that's a completely different, structural job. Go in with the right expectations and you won't be disappointed with an otherwise excellent result.
Finding Your First-Reflection Points
Before mounting anything, you need to know exactly where sound is bouncing off your walls into your ears. The classic method is brilliantly low-tech: sit in your listening or recording position, and get a friend to slide a mirror along the side wall. Wherever you can see the reflection of your speaker (or your recording source) in that mirror, mark the spot — that's a first-reflection point, and it's exactly where a panel needs to go.
Setting Up Your Panels: Step by Step
- Set up a symmetrical listening or recording position, usually along the longer dimension of the room where possible, with your speakers or source positioned evenly relative to the side walls.
- Find the first-reflection points on both side walls using the mirror method described above, marking each spot clearly.
- Mount broadband panels at those marked points, using fixings rated for the panel's weight and your wall type.
- Check the ceiling reflection point the same way, and add a ceiling cloud if the room needs it, leaving a genuine air gap behind it.
- Assess the rear wall. If it's close to your listening position, add absorption; if it's far enough away, a diffuser can work better than more absorption.
- Add bass trapping in the corners, using the deepest, densest traps your budget and space allow — corners are where low-frequency energy builds up most.
- Listen back and measure. Play familiar reference material or use room-measurement software to compare before and after, rather than judging purely by ear.
Mounting Without Wrecking Your Walls
Check what's actually behind your wall before drilling — stud, brick and plasterboard all need different fixings, and a panel that's too heavy for a flimsy fixing is a genuine hazard, especially overhead. Impaling clips or Z-clips work well for fabric-wrapped panels on plasterboard; for rented spaces, look at panels designed to lean, stand or hang without permanent fixings so you're not filling holes when you move out.
Getting the Air Gap Right
An air gap behind a porous panel genuinely improves its low-frequency performance, because more of the sound's particle movement happens away from the rigid wall surface. Even a modest gap — a few centimetres, achieved with simple spacers or a mounting frame — makes a measurable difference versus fixing the same panel completely flush.
A Worked Example: A Typical Bedroom Studio
Picture a small bedroom, roughly three metres by three and a half, used for vocals and mixing. A sensible starting layout for sound proof panels here is two broadband panels on each side wall at the marked reflection points, one small cloud above the mixing position, and a bass trap in each of the two corners behind the speakers. That's six to eight pieces of treatment, not the twenty-panel wall-to-wall coverage some sellers push — and it's genuinely enough to make a noticeable difference in a room that size.
Irregular Rooms and Awkward Shapes
Not every room is a neat rectangle, and that's fine. In an L-shaped or oddly proportioned space, focus on the reflection points that actually matter for your specific listening or recording position rather than trying to mirror a textbook layout. A slightly asymmetrical room with well-placed sound proof panels at its real reflection points will outperform a symmetrical room treated by guesswork.
Measuring Your Results
Don't just trust your ears here, because a room can sound quieter simply because you've absorbed too much high frequency, not because you've actually fixed the problem. A calibrated measurement microphone and free room-measurement software will show you a proper frequency response and decay-time plot, letting you see exactly where you've improved things and where you still need work.
If you haven't bought your panels yet, our buyer's guide covers what to look for, and our complete guide explains the absorption-versus-isolation distinction properly. New to all this? Start with our beginner's guide instead, and check our common mistakes piece so you don't repeat the errors I see constantly.
The Bottom Line
Good placement beats expensive panels in the wrong spot every single time. Find your reflection points properly, mount with a sensible air gap, trap your corners, and actually measure the result rather than guessing — do that, and even a modest set of sound proof panels will transform how your room sounds.



Comments