


Sound Proof Panels article
Common Sound Proof Panels Mistakes to Avoid
Most disappointing results with sound proof panels come from a handful of avoidable mistakes, not the products themselves. Here they are.
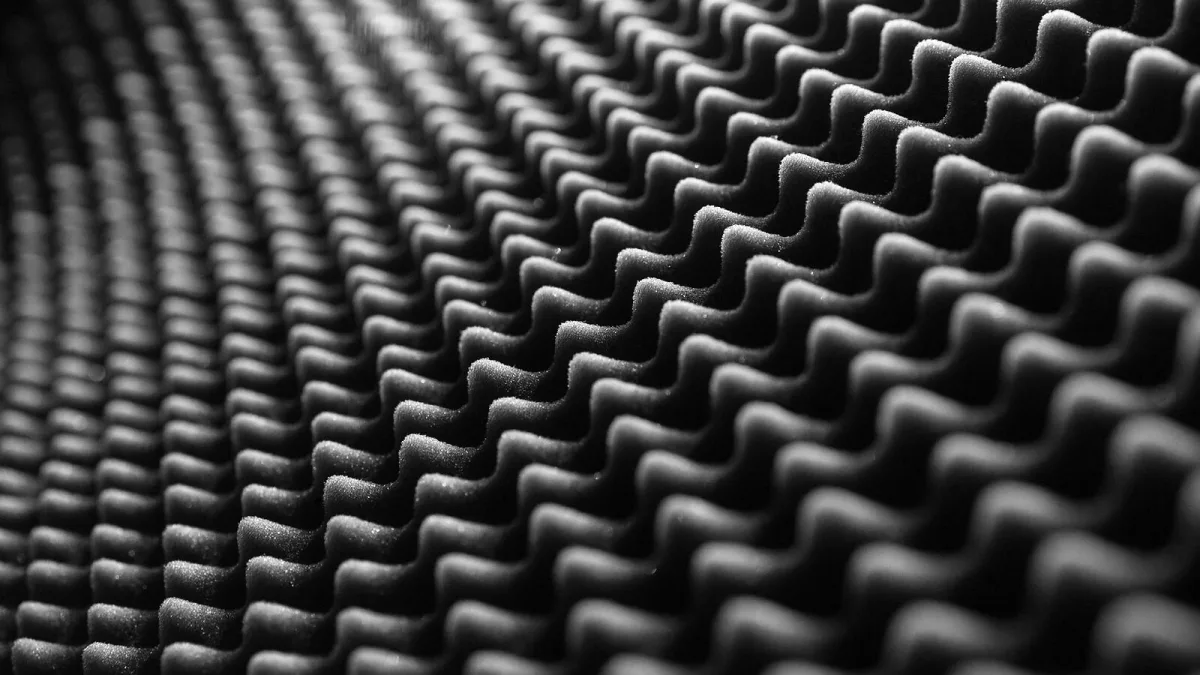
I see the same handful of mistakes over and over when people start treating their room, and honestly, most of them come from the confusing way this stuff gets marketed rather than anything the buyer's done wrong. Let's fix that. Here are the errors I run into constantly, and the quick way round each one.
Buying Foam Because the Box Says "Soundproof"
This is the big one. Foam wedges marketed with "soundproof" plastered across the packaging will absorb a bit of high-frequency reflection and do essentially nothing to stop bass reaching your neighbours. If isolation is genuinely your goal, foam alone was never going to solve it, no matter how much you buy or how thick it looks.
Confusing NRC With STC
These two ratings measure completely different things, and mixing them up leads to real disappointment. NRC tells you how absorptive a panel is inside your room. STC tells you how well a tested wall, door or floor blocks sound from crossing it. A panel's NRC rating tells you nothing whatsoever about your wall's isolation performance — they're not interchangeable, and no amount of high-NRC panels will improve a low-STC wall.
Treating Only the Wall Behind the Speakers
A common instinct is to slap a couple of panels directly behind the speakers and call it done. But the wall behind your speakers usually isn't where the problematic reflections happen — the side walls, at your first-reflection points, matter far more for clarity. Treating the wrong wall means spending money for very little audible improvement.
Ignoring the Ceiling Completely
Ceilings reflect sound just as much as walls do, and in a lot of home setups they're the most neglected surface in the room. If you've treated your side walls properly and things still sound a bit smeared or boxy, check your ceiling reflection point before adding more panels elsewhere — a single ceiling cloud often fixes what several extra wall panels won't.
Skimping on Bass Trap Depth
Low frequencies need real depth and airspace to be absorbed effectively, and a thin decorative bass trap simply doesn't have enough material to do the job properly. If low-end build-up in your corners is genuinely bothering you, buy the deepest, densest trap your space and budget allow rather than a slim version that looks tidier on the wall.
Covering Every Surface and Killing the Room
More absorption isn't automatically better. Cover every wall and the ceiling completely and you'll end up with a room that sounds unnaturally flat, with high frequencies soaked up far more than low ones, leaving an unbalanced sound. Leave some reflective or diffusive surfaces, particularly further from your listening position, so the room still sounds like a room.
Never Actually Measuring the Result
It's easy to install some panels, decide the room "sounds better", and move on without ever checking properly. A room can sound quieter simply because you've absorbed too much high end, while low-frequency problems remain completely untouched. A basic measurement microphone and free room-measurement software will show you what's actually changed, rather than leaving you guessing.
Assuming More Expensive Automatically Means Better
A premium fabric finish doesn't automatically mean better absorption underneath it. Some of the most effective treatment is genuinely simple mineral wool in a basic frame. Check the actual specifications and test data before assuming a higher price tag guarantees better performance for your specific problem.
Installing Without Checking the Wall Behind It
Drilling into a wall without knowing whether it's stud, brick or plasterboard is how sound proof panels end up on the floor rather than the wall. Heavier panels, especially anything with real bass-trapping depth, need fixings rated for their actual weight and matched to the wall type. It takes two minutes to check with a stud finder or a test hole in an inconspicuous spot, and it saves a genuinely dangerous surprise later, particularly overhead.
Forgetting About Fire Safety
Not every acoustic product carries the same fire classification, and foam in particular can behave very differently to mineral wool under heat. If you're covering a significant portion of a wall or ceiling, especially in a rented or shared space, check the manufacturer's documentation rather than assuming all sound proof panels meet the same standard.
A Quick Recap
- Don't expect foam labelled "soundproof" to block sound between rooms.
- Never confuse NRC (absorption) with STC (isolation).
- Treat your side-wall reflection points, not just the wall behind the speakers.
- Check your ceiling before buying more wall panels.
- Buy proper depth for bass traps, not slim decorative versions.
- Leave some reflective surfaces rather than covering everything.
- Measure your results instead of guessing by ear alone.
- Check the wall type and use fixings rated for the panel's weight.
- Confirm fire classification before covering large areas.
If you haven't bought yet, our buyer's guide and complete guide cover exactly what to look for, and our setup guide walks through correct placement in detail. Total beginners should start with our beginner's guide instead.
The Bottom Line
Nearly every mistake here comes down to a misunderstanding about what sound proof panels are actually built to do, not a fault in the product itself. Get the fundamentals right — absorption versus isolation, correct placement, proper depth — and you'll get genuinely excellent results from a fairly modest outlay.






Comments