


KRK Rokit 5 article
Krk Rokit 5 for Beginners: A Complete Guide
The KRK ROKIT 5 is a brilliant first studio monitor — but it sounds very different depending on how you set it up. Here's a straightforward guide to getting started properly.
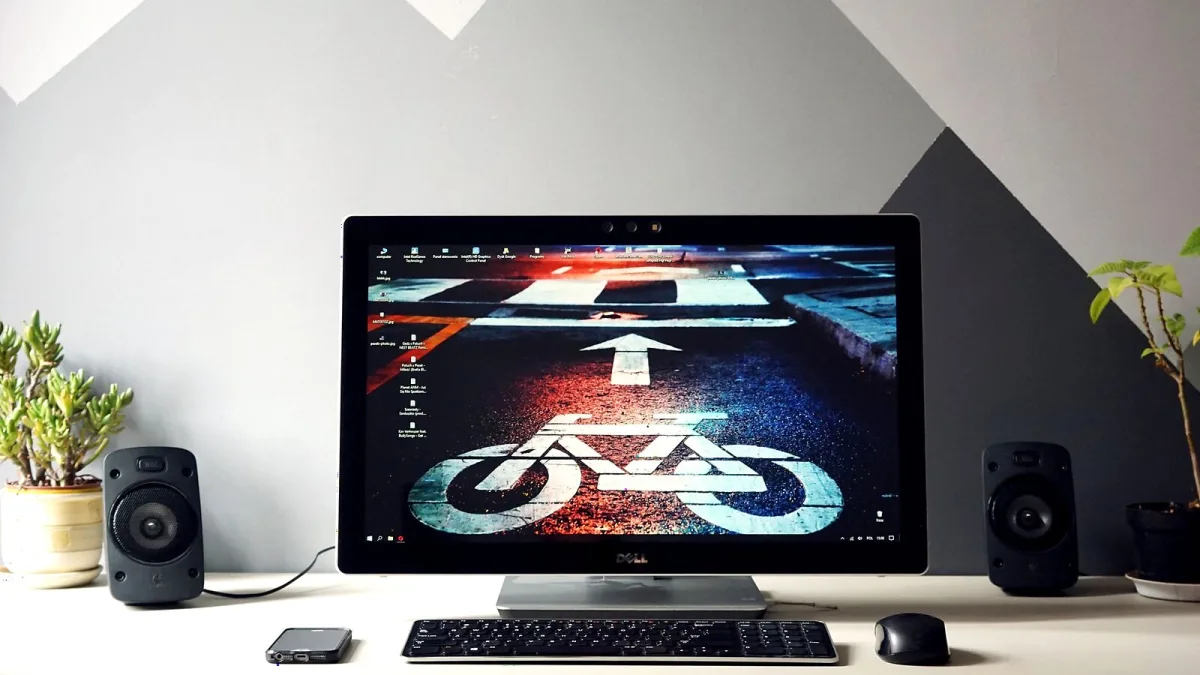
So you've got a pair of KRK ROKIT 5 monitors, or you're about to. The KRK ROKIT 5 turns up in studios at every level, Maybe you've seen them in every studio tutorial video ever made. Maybe the yellow cones called to you. Either way: welcome. Setting up your first proper studio monitor is one of those genuinely exciting moments, and the KRK ROKIT 5 is a solid place to start — as long as you know what to expect from it and how to actually get sound out of it.
What a Studio Monitor Actually Does (and Why It's Not a Hi-Fi Speaker)
Before anything else, it helps to understand what you've bought. A studio monitor like the KRK ROKIT 5 is designed to be honest rather than flattering. Hi-fi speakers are often tuned to make music sound exciting — boosted bass, sparkly treble, a generally pleasing presentation. Studio monitors aim to show you what's really in the audio so you can make informed decisions when mixing.
The ROKIT 5, particularly in Mix voicing mode on the G5, will reveal things in recordings that a consumer speaker might paper over. That's the point. It can also sound a bit underwhelming compared to your phone speaker or a pair of Bluetooth headphones, especially at first. That's not a fault — that's it doing its job.
The "5" in ROKIT 5 refers to the 5-inch woofer. It won't shake the room, and it won't reproduce the very deepest bass below roughly 50–60 Hz at useful volumes. For bass-heavy music — grime, drum and bass, hip-hop, electronic — you'll want to cross-reference the low end on headphones. We'll come back to that.
What Comes in the Box and What You'll Need
The KRK ROKIT 5 is a powered monitor — the amplifiers are built in. Each speaker connects directly to a power socket and to your audio source. You need:
- Two monitors (they're sold individually in some regions, as a pair in others)
- An audio interface — a small device that connects your computer to your speakers. A Focusrite Scarlett Solo, SSL 2, or PreSonus AudioBox USB are common beginner choices. Do not skip this; plugging the monitors into your laptop's headphone socket produces a noticeably worse result.
- Balanced cables — XLR-to-XLR or TRS-to-TRS (quarter-inch jack). "Balanced" means they carry the signal in a way that rejects background noise and hum. Use these between the interface and the monitors.
- IEC power cables — standard figure-8 or kettle-lead cables, usually included or cheaply available
- Isolation pads (recommended) — foam or rubber pads that sit under the monitors and stop them transmitting vibration into your desk. Not strictly required, but they make a noticeable difference in tightening up the bass.
Where to Put Your Monitors
This is genuinely the most important setup step. Studio monitors sound dramatically different depending on where they sit. Here's the setup to aim for:
- Place the left and right monitors at equal distances from your seated listening position.
- The two monitors and your head should form roughly an equilateral triangle — meaning all three distances are approximately equal. Roughly 3–4 feet between the speakers is a common starting point for 5-inch monitors in a small room.
- Tilt the monitors inward so the tweeters (the small drivers at the top) point toward your ears when you're seated. Ear height is the target.
- Both monitors should be the same distance from the nearest side wall. If one is close to a wall and the other isn't, the stereo image will be uneven.
- Avoid placing them in corners — bass builds up in corners and makes everything sound muddier than it really is.
Good placement costs nothing and makes a bigger difference to your listening experience than most equipment upgrades. If the room sounds terrible, no monitor will fix it — but correct positioning reduces the most obvious problems.
Connecting Everything
Here's the basic signal flow: your computer's audio goes out through the audio interface's monitor outputs, through balanced cables, into the XLR/TRS combo input on the back of each ROKIT 5.
On the rear panel of your ROKIT 5, you'll find:
- The combo input socket — accepts both XLR and TRS plugs. Either works; use whichever your interface provides.
- A volume knob — set this to a comfortable level (not maximum).
- EQ controls — leave these at the neutral position for now. On the G4, that means the DSP switch in the flat/bypass position. On the G5, leave all four EQ knobs centred and use the Mix voicing mode.
- A power switch
Turn on the interface first, then the monitors. When shutting down, reverse the order — monitors off first, then the interface. This avoids any pops or thumps from the power-up/down sequence reaching the drivers.
Your First Listening Session: What to Expect
Play music you know extremely well — your favourite tracks, things you've heard hundreds of times on different systems. Use them as references, not as evidence of what your mix sounds like.
You might notice:
- The stereo image (the sense of width and positioning) is clearer than on most speakers — that's the nearfield setup doing its work.
- The low end is present but controlled. If it sounds thin, check your EQ settings (should be flat) and placement (distance from walls matters).
- Some things that sounded exciting on a consumer speaker sound more ordinary. That's fine — your mix should stand up on these monitors.
Don't adjust any EQ knobs to make things sound more like you expected. Sit with the neutral sound and let your ears adjust. Most people find it clicks within a week of regular listening.
The Low-End Problem (and the Easy Fix)
A 5-inch monitor has physical limits. It cannot reproduce sub-bass — the frequencies below around 50 Hz — at the levels needed to make a reliable mix decision. In bass-heavy music, this part of the spectrum contains crucial energy: the kick drum sub, the bass note, the rumble under a synth pad.
The practical solution is simple: cross-reference on headphones. Not expensive ones — a reasonable pair of closed-back headphones you know well is enough. Listen to your mix on the ROKIT 5, then flip to headphones and check the low end specifically. Over time you'll learn what "good low end" looks like on both systems together.
You can also use reference tracks. Find a commercially released track in your genre that you know sounds right, and play it on your monitors. Your mix's low end should sit in a similar relationship to everything else. If the bass on your track sounds dramatically heavier or thinner than the reference, that's useful information.
Things to Avoid When You're Starting Out
A few habits to skip from the start:
- Don't boost the low-frequency EQ because the bass sounds thin — first check placement and room effects.
- Don't work at high volumes. Moderate levels (conversational volume or slightly above) give more reliable mix decisions and protect your hearing.
- Don't plug the monitors into an unbalanced source (like a headphone socket) and blame the monitors for the result.
- Don't run a lot of other equipment on the same power circuit without some form of power conditioning — ground hum is a common beginner problem.
For a more detailed look at what can go wrong — and how to fix it — the guide to common ROKIT 5 mistakes is a useful read once you've got things running. And when you're ready to go deeper on the technical side of what makes the different generations work, the full ROKIT 5 overview covers the internals and specifications in detail.
The Bottom Line
The KRK ROKIT 5 is an honest, well-regarded monitor that rewards correct setup far more than it rewards expensive accessories. Get the placement right, use balanced cables from a proper audio interface, keep the EQ flat to start with, and use headphones to cover the sub-bass. That's genuinely most of what you need to know. The rest comes from listening — a lot of listening, to music you already know well, through the same pair of monitors, until you start hearing what they're telling you.




Comments