


Rode Wireless Pro article
Rode Wireless Pro for Beginners: A Complete Guide
Unboxed a Rode Wireless Pro and feeling a little overwhelmed? Here's a calm, step-by-step introduction to your first recording.
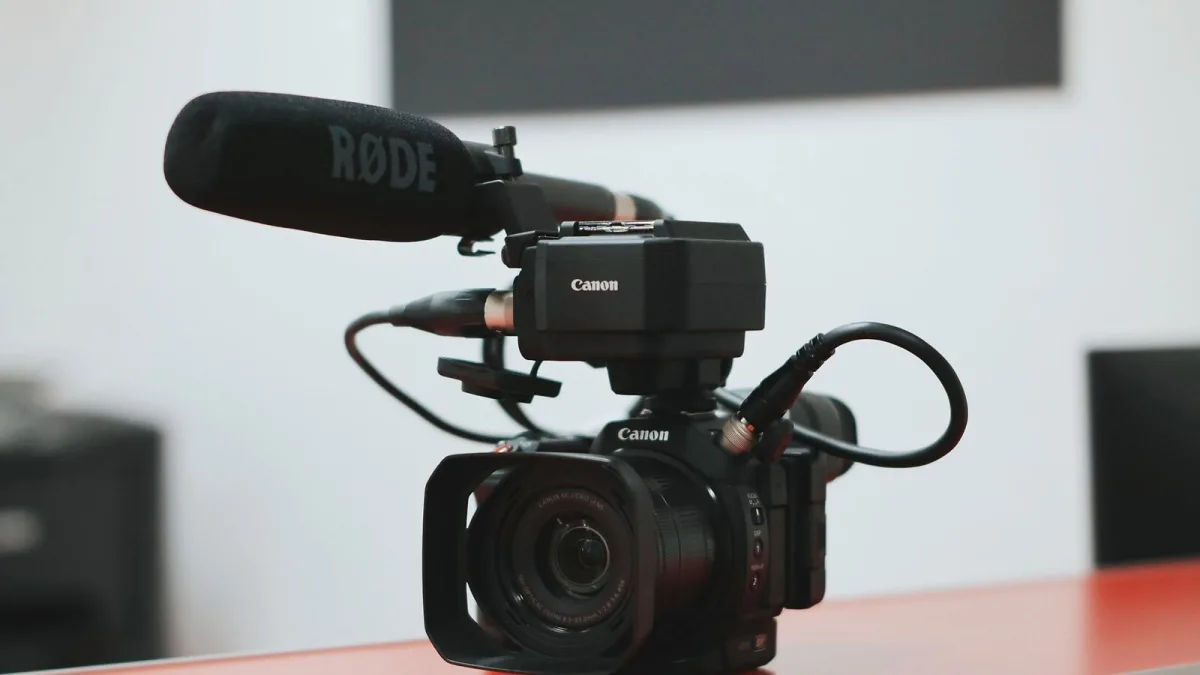
Unboxing a new Rode Wireless Pro can feel a little overwhelming, with more cables and small parts than you expected. Take your time. We'll go through everything calmly, one step at a time, so your very first recording feels straightforward rather than stressful.
Getting to Know Your Rode Wireless Pro
Inside the case you'll find two small transmitters, one receiver, two clip-on lavalier microphones, a charging case, some windshields and a set of cables. Each transmitter has its own tiny built-in microphone as well as a socket for the separate lavalier, so don't worry if you're not sure which one to use at first — both work, and you'll develop a preference with a little practice.
Before Your First Recording
A little preparation now saves confusion later. Here is a simple, unhurried order to work through:
- Charge everything fully in the case before you touch a single setting.
- Install the companion app on your computer or phone and check for a firmware update.
- Connect the receiver to your camera, phone or computer using the correct cable for that device.
- Clip a lavalier onto your clothing, roughly a hand's width below your chin.
- Record a short test clip and listen back with headphones.
- Adjust the gain if the test sounds too quiet or too loud, then test again.
None of this needs to happen quickly. Getting comfortable with these steps once means every future session starts calmly rather than in a rush.
Placing the Lavalier Properly
Good placement makes a bigger difference to your sound than almost any setting on the device itself. Aim to position the microphone about fifteen to twenty centimetres below your mouth, clear of hair, jewellery and any folds of fabric that might brush against it. A small loop in the cable, secured with the clip, stops sudden tugs from being picked up as noise. Listen through headphones before your real recording and gently move the mic if you hear any rustling.
Understanding the Automatic Gain Feature
You will come across a feature called GainAssist, which automatically manages the recording level for you. As a beginner, this is genuinely worth leaving switched on to start with — it reduces the chance of a recording being ruined by a sudden loud moment or an accidentally quiet one, while you're still building confidence with everything else. You can explore manual gain control later, once placement and cabling feel like second nature.
Why the Onboard Recording Is Your Safety Net
Here's a reassuring fact for any nervous beginner: each transmitter is quietly recording its own backup copy the entire time, completely separate from whatever your camera or phone captures. If your very first attempt at connecting a cable goes wrong, or the wireless connection briefly drops, that backup recording is very likely still sitting safely on the transmitter itself. Get into the habit of checking it after every session, just so you know it's there.
Common Early Questions
New users often wonder why the same recording appears to exist in two places. That's simply the onboard backup and the camera or phone recording, existing independently — both are useful, and you'll learn which one to rely on for a given shoot with a little experience. Others ask whether they need to understand timecode straight away; you don't, not until you're working with more than one camera at once. If any of this still feels like a lot, our overview and features guide explains each part in a little more depth, at whatever pace suits you.
You're Allowed to Take This Gently
Nobody masters every feature of a new Rode Wireless Pro in their first session, and that's perfectly fine. Learn to charge it, connect it, place the lavalier well, and check your test recording — that alone covers the vast majority of real-world use. Once you feel steady with the basics, our buyer's guide and our list of common mistakes to avoid are there whenever you're ready for the next step.





Comments