


Rode Radio Microphone article
Rode Radio Microphone for Beginners: A Complete Guide
First time using wireless audio? This guide covers how a RØDE wireless system works, how to connect to a camera or phone, where to place the transmitter and how to catch problems before they ruin a shoot.
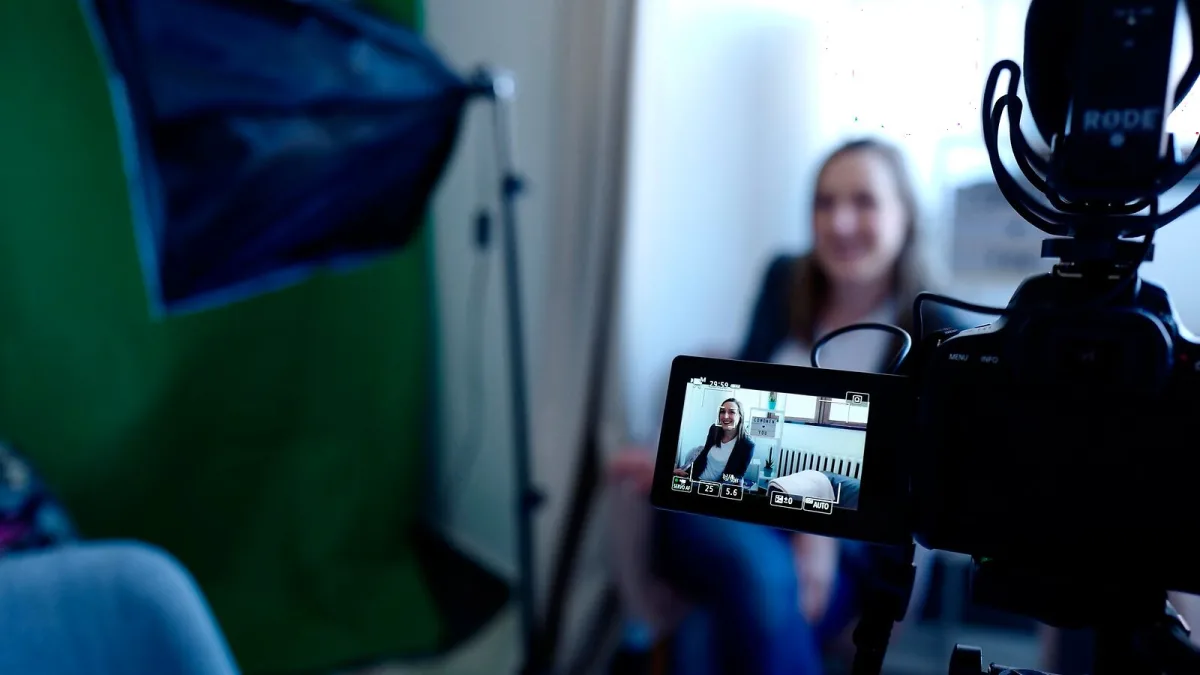
Setting up a Rode radio microphone system for the first time is straightforward once you understand the two key parts: a transmitter worn by the subject and a receiver plugged into the camera or phone. Here’s how to get from unboxing to a working recording in one session.
How a RØDE Wireless System Works
The Rode radio microphone transmitter sends audio wirelessly to the receiver. The receiver connects to your recording device — camera, phone or computer — and passes the audio in as a line-level input. RØDE’s systems use 2.4 GHz digital transmission, which means no frequency licences, no country-specific restrictions and consistent digital quality. The built-in microphones on compact transmitters are omnidirectional, picking up sound from all around them. Most transmitters also accept an external lavalier microphone via 3.5 mm jack if you want more precise placement.
Pairing Your System
RØDE’s wireless systems are generally shipped as pre-paired kits. If you need to re-pair: place the transmitter and receiver close together, then follow the pairing procedure in RØDE’s documentation for your specific model. For the Wireless GO II, hold the transmitter and receiver in close proximity with both switched on and follow the prompts. Once paired, the system remembers the connection.
Connecting to Your Camera
The receiver on most RØDE wireless systems outputs audio via a 3.5 mm TRS connection. This plugs into the camera’s mic input directly. Set the camera’s audio input to “external mic” and its recording level to manual rather than automatic if the option is available. Automatic gain control can cause the audio to sound pumpy and inconsistent during pauses in speech.
Check the levels on your camera display before recording. Look for peaks around −12 dB on your meters with normal speech. If the signal is too hot or too quiet, adjust the camera’s input gain or the transmitter output level where your model allows.
Connecting to a Smartphone
Smartphones with a 3.5 mm headphone socket use a TRRS (four-pole) standard, not TRS. The receiver’s 3.5 mm TRS output will not pass audio correctly into a TRRS input without a TRS-to-TRRS adapter. This is one of the most common first-session problems. If your system supports USB-C digital output, that connection is often simpler and more reliable than the analogue TRS route. Confirm which connection your phone supports before the session.
Transmitter Placement
The built-in microphone on the transmitter works best when clipped to clothing somewhere between the collarbone and chest, ideally under the chin line. Keep it away from rubbing fabric and the edges of jacket lapels. If the subject will be moving quickly, clip the transmitter securely and tuck excess cable so it can’t knock against the unit. A lavalier microphone attached to the 3.5 mm input gives more consistent positioning if precise audio placement matters for your project.
Using Onboard Recording as a Backup
Systems like the Wireless GO II and third-generation Wireless GO have onboard recording in the transmitter. Enable this before recording. The internal recording continues even if the RF signal drops or the cable becomes disconnected from the camera. After the shoot, connect the transmitter via USB-C to retrieve the file. This is not the main recording workflow — it’s insurance — but it has saved many interviews that experienced brief signal problems.
RF Awareness
The 2.4 GHz band used by the Rode radio microphone system is shared with Wi-Fi networks, Bluetooth devices and other wireless systems. In a conference room full of laptops, a crowded venue or a location with heavy Wi-Fi infrastructure, the effective range is typically well under the 200-metre line-of-sight figure. For indoor and crowded environments, keep transmitter and receiver closer than you would outdoors, and do not place the receiver behind metal equipment or the transmitter inside a jacket pocket with the antenna blocked.
Checking Audio After the First Recorded Clip
Before any important recording, capture a short test clip and play it back with headphones. Listen for: consistent level during speech, no excessive room reverb, no clothing noise and clean transmission with no digital artefacts. A brief test prevents a longer shoot from being compromised by a setting you could have caught in advance.
Once you have the basics working, the full Rode radio microphone guide explains the range in depth. And the common mistakes guide covers the issues that catch people out most often.






Comments