


Apogee Electronics article
Apogee Electronics for Beginners: A Complete Guide
Your very first Apogee Electronics purchase doesn't need to be complicated — here's a gentle, reassuring place to start.
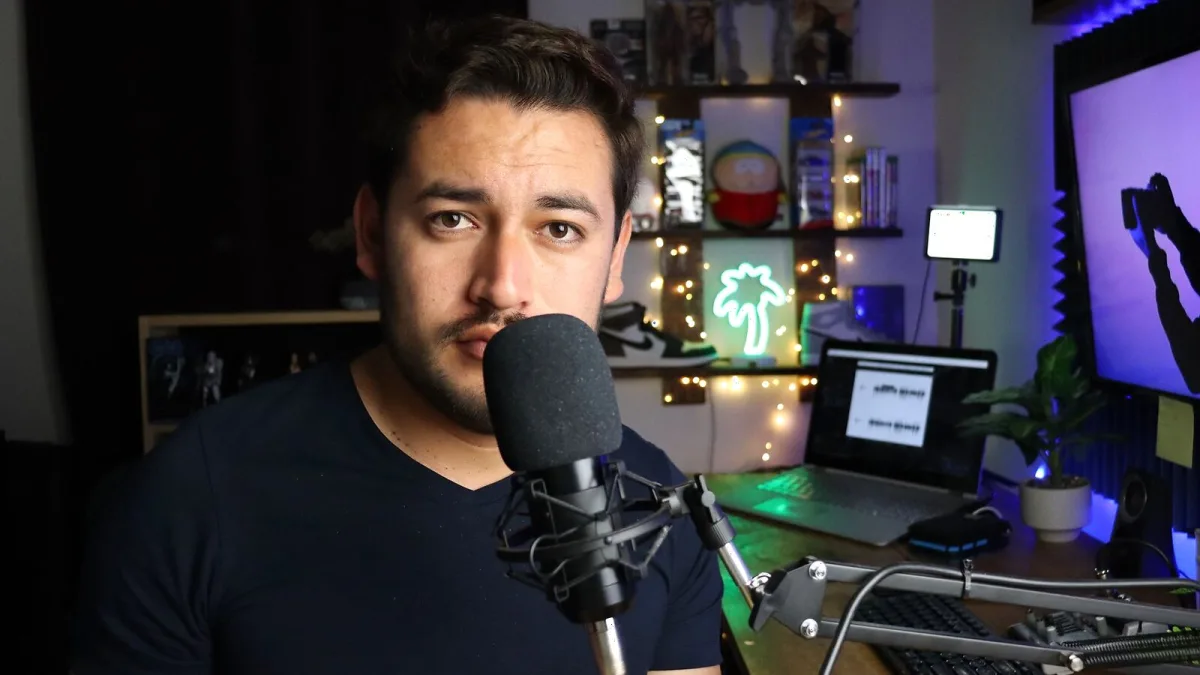
If the name Apogee Electronics has come up while you're shopping for your very first bit of recording gear, take a breath — you don't need to understand everything on the spec sheet before you start. This guide is written for exactly that moment: your first interface or microphone, explained gently, without assuming you already know what half the words mean.
You Don't Need the Biggest Box on the Shelf
It's tempting to think a beginner should buy the simplest, cheapest thing possible and “upgrade later”. In Apogee's case, that's genuinely fine advice — models like MiC+, HypeMiC and Jam+ are built with exactly this kind of first purchase in mind. They're not scaled-down professional gear; they're proper, well-regarded products that happen to be simple because they only need to do one job well.
What Apogee Electronics Gear Actually Does, in Plain English
Underneath the branding, every Apogee Electronics product does one core thing: it turns sound — your voice, a guitar — into a digital file your computer can save and play back, and then turns that digital file back into sound through your headphones or speakers. That's really it. The company has built its whole reputation on doing that conversion cleanly, so what you hear back is a faithful copy of what actually happened in the room.
Your First Apogee: Three Sensible Starting Points
- MiC+ — a USB microphone with everything built in. Plug it in, and you're recording. Good for vocals, acoustic guitar and voiceover.
- HypeMiC — similar idea, with a built-in compressor that gently evens out your level automatically, which is genuinely useful while you're still learning to control your own volume.
- Jam+ — for guitar or bass rather than voice. One instrument input, nothing complicated to set up.
If you think you'll want to record vocals and an instrument together fairly soon, Duet 3 is worth a look too — it has two microphone preamps instead of one, so you're not stuck if your ambitions grow within the first few months.
A Few Words You'll Keep Seeing
You don't need to memorise these, but it helps to recognise them:
| Term | What it means |
|---|---|
| Preamp | The bit that boosts a quiet microphone signal up to a usable level |
| Gain | How much boost the preamp is applying — turn it up carefully, a little at a time |
| Bit depth / sample rate | Technical detail behind the recording quality; 24-bit at 44.1 or 48 kHz is more than enough to start |
| Latency | The tiny delay you sometimes hear when monitoring yourself through software |
Setting Your Level Without Panicking
The one habit worth building early is watching your input level, not just your ears. Sing or play at the volume you'll actually use, watch the meter in your recording software, and turn the gain up gradually until your loudest moment sits comfortably below the red “clipping” zone. If it clips, turn it down and try again — a slightly quiet recording can be fixed afterwards; a clipped one usually can't. There's no shame in recording a test line and listening back before you commit to a whole song.
You Might Hear Some Latency — That's Normal
When you first monitor yourself through your computer, you may notice a tiny delay between singing or playing and hearing it back. That's latency, and it comes from your computer processing the signal. Apogee interfaces offer direct or hardware monitoring specifically to get around this, letting you hear yourself in something close to real time. If your software has a “direct monitoring” option, switch it on — it usually solves the problem instantly.
What Else You'll Need
The interface or microphone is only part of the picture. A decent pair of closed-back headphones stops your recording microphone picking up whatever's playing back to you, and a simple mic stand keeps your hands free and your positioning consistent take after take. If you're recording vocals or acoustic guitar, try to find the quietest, softest room in your home — a small carpeted bedroom with curtains usually sounds far better than a hard-floored kitchen, and it costs nothing to test both before you record properly.
Your First Real Session
For your first proper attempt, keep it simple: plug in, open your recording software, select your Apogee Electronics device as the input, and record thirty seconds of yourself talking at a normal volume before you touch a song. Listen back on headphones, not laptop speakers, and check for two things only — is it loud enough, and does it sound clean rather than crackly or distorted. Fix those two things first; everything else is a refinement you can learn over the following weeks.
It's Fine to Feel a Bit Lost at First
Everyone who now uses this gear confidently started exactly where you are, staring at a box of inputs and outputs with no idea what half of them do. Read the quick-start guide that comes with your interface, record something short and imperfect just to hear how it sounds, and adjust from there. Once you're ready to think more seriously about which model to grow into, our buyer's guide and best Apogee Electronics for the money round-up go into more detail, and our overview of the full range explains how the conversion technology actually works if you're curious. It's also worth glancing at our common mistakes guide so you can sidestep the errors most beginners make.
The Bottom Line
Starting with Apogee Electronics doesn't mean starting complicated. Pick the simplest product that covers what you actually want to record, learn to set a clean level, and give yourself permission to sound a bit rough for the first few weeks. Everything else — the technical terms, the extra features — makes a lot more sense once you've actually recorded something.



Comments