


Ableton Push 3 article
Common Ableton Push 3 Mistakes to Avoid
These are the mistakes that catch Push 3 owners out most often — fix them before they cost you a performance or a project.
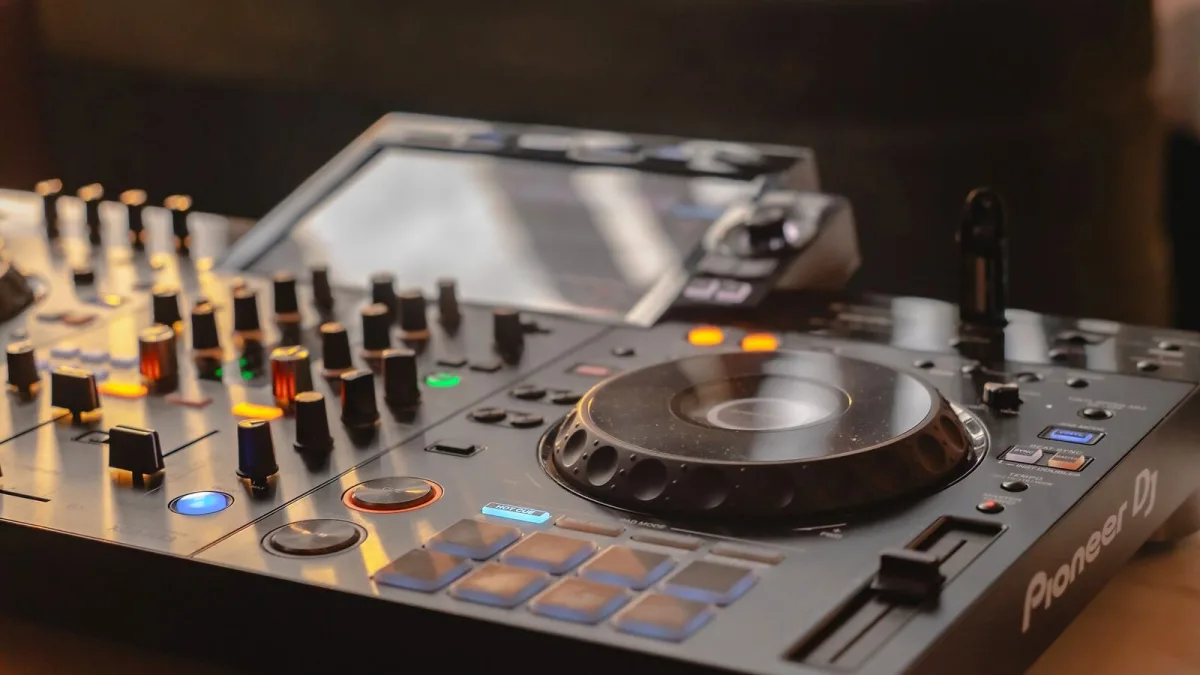
Ableton Push 3 is a powerful instrument, but it's also one where a handful of avoidable errors keep showing up again and again — from expecting Push 3 Standalone to behave like a full desktop studio, to ignoring the battery before a gig. These aren't obscure edge cases; they're the mistakes that cost producers time, lost work and occasional embarrassment on stage. Here's the clearest rundown of what to watch out for and how to sidestep every one of them.
Expecting Push 3 Standalone to Replace Your Full Live Setup
This is the big one. Ableton Push 3 Standalone runs a tailored version of Ableton Live — not the complete desktop application. Third-party VST and AU plug-ins don't run in Standalone mode. Complex Max for Live devices may not be available or may behave differently. Projects built around heavily customised computer-based Live Sets will not always transfer cleanly to Standalone.
The fix is simple: build your Push 3 Standalone Sets using Ableton's own instruments and effects from the start. Test every project thoroughly in Standalone before relying on it for a performance. And if your workflow genuinely depends on computer-only tools, keep the device in Controller mode, connected to your laptop, rather than trying to force Standalone into a role it wasn't designed for.
Ignoring Battery Life Until It's Too Late
The Standalone's battery is rated at roughly 2.5 hours under typical conditions — and that figure assumes moderate use. Run the processor hard, crank the screen brightness, leave Wi-Fi active and connect a USB device, and you'll see noticeably less. Showing up to a gig without testing your full rig off the mains is a real risk.
Best practice: always carry the power supply to any live performance, connect it wherever possible, and run a full dress rehearsal with the device unplugged for longer than your expected set. Treat battery operation as a freedom for rehearsal and sketching, not a guaranteed performance lifeline.
Overlooking the Upgrade Kit When Buying
A common purchasing mistake is assuming you have to commit to either Controller or Standalone at the point of sale. You don't. Ableton's official Push 3 Upgrade Kit converts the Controller into a Standalone unit by adding the processor, RAM, SSD and battery hardware. Many producers buy the Controller first, work with it for six months to a year, and then upgrade when they're confident they need Standalone functionality — and by then they know exactly what they need it for.
Buying Standalone immediately when you primarily work at a desk with a powerful computer is often an unnecessary expense. Know your actual workflow before deciding.
Not Setting a Fixed Clip Length
Push 3 can record open-ended clips — clips that simply grow as long as you keep playing and never define a loop point. For sketching, this creates chaos: you end up with irregular-length clips that don't sync cleanly with your other material, strange loop boundaries, and patterns that are almost impossible to edit rhythmically.
Set a fixed clip length before you start recording — typically four or eight bars for most patterns. This gives every recorded idea clear, workable boundaries, keeps your scenes coherent, and makes editing far less painful. It's one of those small habits that transforms how enjoyable Push sessions feel after a week.
Treating MPE as an On/Off Switch
MPE — MIDI Polyphonic Expression — is one of Push 3's most significant technical upgrades over earlier models. Each pad tracks velocity, continuous pressure, and horizontal and vertical position independently per finger. The mistake most producers make is either ignoring MPE entirely or activating every parameter at once and finding the results uncontrollable.
The practical approach is to start with a single expression dimension — pressure to filter cutoff, for instance — and get used to that before layering in positional data. Use MPE-compatible Ableton instruments; not every device responds to it. And for drum programming, consider dialling back expression sensitivity so that accidental pressure variations don't colour your patterns in unintended ways.
Skipping Macro Assignments Before a Performance
Push 3 makes it very easy to reach into any device's parameters in real time. But trying to navigate menus and rotate encoders while performing for an audience is a recipe for accidentally twisting the wrong thing at the wrong moment.
Before any live show, map your most-used performance controls — filter cutoffs, reverb sends, macro knobs on instrument racks — to Ableton Push 3's top-row encoders. Keep the assignment list tight: five or six meaningful controls is more powerful than twenty scattered parameters. Practise those mappings until finding them in the heat of a performance becomes automatic.
Neglecting ADAT for Expanded I/O
Push 3 has two built-in analogue inputs, which is enough for many use cases but limiting if you're recording a live band, a drum kit, or multiple synthesisers simultaneously. Many producers either don't realise Push 3 includes ADAT optical I/O, or they assume it's too complicated to use.
ADAT is a digital audio transport format that lets you connect an external interface or format converter and send multiple channels of audio into Push over a single optical cable. Connect an ADAT-capable preamp or converter and you can comfortably record four, eight or more channels without adding any analogue conversion to the chain. It's a significant expansion option that often goes unused simply because people don't think to set it up.
Not Backing Up Standalone Projects
The Push 3 Standalone's 256 GB SSD is internal storage — not cloud storage, not automatically synchronised, and not immune to failure. Treating the device as the only copy of your projects is a gamble no working producer should take.
Get into the habit of transferring Push 3 projects to a computer regularly. Ableton Live can open Standalone projects directly, which also means you can continue developing them in the full desktop environment. Back up to an external drive or cloud storage. The internal SSD is for working; it's not an archive.
The Bottom Line
Most Ableton Push 3 mistakes come down to the same root cause: assuming the device will adapt to a workflow it wasn't designed for, or skipping the practical setup steps that make performances reliable. Get those fundamentals right and Push 3 rewards the investment heavily.
For a clear overview of what Push 3 can actually do, read our Ableton Push 3 features, types and tips guide. If you're still deciding which version suits your setup, our Ableton Push 3 buyer's guide covers every key decision. Just getting started? The beginner's guide to Push 3 walks you through your first sessions step by step.





Comments