


Cello article
Cello for Beginners: A Complete Guide
The cello rewards patience and consistency. This beginner's guide covers what to expect in the first year: instrument choice, finding a teacher, posture, bow arm, intonation, and how to practise effectively.
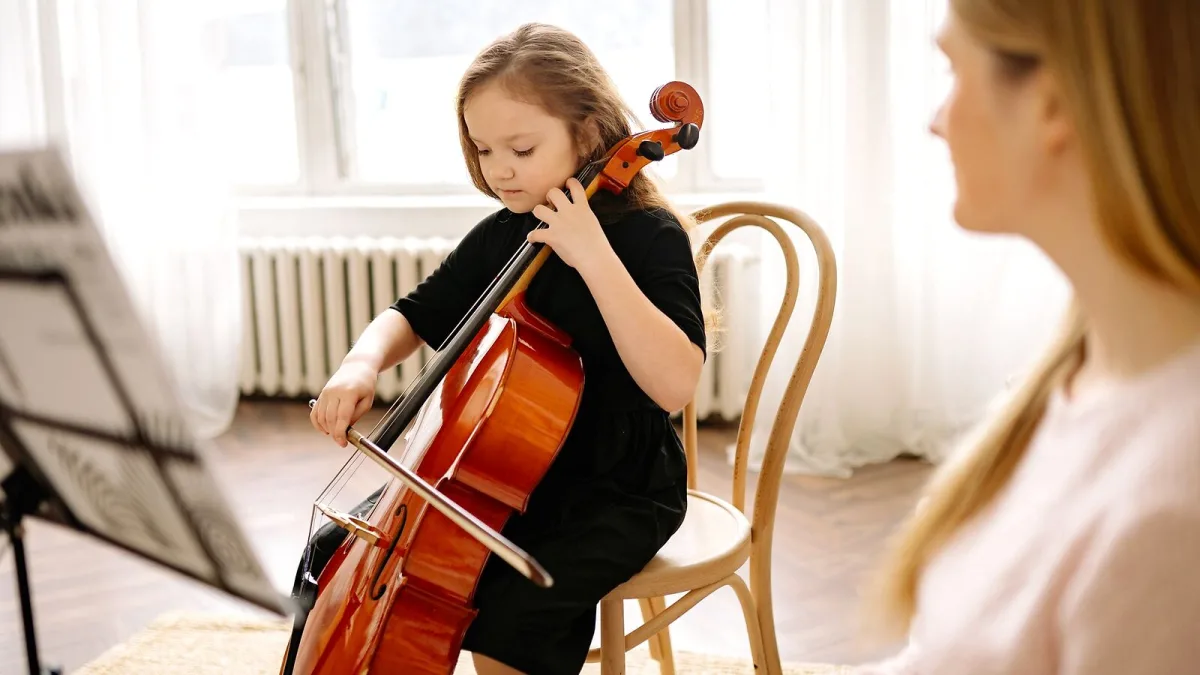
Learning the cello is a commitment that pays off steadily — the instrument is demanding at first but deeply rewarding once the basics are in place. Whether you're a complete beginner or returning after a gap, the early stages follow a clear progression. Here is what to expect and how to give yourself the best possible start.
Getting Started with the Cello
Before your first lesson, you need a properly set-up cello. Avoid the temptation to buy the cheapest instrument available — a badly set-up cello with high action and poor strings will resist your effort and cause unnecessary tension. A Stentor Student II or similar quality beginner outfit from a reputable dealer, or a rented instrument from a specialist shop, is a much better starting point. Hire schemes are worth considering for children who will change sizes as they grow.
Finding a Teacher
A good teacher is the single most important factor in your progress as a beginner. The cello involves posture, bow technique, left-hand position, and ear training — all simultaneously. Without guidance, habits form quickly and can take months to unlearn. Look for a teacher through the Incorporated Society of Musicians (ISM), the Music Teachers Association, or a recommendation from your local music shop. A trial lesson before committing is always worthwhile.
How to Hold the Cello
The cello sits between the knees and rests on the floor via the endpin — a metal spike that adjusts to suit your height when seated. The instrument leans against your chest, with the scroll slightly to the left of your head. The left hand frames the neck without gripping, while the thumb rests lightly behind. It takes a few weeks for this to feel natural. Your teacher will refine the details, but the key principle from day one is relaxation — tension in the hands and arms is the enemy of good tone and technique.
The Bow Arm
Bow technique on any bowed string instrument takes time to develop, and the cello is no exception. The bow should travel parallel to the bridge, at a consistent contact point between bridge and fingerboard. Beginners commonly angle the bow or press too hard — both produce a scratchy, unpleasant sound. The arm moves from the shoulder, not the wrist. A teacher will give you specific exercises, but slow, even bow strokes on open strings are the best early practice.
Left-Hand Position and Intonation
Intonation — playing in tune — is the challenge that occupies beginners longest. The cello has no frets, so the fingers must land in exactly the right places for each note. Beginners often use finger tapes on the fingerboard as temporary guides. The ear develops alongside the fingers: the more you listen critically to your own playing, the faster intonation improves. Practising scales slowly and listening carefully to each note is more effective than playing pieces quickly out of tune.
What to Practise
A productive practice session for a beginner includes scales, a technical exercise, and the current piece — in that order. Twenty minutes of focused daily practice is worth more than two hours at the weekend. Slow, deliberate repetition of the difficult bars in a piece is more effective than running through the whole thing. Record yourself occasionally: what you hear on a recording often differs from what you hear while playing, and it is a useful diagnostic tool.
Early Repertoire
Most teachers use a structured method book in the early stages — Suzuki, Essential Elements for Strings, or similar — alongside repertoire chosen to reinforce specific techniques. Simple folk tunes and arranged pieces come first. As intonation and bow technique develop, more demanding repertoire follows. The first year of lessons typically takes a beginner from open strings to simple first-position pieces, with a growing sense of what the instrument can do.
Where to Go Next
For choosing the right instrument, the complete cello buyer's guide covers every buying decision. For the standout instruments at each price level, the best cellos for the money is the place to start. And the features and types guide explains how the instrument works in more detail.





Comments