


Reaper DAW guide
How to Set Up and Use Reaper Daw
Get REAPER's preferences right before you hit record and everything downstream goes smoother. Here's the exact order to set it up, no guesswork required.
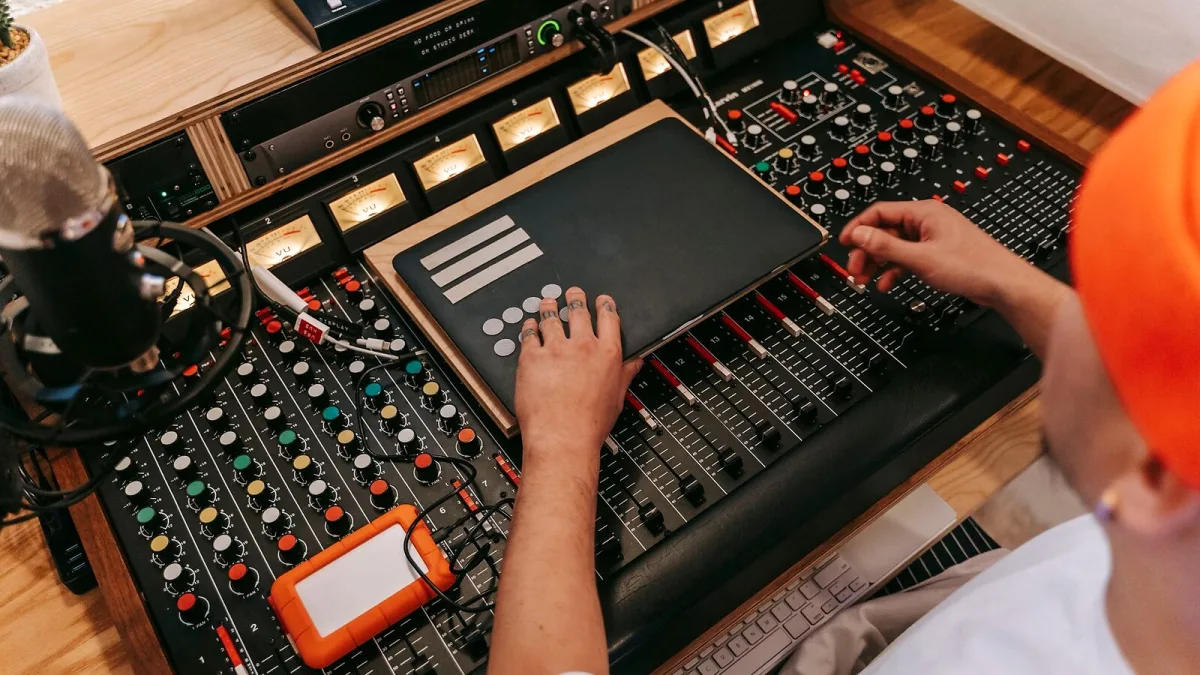
New software is only as good as the first hour you spend with it, and REAPER rewards a bit of patience up front. Get the preferences right before you hit record and everything downstream — levels, latency, your first mix — goes smoother. Here's the exact order to do it in, no guesswork required.
What You'll Need Before You Start
- A computer running Windows, macOS or Linux (Apple Silicon Macs are supported natively).
- An audio interface, if you're recording anything beyond your computer's built-in mic.
- The installer from Cockos' own site, plus either the 60-day trial or a purchased licence.
Step-by-Step: Getting REAPER Ready to Record
Work through these in order the first time you open REAPER — skipping ahead is exactly how people end up with silent recordings or crackling playback.
- Install and open REAPER. Run the Cockos installer for your platform, then launch it and skip past the default template unless you already know you want it.
- Choose your audio device in Preferences. Under Audio > Device, select your interface (or built-in audio) as both input and output.
- Set your sample rate and buffer size. Match the sample rate to your interface (44.1kHz or 48kHz are the common defaults) and start with a moderate buffer — you can lower it later for less latency once you know your system copes.
- Create a track and pick its input. Right-click the track panel, choose "Insert new track," then set the correct input channel from your interface.
- Arm the track and check input monitoring. Click the record-arm button and confirm you can see (and, if monitoring is on, hear) signal from your source.
- Record a short test take. A few seconds is enough — you're checking for level, not writing a masterpiece yet.
- Add more tracks as needed. Repeat for overdubs, extra mics, or a software-instrument track for MIDI.
- Group related tracks into a folder or bus. Drums, vocals or guitars sitting together makes routing and gain-staging far easier later.
- Save the project with its media consolidated. Use "Save As" and tick the option to copy media into the project folder, so nothing goes missing if you move the session.
Getting Your REAPER Levels Right Before You Touch a Plugin
Set input gain on the interface itself so your loudest moment sits comfortably below clipping — REAPER's meters will tell you instantly if you've gone too hot. It's worth learning the difference between track volume (the fader on the whole track) and item volume (a gain adjustment on one individual recorded clip); mixing the two up is a common beginner tangle. Only once your gain staging is sensible should you start reaching for compression or EQ.
Setting Up Sends, Buses and a Basic Monitor Mix
Once you have more than a couple of tracks, create a bus (a track that several others route into, so you can process or control them as one group) for drums, vocals or anything you'll want to adjust together. Sends let you feed a copy of a track's signal to something like a shared reverb without duplicating the effect on every channel. If you're tracking live musicians, set up a separate headphone mix early, before nerves and time pressure make it harder to sort out.
A Few Customisation Steps Worth Doing on Day One
You don't need to rebuild the whole interface, but a handful of small changes make everyday use noticeably smoother:
| Setting | Why it's worth doing early |
|---|---|
| Save a template project | Skips repeating your track/bus setup on every new session |
| Assign a few keyboard shortcuts | Speeds up actions you'll repeat constantly, like arming or muting tracks |
| Pick a theme you can read comfortably | You'll be staring at it for hours — contrast and clarity matter |
Common Setup Mistakes to Avoid
- Forgetting to consolidate media. Move the project folder without copying media in first, and files can go missing.
- Ignoring buffer size until playback crackles. Raise it before a session, not mid-recording.
- Skipping a backup routine. Export your REAPER preferences, custom actions and any scripts occasionally, not just your projects.
- Never trying REAPER's routing matrix. It looks intimidating, but it's the fastest way to actually see what's connected to what.
You're Ready
That's genuinely all it takes to get REAPER from a fresh install to a properly configured session. If you'd like the bigger picture of why REAPER is built this way before you go further, our guide to REAPER explains its track and routing model in more depth, and our beginner's guide is worth a look if the customisation still feels like a lot to take in.





Comments