


Pro Tools article
Pro Tools for Beginners: A Complete Guide
Starting out with Pro Tools doesn't need to feel intimidating. Here's a calm, step-by-step way in, with nothing assumed.
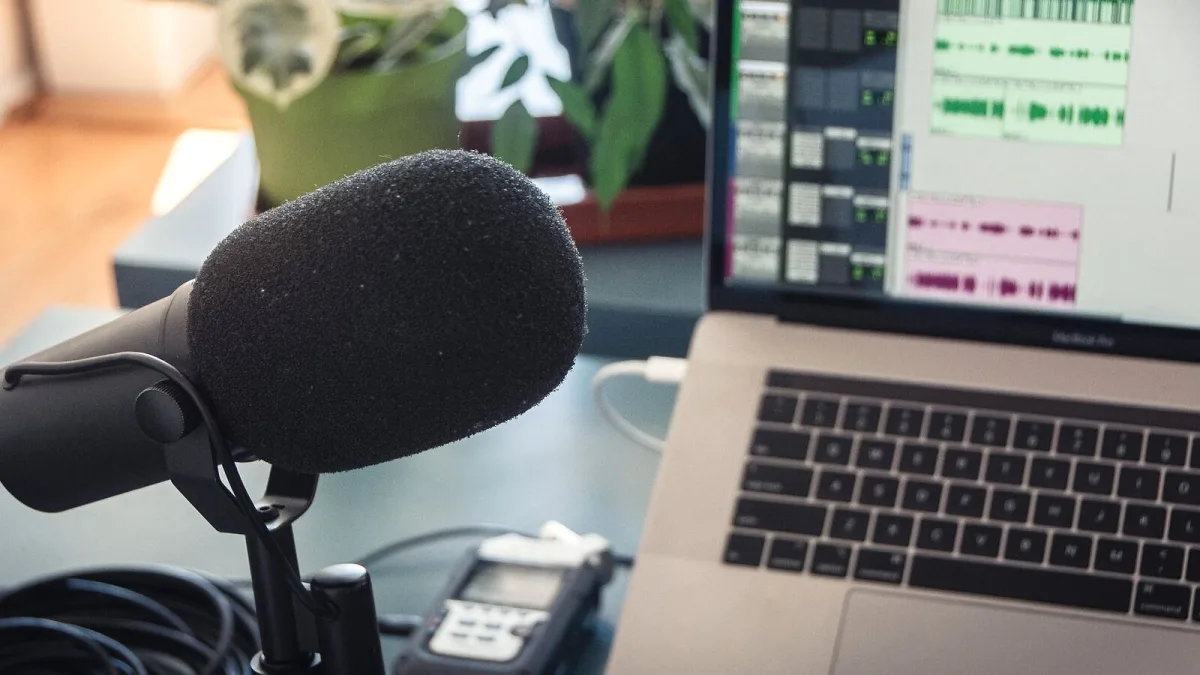
Opening Pro Tools for the first time can feel a bit like walking into a recording studio's control room and being handed the keys with no instructions. Rows of unfamiliar buttons, tracks you haven't created yet, menus with names that mean nothing. Take a breath — every single engineer you admire started exactly here, staring at the same blank session. This guide is written for that moment, with nothing assumed and nothing skipped.
You don't need to spend a penny to start
Avid offers a free edition called Intro, and it's genuinely enough to learn on. It handles basic recording, MIDI and editing without asking for your card details. There's no shame in staying there for months while you build confidence — plenty of people rush to buy a paid tier before they've even learned what half its features do. Once you've outgrown Intro's limits, moving up to Artist is a small, sensible step rather than a big leap.
Getting your bearings in Pro Tools before you record anything
Before you touch record, it helps to know what you're actually looking at:
- Session — the project file that holds everything: your tracks, edits and settings.
- Track — a single lane for one sound source, whether that's a vocal, a guitar or a whole drum kit.
- Playback engine — the setting that tells the software which sound hardware to use.
- Sample rate and bit depth — the technical quality settings for your recording; 44.1kHz and 24-bit is a safe, standard choice for most music.
None of this needs memorising in one sitting. You'll absorb it naturally the more you open a session and poke around.
Your first session, step by step
Here's the honest, no-jargon version of getting from a blank screen to your first recorded take:
- Open the software and create a new session, choosing 44.1kHz and 24-bit if you're unsure.
- Save it straight away into its own folder, with a name you'll recognise in six months' time.
- Create one audio track for whatever you're recording first — a vocal or an instrument.
- Plug your microphone or instrument into your audio interface, then select that input on the track.
- Record-enable the track (usually a small button that turns red) and check the input level isn't clipping.
- Press record, play or sing a few bars, then stop and listen back.
That's genuinely it for your very first pass. Everything else — editing, mixing, plug-ins — comes later, once you're comfortable just getting sound in and out.
Mistakes that are completely normal at this stage
Nobody gets this right immediately, and none of the following mean you're doing anything wrong:
- Forgetting to record-enable a track, so nothing gets captured on your first attempt.
- Recording far too quietly or too loudly because gain staging takes practice to feel intuitive.
- Losing track of which take was the good one — naming things as you go solves this quickly.
- Getting overwhelmed by plug-ins and effects before you've even finished recording — they can wait.
If you'd like a fuller list of the errors people make even once they're past the beginner stage, our common mistakes guide is worth bookmarking for later.
When you're ready to learn more
Once recording feels natural, the next honest step is understanding editing basics: trimming a clip, fading in and out smoothly, and comping between a few takes to pick the best moments. Don't feel you need to learn mixing at the same time — that's a separate skill, and rushing it tends to create more frustration than progress. When you're curious about the bigger picture — what each edition offers, how professional sessions are structured — our complete guide walks through it without assuming you already know the terminology. And if you're wondering whether to eventually upgrade beyond Intro or Artist, our buyer's guide breaks down what each tier is actually for.
A gentle word of encouragement
Learning any new instrument or piece of software involves a stretch of feeling clumsy before things click. Learning Pro Tools is no different, and the engineers whose records you love spent hours fumbling through exactly these same first sessions. Keep your expectations kind, save often, and give yourself permission to make something rough before you make something good. That's how everyone gets there.




Comments