


Looper Studio article
Looper Studio for Beginners: A Complete Guide
Three buttons and a bit of patience — here's the jargon-free way to make your first loop actually work.
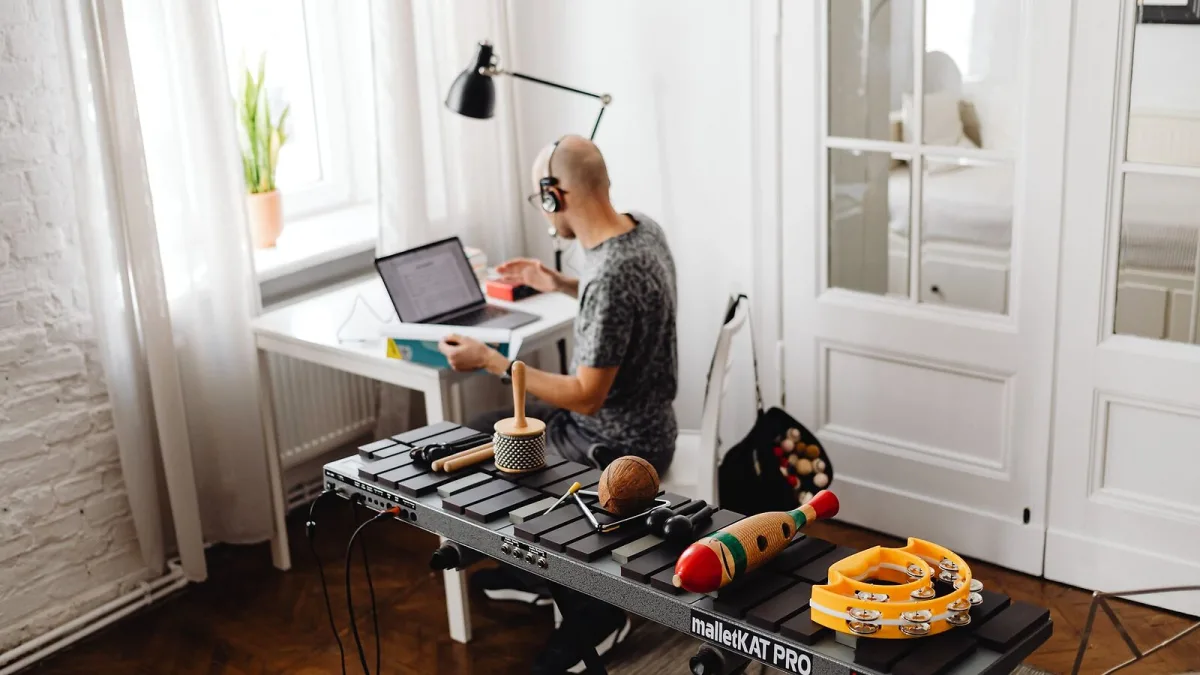
Right, so you've decided to get into looping and you're staring at either a pedal, an app or a plugin wondering where on earth to start. Good news: the whole idea behind a looper studio is genuinely simple once someone breaks it down, and you'll have your first loop going within a few minutes of reading this.
You Don't Need to Understand Everything on Day One
A lot of beginner guides throw every feature at you at once — quantization, phrase memory, MIDI sync, reverse playback — and it's genuinely overwhelming if you're just trying to make your first loop happen. Ignore all of that for now. A looper studio setup, at its simplest, is three buttons and a bit of patience. Everything else can wait until you've actually made something you like the sound of.
Why This Feels Like a Bit of Magic the First Time
You play something, it repeats on its own, and suddenly you're playing along with yourself. That's the whole trick, and it never really stops being satisfying, even once you know exactly how it works. It's how a single performer can sound like a full band without anyone else in the room — no fakery involved, just your own playing, layered.
The Three Things You Actually Need to Understand
- Record — you capture a phrase, usually a bar or two long
- Playback — that phrase repeats on its own, hands-free from that point on
- Overdub — you add a new layer on top, without erasing what's already looping
That's genuinely most of it. Everything else — undo, quantization, phrase memory, reverse — is just extra polish on top of those three core moves.
Picking Your First Format Without Overthinking It
Don't agonise over this bit. If you already use a DAW like Ableton Live, its built-in Looper effect is sitting there ready to go, so try that before buying anything. If you play guitar live and want your hands free, a simple pedal is the easiest way in. If you just want to mess about and see whether looping clicks for you at all, a free app is genuinely the lowest-pressure way to find out.
Your First Looper Studio Session, Step by Step
- Pick something simple — a single chord or a two-note bassline is plenty for your first go
- Set a rough tempo in your head, or use a click if your setup has one
- Hit record, play your phrase cleanly, and stop exactly as the phrase would repeat
- Let it loop a few times and just listen — does it feel steady, or does it wobble?
- Add one simple overdub on top, nothing fancy, just to feel how layering works
- Use undo the moment something goes wrong, rather than trying to play around a mistake
Don't worry if your first few attempts wobble slightly at the loop point. That's timing, and timing gets better with about ten minutes of practice, not ten hours.
Small Habits That Save You Frustration
Keep your very first loop rhythmically simple — this is not the moment to attempt anything clever. Practise the phrase a couple of times before you actually hit record, so your fingers already know where they're going. And if you're using headphones or monitors, make sure you're actually hearing the loop clearly, because a lot of "why does this sound wrong" moments are really just a monitoring problem in disguise.
It also helps to set a rough volume level for your first phrase and stick to it for your overdubs, rather than letting each new layer creep louder than the last. A looper studio setup will happily let you pile layer after layer on top of each other, but that doesn't mean every layer should fight for the same space — leave some quieter, some busier, and the whole thing will breathe a lot better.
You Will Mess Up the Timing. That's Fine.
Everyone's first loop is slightly late or slightly early at the seam. It's such a common beginner moment that it's barely worth worrying about — just use undo, try again, and don't chase perfection on attempt one. The muscle memory for landing a clean loop point comes surprisingly fast once you've felt it go wrong a few times.
Where to Go From Here
Once the basics feel comfortable, our full looper studio explainer covers the deeper features and terminology properly. If you're thinking about buying dedicated gear, our buyer's guide and best-for-the-money roundup will steer you toward the right format. And once you've got a few sessions under your belt, our piece on common mistakes to avoid will help you skip a few growing pains entirely.
Give it a proper go rather than one frustrated five-minute attempt. Every person who now loops confidently on their own looper studio setup started exactly where you are right now, slightly unsure which button does what.



Comments