


Cakewalk by BandLab article
Cakewalk by Bandlab for Beginners: A Complete Guide
Never opened a DAW before? Here's a calm, step-by-step route through your first project in Cakewalk by BandLab.
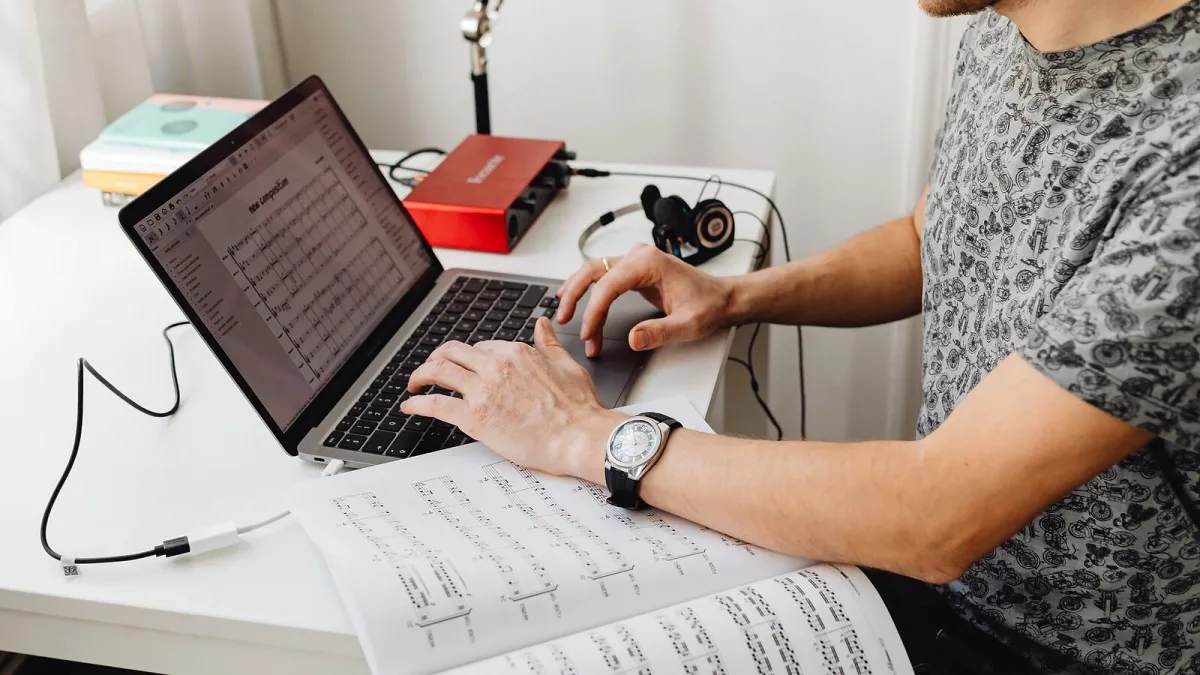
Right, first things first: you don't need to know anything about recording to get started here. This guide takes you from "never opened a DAW in my life" to having a real first project on the go in Cakewalk by BandLab, one small step at a time. It's an honest, no-stress route through your first session, nothing more.
A Quick Word on What You've Got Yourself Into
A DAW (digital audio workstation) is just the software you record, arrange and mix music inside. Cakewalk by BandLab happened to be free, tied to a BandLab account, and — bonus — it was a proper full DAW rather than a stripped-down trial. It's since been discontinued in favour of a newer version called Cakewalk Sonar, so if you're only just setting up now with no existing files to worry about, it's worth having a look at Sonar too. But if you've already got it installed, or you're following along on an existing machine, everything below still applies.
Setting Up Your First Project
Here's the bit that trips people up least, once you see it written down plainly:
- Open the software and start a new project. Give it a proper file name straight away — "Untitled-47" is how projects get lost.
- Set your sample rate before you touch anything else. 44.1kHz is the safe, standard choice unless you have a specific reason to change it.
- Plug in your audio interface — the little box that connects your microphone or instrument to your computer — and select it in the audio settings so the software knows where to record from and play back to.
- Add a track. Pick an audio track for a mic or guitar, or a MIDI track if you're using a keyboard or software instrument.
- Arm the track for recording (usually a small circular button), check your input level isn't clipping, and hit record.
- Save straight after your first take. Then save again every few minutes. This one habit will save you more heartache than any plug-in ever will.
Finding Your Way Around Without Panicking
The screen looks busy, but you only need three areas to begin with: the track view (where your recordings sit on a timeline), the mixing console (where you balance volumes), and the transport bar (play, stop, record — the same controls as any tape machine, just on screen). Ignore everything else for your first few sessions. You genuinely don't need automation, ProChannel modules or bus routing on day one.
Recording Your First Take
Keep your first session small on purpose. One instrument, one short idea, sixty seconds long. The goal isn't a finished song — it's getting comfortable with the record button, the playback button, and undoing a mistake without panicking (it's just Ctrl+Z, same as everywhere else). If you're recording a live instrument or vocal through a microphone, keep an eye on the input meter: you want it healthy and clear, not pinned into the red.
Our sister guide on what to check before you rely on this software long-term is worth a read once you're past this stage, especially the bit on activation, since the software is no longer being renewed for new users.
Don't Worry About These Things Yet
- Plug-ins. Third-party effects and instruments are brilliant once you know what you're after, but they're not needed for take one.
- Perfect takes. Comping — recording several takes and picking the best bits — is a skill for week three, not day one.
- Mixing properly. Get the idea down first. Balancing levels nicely comes later.
- Buying gear. A basic interface and a single microphone will teach you more than a shopping list ever will.
When You're Ready for More
Once a first project or two feels comfortable, it's worth understanding the bigger picture — where this software came from, what happened to it, and how it compares with what came after. Our full overview guide covers the history and current status in more depth, including its replacement, Cakewalk Sonar.
The Bottom Line
You don't need to understand every menu to make something you're proud of. Open it, name your project properly, plug in your interface, hit record, and save often. Everything else — plug-ins, mixing, routing — can wait until you've actually got a take you like the sound of. That's the whole trick to getting started with Cakewalk by BandLab, and it hasn't changed regardless of which DAW you're sat in front of.





Comments