


Powered Mixer article
Powered Mixer for Beginners: A Complete Guide
A powered mixer is often the first PA purchase a performer or small venue makes. Here is how to connect it, set it up properly and avoid the classic beginner mistakes.

A powered mixer is often the first piece of PA equipment a performer or small venue buys, and it is easy to feel overwhelmed by the specifications and connections on the back panel. This guide explains what everything does in plain terms and walks you through setting one up and using it for the first time.
What You Are Working With
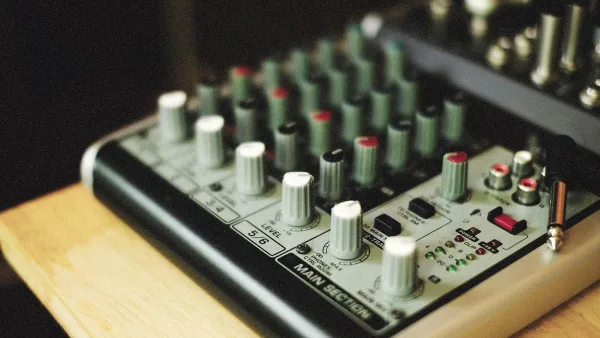
At the back or front of a powered mixer, you will find: XLR inputs for microphones, line-level inputs (TRS or RCA) for instruments and playback devices, speaker outputs for passive speakers, and a monitor send for on-stage foldback. On the top, a channel strip for each input with gain, EQ and a fader. The master section controls the overall output level and the effects return. That is the basic layout — most of what looks complicated is variations on those core elements.
Setting Up: Step by Step
Step 1: Connect Your Speakers
Before powering anything on, connect your passive speakers to the speaker outputs on the powered mixer using speaker cable (not instrument cable). Speaker cable uses the same plugs as instrument cable but has thicker conductors — using instrument cable for speaker connections creates significant power loss and can damage the cable at high volumes. Connect left to left, right to right if you are running stereo.
Step 2: Connect Your Inputs
Connect microphones via XLR to the available mic inputs. Connect instruments via DI box to mic inputs, or via a line input if the instrument has a line-level output. Playback devices (phones, laptops, music players) connect to a stereo line input if available, or via a DI box to mono inputs.
Step 3: Set the Gain Correctly
The gain control at the top of each channel strip is the most critical setting on the mixer. Set it correctly and the channel sounds clean; set it too high and you introduce distortion before the fader even moves. The method: with the channel fader at unity (0dB), ask the performer to deliver the loudest they will during the show, and adjust the gain until the channel meter peaks in the green without hitting red. Do this for every channel before the show starts.
Step 4: Set EQ
Start with all EQ controls at the centre position (no cut or boost). If a microphone sounds boomy, cut the low frequencies slightly. If something sounds harsh, cut the high-mids. If a vocal needs presence, a gentle boost around 3kHz can help. Avoid boosting multiple bands simultaneously — cuts are generally more musical than boosts in live sound EQ.
Step 5: Set the Master Output
Bring the master fader up to unity and adjust the main output level until the volume is appropriate for the venue. The master fader should run close to unity; control the volume mostly via the master output level control rather than pushing the master fader into its upper range.
Managing Feedback
Feedback — the high-pitched squeal that occurs when a microphone picks up its own speaker output — is the most common problem beginners encounter. The primary prevention: keep microphones pointed away from speakers, and position speakers in front of where performers stand rather than behind them. If your powered mixer has built-in feedback suppression, enable it. Otherwise, use the EQ to cut the frequency that feeds back (usually around 2–5kHz for a typical feedback squeal).
For a broader understanding of what a powered mixer is and how the different types compare, the overview article is the right starting point. When you are ready to buy, the buyer's guide covers what to look for at each price point.
The Bottom Line
Setting up and using a powered mixer for the first time is more straightforward than the back panel makes it look. The core steps — gain setting, EQ, master output — are the same at every level. Spend time on the gain structure before the show and most other problems become manageable from there.




Comments