


Speaker Wall Hangers guide
How to Set Up and Use Speaker Wall Hangers
Fitting speaker wall hangers isn't complicated, but it's exactly the job where rushing one step causes a problem three steps later. Here's the sequence.
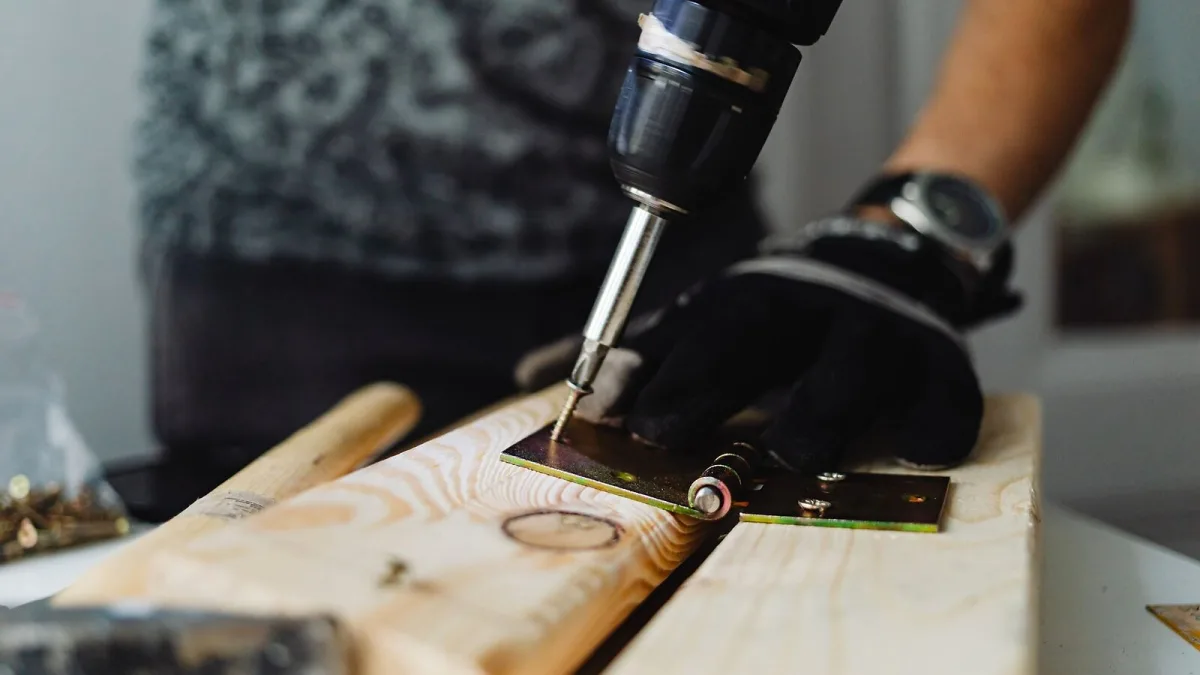
Right, let's get this done properly. Fitting speaker wall hangers isn't complicated, but it's exactly the kind of job where rushing one step causes a problem three steps later. Here's the sequence I'd actually follow, in order, with nothing skipped.
What You'll Need Before You Start
- A stud finder (electronic or magnetic — either works)
- A drill, with bits sized correctly for your fasteners
- A spirit level
- A pencil and tape measure
- The fasteners specified for your wall type — not just whatever's in the toolbox
- Both manuals: the speaker's and the bracket's
The Installation, Step by Step
- Read both manuals fully. Confirm the bracket's rated capacity comfortably exceeds your speaker's actual weight, and check the mounting interface actually matches — threaded insert, keyhole slot, side clamp or pole cup.
- Find your fixing point. Use the stud finder to locate a wood or metal stud, or confirm you're working with solid masonry. Mark it clearly before you do anything else.
- Mark the centreline and listening angle. Measure and mark where the speaker will actually sit, including the height and angle you want it aimed at, before drilling anything.
- Check for hidden services. Before you drill, check for electrical cables, pipework or data cabling running through that section of wall.
- Drill using the correct bit and fastener for your wall type. A wood stud, masonry wall and drywall-only fixing each need different hardware — don't substitute what's convenient for what's specified.
- Fit the wall plate or bracket without forcing it out of alignment. Use the spirit level here; a bracket fitted slightly crooked will fight you at every later step.
- Attach the speaker adapter, clamp or retention hardware. This is where any safety screw or secondary retention system gets fitted — don't skip it, even if the bracket feels secure without it.
- Tighten everything to the manufacturer's specified torque or firmness. Over-tightening a clamp against a cabinet can crack or deform it; under-tightening leaves play that works loose over time.
- Test gradually before committing the full weight. Support the speaker yourself first, then release slowly, checking it can't slide, rotate or tip if gently nudged.
- Route and secure the cables. Make sure cable tension can never pull on the speaker or the bracket — leave slack, and secure the run separately from the mount itself.
Getting the Angle Right First Time
If you're mounting a tilt-and-swivel bracket for surround or home-cinema speakers, aim for roughly seated ear height and angle the speaker toward the listening position rather than straight ahead. For a stereo pair, keep both sides symmetrical — one speaker in a corner and one on an open wall will never sound balanced, no matter how carefully you've fitted the hardware. For more on how mounting position actually affects sound, our complete guide to speaker wall hangers covers the acoustic side properly.
After It's Up
Don't treat installation as a one-off job. Recheck the fixing periodically, especially in the first few weeks — fasteners can settle slightly, and it's far easier to notice a small amount of play early than after months of vibration from actual use. If anything feels different to how it felt on installation day, take the speaker down and investigate before putting it back up.
If something about this process doesn't feel right for your particular wall or speaker, it's always worth stepping back. Our beginner's guide covers when it's genuinely sensible to call in a professional instead, and our piece on common mistakes is worth a read before you drill a single hole.
The Bottom Line
Ten steps, done in order, is all it takes to fit speaker wall hangers properly: confirm compatibility, find a real fixing point, drill correctly for your wall type, fit and test gradually, then manage your cables so nothing ever pulls on the mount. Skip a step and you're gambling; follow it through and it's a genuinely straightforward Saturday-afternoon job.





Comments