


Vinyl Album Cleaning Kit guide
How to Set Up and Use Vinyl Album Cleaning Kit
A vinyl cleaning kit only works if you use it properly — here's exactly how I do it, step by step, from dry brushing to a full wet clean.
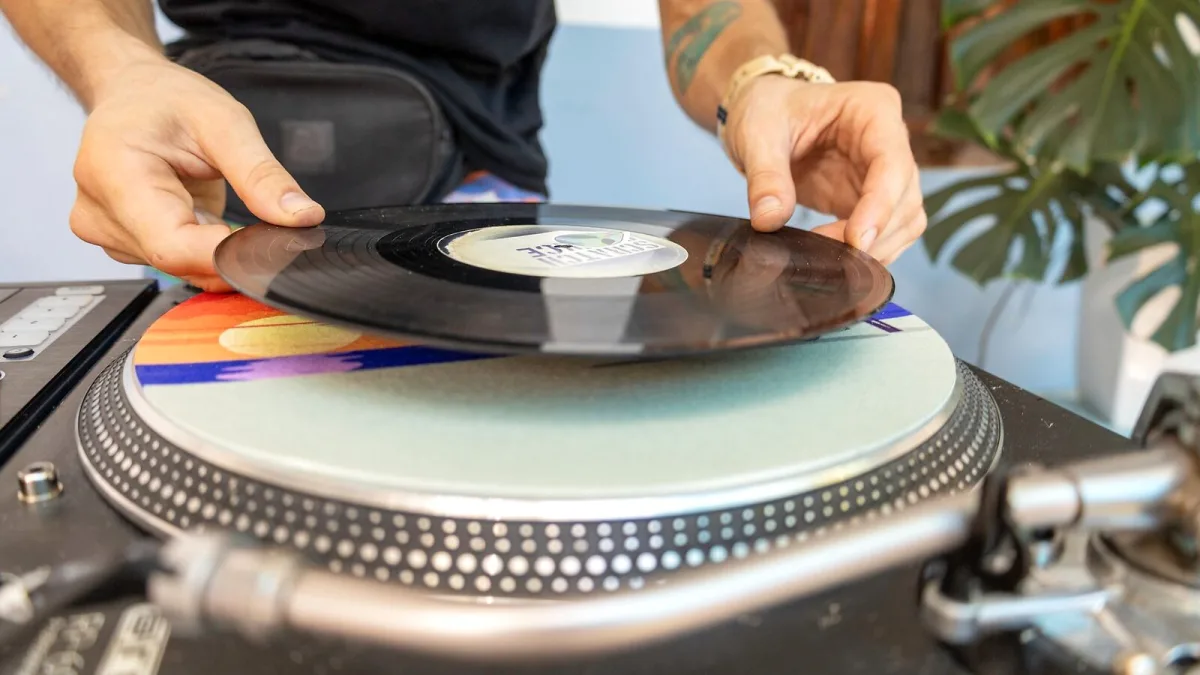
A vinyl cleaning kit only does its job if you actually use it properly, and the good news is that doing it right takes no special skill, just a bit of patience and the right order of operations. Get comfortable with your own vinyl cleaning kit and the whole process becomes routine within a session or two. Here's exactly how I set mine up and use it, step by step.
Before You Start
Work somewhere clean, well-lit and free of pet hair or heavy dust in the air — a freshly cleaned record picked back up in a dusty room has undone half the point of cleaning it. Lay out your brush, fluid, applicator, cloth and label protector where you can reach them without setting anything down on the record itself.
Routine Dry Cleaning: Step by Step
- Place the record securely on the platter or a clean, flat work surface.
- Hold the carbon-fibre brush lightly against the playing surface, without pressing down.
- Let the record rotate for one or two revolutions, or draw the brush around in a circle if you're not using a turntable.
- Draw the brush toward the outer edge to lift dust away rather than pushing it back into the grooves.
- Repeat on the other side, then return the record to a clean inner sleeve.
Do this before every play if you can manage it — it takes seconds and prevents the bulk of dust-related noise before it ever becomes a problem.
Manual Wet Cleaning: Step by Step
- Fit the label protector or clamp if your kit includes one, keeping the paper label completely dry.
- Apply the manufacturer-recommended amount of fluid to the record, not directly onto the applicator.
- Work the fluid into the grooves with your soft applicator, following the circular direction of the grooves rather than crossing them.
- Keep an eye on the label and avoid letting fluid pool or spread toward it.
- Remove the dirty fluid with a clean section of your lint-free cloth, or a vacuum attachment if your kit includes one.
- Let the record dry completely — genuinely completely — before it goes anywhere near a sleeve or a stylus.
- Store it in a fresh, anti-static inner sleeve once it's dry.
Common Sense Rules Worth Repeating
- Handle records by the edge and label only, never the playing surface.
- Always work in the direction of the grooves, never across them.
- Never press down hard — pressure forces debris against the groove walls rather than lifting it away.
- Use a separate applicator for wet cleaning than the one you use for dry brushing.
- Never play a record while it's still damp.
Keeping Your Vinyl Cleaning Kit in Good Order
Clean or replace your applicator and cloth once they're visibly dirty — a grubby cloth just redistributes dirt rather than removing it. Keep your dry brush covered between uses so it isn't collecting dust of its own, and never use the same cloth on labels, furniture or genuinely filthy records that you'd use on a freshly wet-cleaned one.
Where to Go Next
If you're still choosing your setup, our buyer's guide covers what to look for, and the full explainer goes deeper into why each tool does what it does. Get the routine right once, and it becomes second nature within a couple of records.




Comments