


Studio Rack article
Studio Rack for Beginners: A Complete Guide
Understanding the studio rack system from scratch — what equipment it holds, how to size the enclosure correctly and how to organise cables from the start.
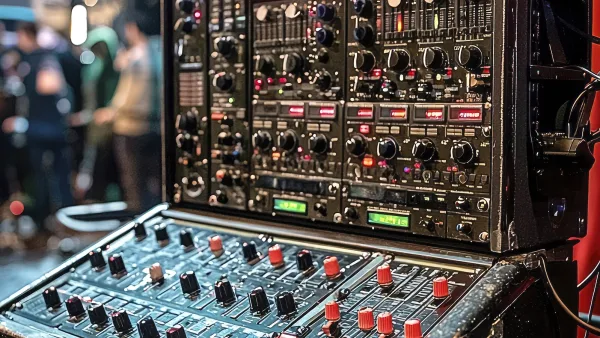
If you are new to studio setups and have more than a few pieces of rackmount equipment, a studio rack is the most practical way to organise them. The system is standardised across the industry: any manufacturer's 1U, 2U or larger equipment mounts into the same 19-inch frame using the same screws. Once you understand the basics, setting one up is straightforward.
What Goes in a Rack
Common rackmount equipment includes audio interfaces (if rack-format), preamps, dynamics processors like compressors and gates, equalisers, effects units, patch bays, power conditioners and, in larger setups, power amplifiers. Not all of these need to be rack-mounted — desktop and tabletop alternatives exist for all of them — but a studio rack becomes useful as soon as you have three or more hardware units that need permanent connections and desk space is limited.
Sizing for Beginners
A 12U enclosure is a sensible starting point. Most home studios rarely exceed 8U of actual equipment, and the extra space gives room to organise cable runs, fit blank panels and add a unit or two as the studio grows. Going smaller than 8U at the outset creates the need to replace the enclosure sooner than is useful.
Rack units are counted from the top or the bottom depending on the installation convention. Most studio rack configurations run heavier equipment — power amplifiers, power conditioners — at the bottom, lighter processing units in the middle, and interfaces and frequently-accessed controls at the top. This is convention rather than rule, but it makes sense ergonomically.
Cables and Organisation
The biggest practical benefit of a studio rack over a shelf is cable management. Each unit has defined rear connections, and with a patch bay, all audio routing runs inside the frame rather than across the desk surface. Start with short patch cables — typically 0.5m or 1m — for connections within the rack, and keep longer runs for connections to monitors, microphones and instruments outside.
Grounding and Power
One of the most valuable things to add to any new rack is a rack-mount power conditioner. Running all equipment from a single filtered power source reduces ground loops — a common source of audible hum in multi-unit setups — and protects gear from mains spikes. This is worth including from day one rather than adding later when troubleshooting noise becomes urgent. A 1U unit with eight to ten filtered outlets and a display showing voltage and current is sufficient for most home studio configurations.
Our complete guide to studio racks covers the system in more detail. When you are ready to buy, see the buyer's guide.





Comments