

Recording Microphone article
Recording Microphone for Beginners: A Complete Guide
Your first recording microphone session usually sounds worse than expected — not because of the equipment but because of gain, positioning and room acoustics. Here is how to sort all three.
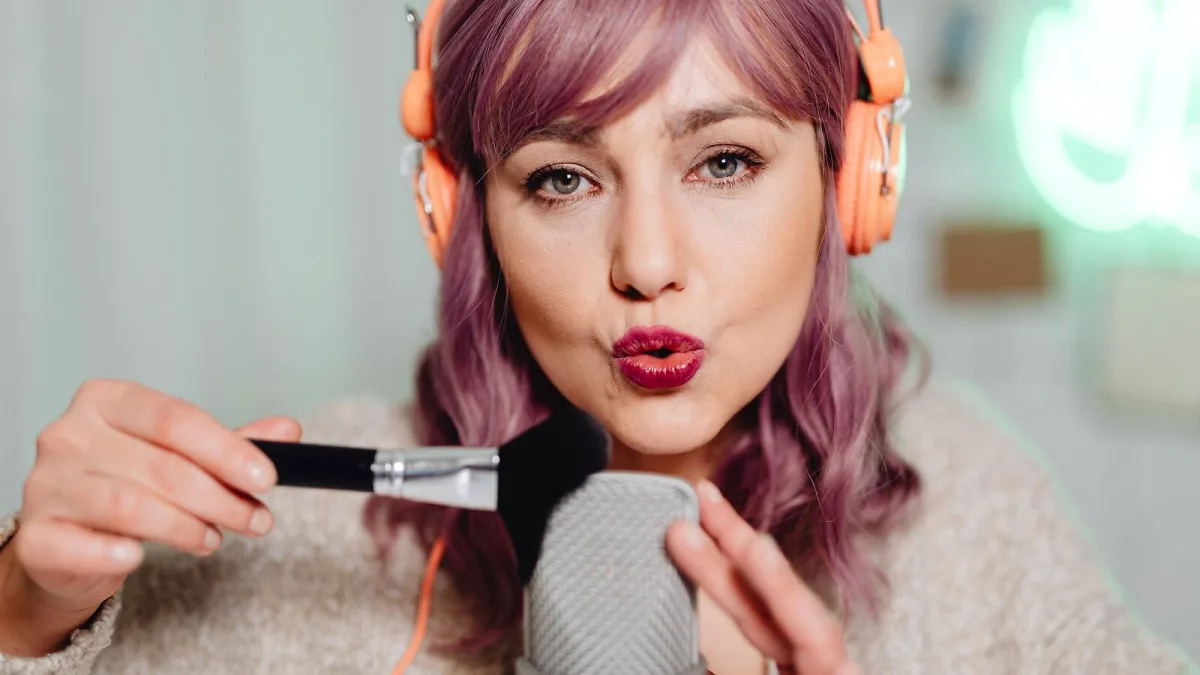
Your first session with a recording microphone will likely produce audio that sounds worse than you expected. That is normal, and almost always fixable. Most first-session problems come from positioning, gain staging and room acoustics rather than equipment quality.
Connect the Microphone
Connect the recording microphone to your audio interface using an XLR cable. If you are using a condenser microphone, enable phantom power (+48V) on the interface channel before connecting. On most interfaces, phantom power is a button or switch labelled +48V, per channel or globally. Allow a few seconds after enabling it before starting to record.
Open your recording software (DAW). Create a mono audio track and set its input to the interface channel the microphone is connected to. Enable monitoring on that track if you want to hear yourself through headphones while recording.
Set the Gain Level
Speak or sing at the level you will actually record at, and watch the input meter on the interface and in the DAW. The meter should reach around −18 to −12 dBFS on peaks during normal performance — not clipping at 0 dBFS, and not sitting persistently below −30 dBFS. Adjust the interface gain knob until the level is in that range. Recording too hot causes distortion; recording too quiet loses dynamic range and makes background noise more audible in the final mix.
Microphone Positioning
For a vocal condenser, position the microphone 6–12 inches from your mouth and slightly above or below, aimed at the lips. Directly on-axis maximises the cardioid pattern’s rear rejection — it minimises room reflections behind the microphone. Use a pop shield 2–3 inches in front of the capsule to reduce plosive noise (the burst of air on “p” and “b” sounds). Do not place the microphone directly in front of a hard reflective surface — position it so the rear null of the cardioid pattern faces the most reflective wall in the room.
Monitor Acoustics
The biggest variable in home recording is the room. Untreated parallel walls create standing waves and early reflections that colour the recording and make it harder to mix. You do not need a purpose-built studio to improve this: a duvet behind the performer, heavy curtains, filled bookshelves and soft furnishings all reduce reflections meaningfully. Record in a corner of the room (more diffuse reflections) rather than the centre (where standing wave peaks are worst).
Avoiding Common First-Session Mistakes
Do not set the gain level by watching the DAW meters alone — check the interface input level indicator first, since digital clipping at the converter is harder to recover from than DAW metering suggests. Do not record with a condenser recording microphone in a reverberant room and expect to remove the reverb in post-production — reverb captured in the recording is essentially permanent. Do not place the microphone directly in front of a computer fan or air conditioning vent.
Once you have clean, well-levelled audio, the rest of the production process becomes much simpler. For a full guide to microphone types and how to choose one, see our recording microphone overview and buyer’s guide.






Comments